JennAir JJW2427LL Bruksanvisning
Les nedenfor 📖 manual på norsk for JennAir JJW2427LL (76 sider) i kategorien Komfyr. Denne guiden var nyttig for 14 personer og ble vurdert med 4.4 stjerner i gjennomsnitt av 7.5 brukere
Side 1/76
FOR SERVICE TECHNICIAN’S USE ONLY
Tech Manual Do not remove or destroy
W11324895A
08/20
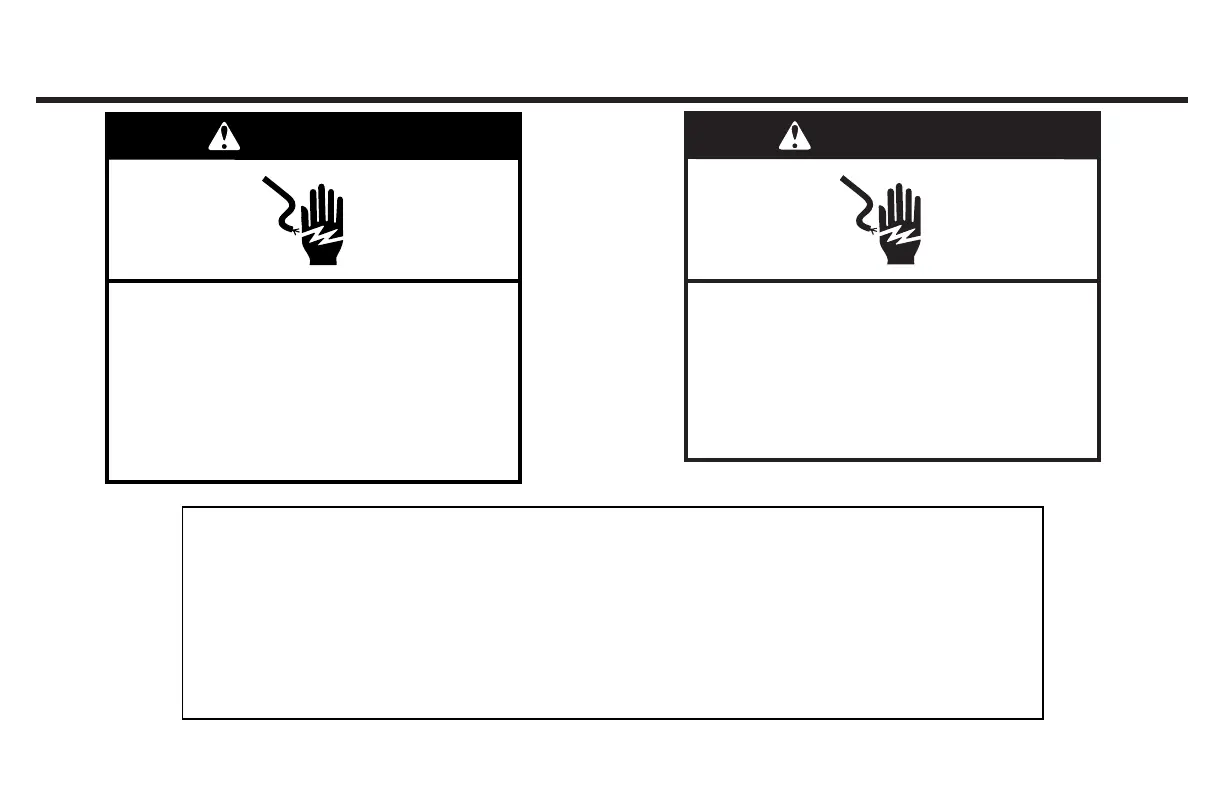
WARNING
Electrical Shock Hazard
Disconnect power before servicing.
Replace all parts and panels before
operating.
Failure to do so can result in death or
electrical shock.
DANGER
Electrical Shock Hazard
Only authorized technicians should
perform diagnostic voltage measurements.
After performing voltage measurements,
disconnect power before servicing.
Failure to follow these instructions can
result in death or electrical shock.
Voltage Measurement Safety Information
When performing live voltage measurements, you must do the following:
■
Verify the controls are in the off position so that the appliance does not start when energized.
■
Allow enough space to perform the voltage measurements without obstructions.
■ Keep other people a safe distance away from the appliance to prevent potential injury.
■
Always use the proper testing equipment.
■
After voltage measurements, always disconnect power before servicing.
Produkspesifikasjoner
| Merke: | JennAir |
| Kategori: | Komfyr |
| Modell: | JJW2427LL |
Trenger du hjelp?
Hvis du trenger hjelp med JennAir JJW2427LL still et spørsmål nedenfor, og andre brukere vil svare deg
Komfyr JennAir Manualer

11 August 2025
11 August 2025

11 August 2025
11 August 2025
11 August 2025
11 August 2025

11 August 2025
11 August 2025
11 August 2025
11 August 2025
Komfyr Manualer
- Hoover
- Concept
- Kenmore
- Veripart
- Boretti
- Navitel
- Sunfire
- Vulcan
- Thermex
- ATAG
- BlueStar
- Euro Appliances
- Exquisit
- Fuave
- Blaze
Nyeste Komfyr Manualer
23 Oktober 2025
21 Oktober 2025
21 Oktober 2025
21 Oktober 2025
21 Oktober 2025

21 Oktober 2025

21 Oktober 2025
21 Oktober 2025

20 Oktober 2025
20 Oktober 2025