Maytag XHP1000XW Bruksanvisning
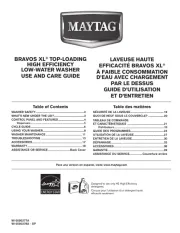
Maytag
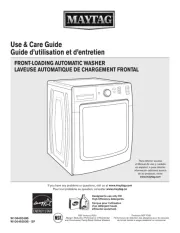
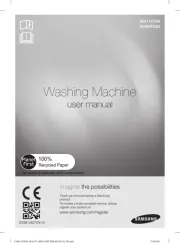
Vaskemaskin
XHP1000XW
Les nedenfor 📖 manual på norsk for Maytag XHP1000XW (16 sider) i kategorien Vaskemaskin. Denne guiden var nyttig for 7 personer og ble vurdert med 3.6 stjerner i gjennomsnitt av 4 brukere
Side 1/16

W10178072B
W10348604B-SP
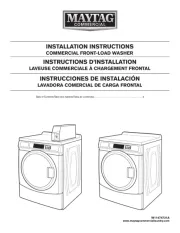
PEDESTAL INSTALLATION INSTRUCTIONS
For use only with front load washers and dryers
INSTRUCTIONS D’INSTALLATION DU PIÉDESTAL
Pour utilisation avec les laveuses et sécheuses à chargement frontal
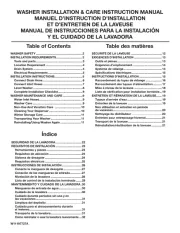
Table of Contents Table des matières
PEDESTAL SAFETY ......................................................1
INSTALLATION REQUIREMENTS ................................2
Location Requirements .........................................2
Tools and Parts .......................................................2
INSTALLATION INSTRUCTIONS ..................................3
Before Installing Pedestal .....................................3
INSTALLING THE PEDESTAL .......................................4
COMPLETE THE INSTALLATION. ................................5
WARRANTY ...................................................................7
SÉCURITÉ DU PIÉDESTAL ..........................................9
EXIGENCES D’INSTALLATION ....................................9
Exigences d’emplacement ....................................9
Outillage et pièces. ................................................9
INSTRUCTIONS D’INSTALLATION. ...........................10
Avant l’installation du piédestal.. ........................10
INSTALLATION DU PIÉDESTAL .................................11
ACHEVER L’INSTALLATION. ......................................13
GARANTIE ...................................................................15
INSTALLATION NOTES
Date of purchase: _________________________________
Date of installation: _______________________________
Installer: ________________________________________
Model number: ___________________________________
Serial number: ___________________________________
NOTES CONCERNANT L’INSTALLATION
Date d’achat : _____________________________________
Date d’installation : ________________________________
Installateur : ______________________________________
Numéro de modèle : ________________________________
Numéro de série : __________________________________
PEDESTAL SAFETY
Para una versión de estas instrucciones en español, visite www.whirlpool.com
Produkspesifikasjoner
| Merke: | Maytag |
| Kategori: | Vaskemaskin |
| Modell: | XHP1000XW |
Trenger du hjelp?
Hvis du trenger hjelp med Maytag XHP1000XW still et spørsmål nedenfor, og andre brukere vil svare deg
Vaskemaskin Maytag Manualer
22 September 2025
22 September 2025
22 September 2025
22 September 2025
22 September 2025
22 September 2025
22 September 2025
22 September 2025
22 September 2025
22 September 2025
Vaskemaskin Manualer
- Candy
- Foron
- Otsein
- Rosieres
- Cylinda
- Equator
- Castor
- Arcelik
- Imarflex
- Avanti
- Cove
- Heinner
- Monogram
- FAURE
- Blomberg
Nyeste Vaskemaskin Manualer

21 Oktober 2025
20 Oktober 2025

18 Oktober 2025

18 Oktober 2025
17 Oktober 2025

14 Oktober 2025
14 Oktober 2025
13 Oktober 2025
13 Oktober 2025
13 Oktober 2025