Perfect Aire 3PAMSCH18 Bruksanvisning
Perfect Aire
Air condition
3PAMSCH18
Les nedenfor 📖 manual på norsk for Perfect Aire 3PAMSCH18 (23 sider) i kategorien Air condition. Denne guiden var nyttig for 50 personer og ble vurdert med 4.9 stjerner i gjennomsnitt av 25.5 brukere
Side 1/23
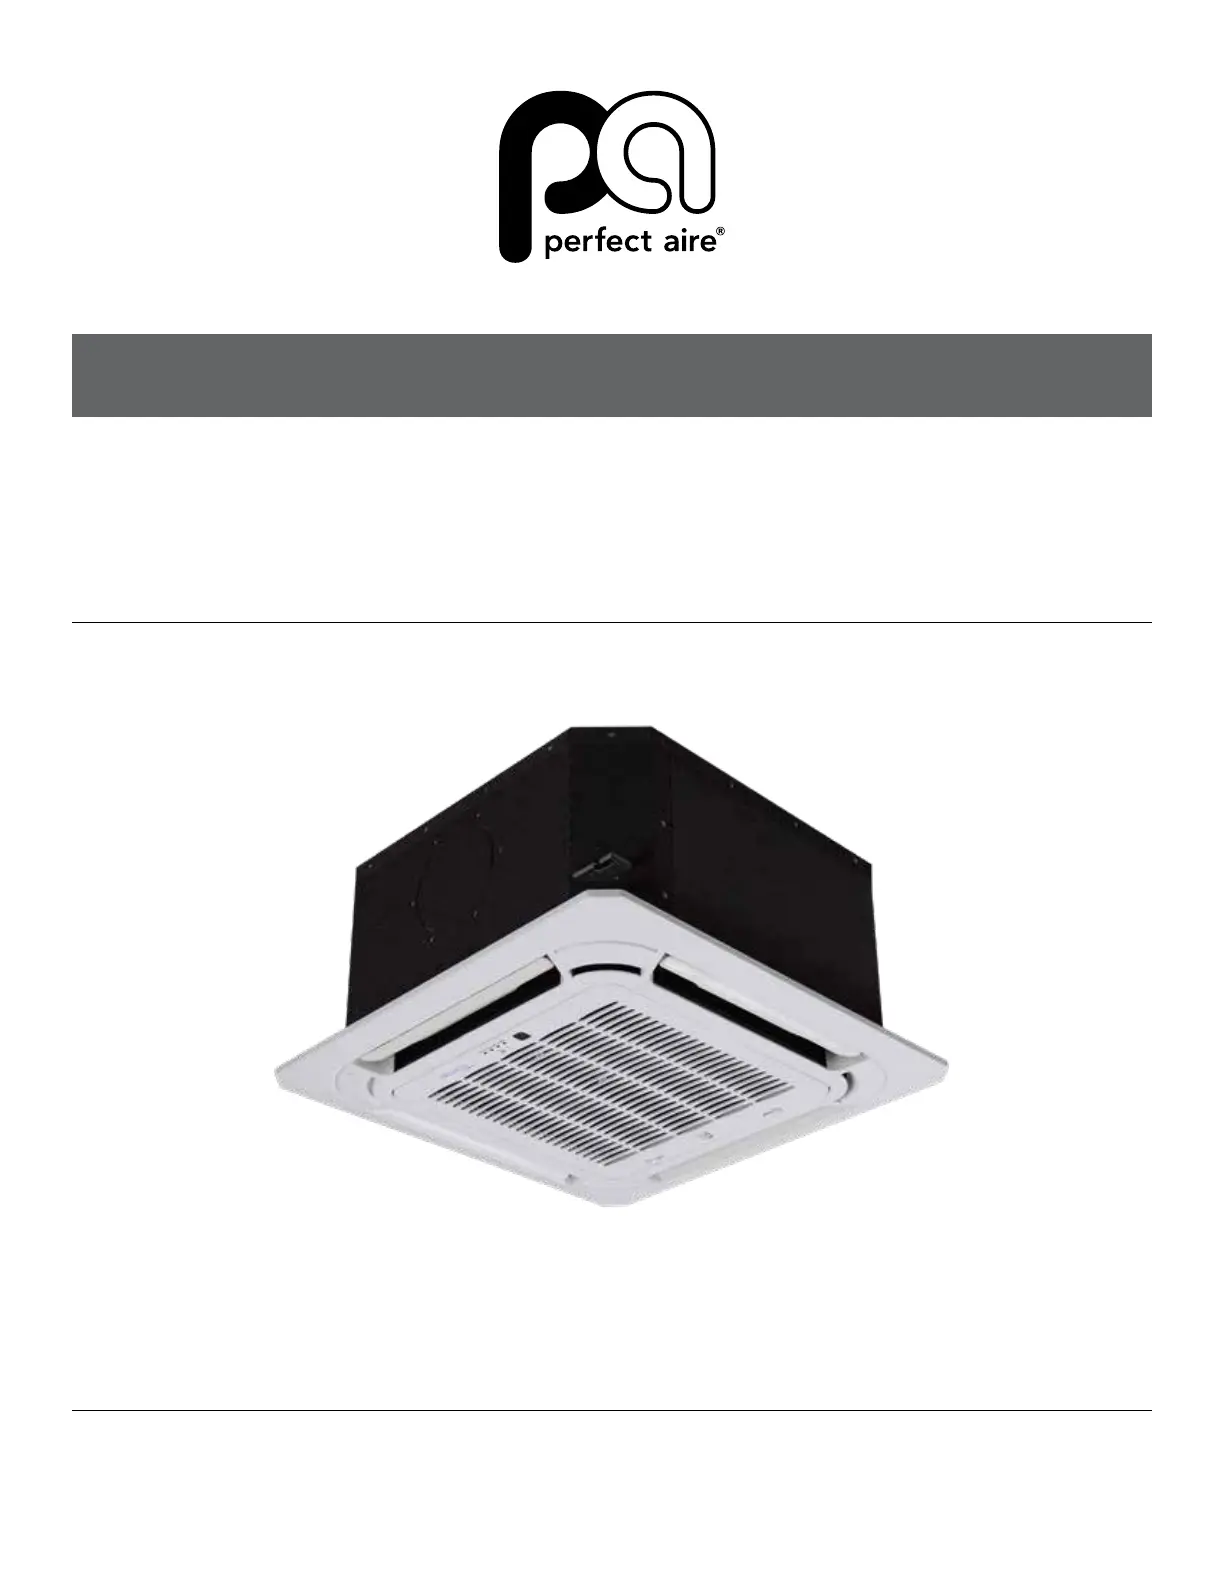
MULTI-ZONE
FOUR-WAY CASSETTE
OWNER’S MANUAL
Image shown is the 3PAMSCH12, 3PAMSCH18
MODELS: 3PAMSCH12, 3PAMSCH18, 3PAMSCH24
Produkspesifikasjoner
| Merke: | Perfect Aire |
| Kategori: | Air condition |
| Modell: | 3PAMSCH18 |
Trenger du hjelp?
Hvis du trenger hjelp med Perfect Aire 3PAMSCH18 still et spørsmål nedenfor, og andre brukere vil svare deg
Air condition Perfect Aire Manualer

14 Februar 2025

14 Februar 2025

6 Januar 2025

6 Januar 2025

16 Oktober 2024

16 Oktober 2024

16 Oktober 2024

16 Oktober 2024

16 Oktober 2024

16 Oktober 2024
Air condition Manualer
- Omega Altise
- AireMax
- Be Cool
- Mistral
- Noveen
- Broan
- Essentiel B
- Gutfels
- Bavaria
- Rinnai
- Carson
- Duracraft
- Carrier
- Khind
- Furrion
Nyeste Air condition Manualer

10 April 2025

10 April 2025

10 April 2025

10 April 2025

10 April 2025

9 April 2025

9 April 2025

9 April 2025

9 April 2025

9 April 2025