Remington D5017 Pro 2100 Bruksanvisning
Les nedenfor 📖 manual på norsk for Remington D5017 Pro 2100 (36 sider) i kategorien Hårføner. Denne guiden var nyttig for 11 personer og ble vurdert med 4.6 stjerner i gjennomsnitt av 6 brukere
Side 1/36
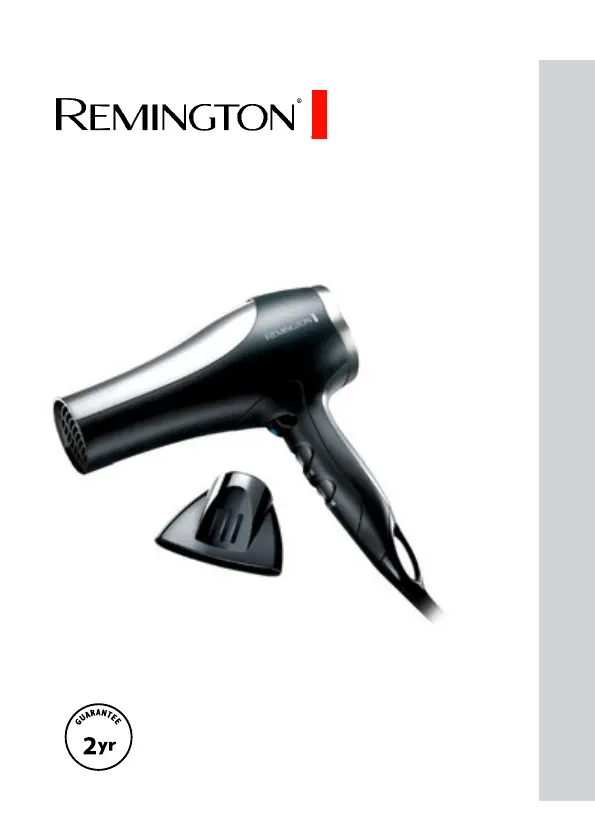
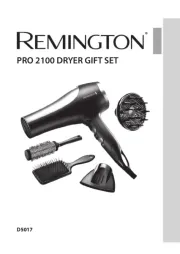
D5017
PRO 2100 DRYER GIFT SET
Produkspesifikasjoner
| Merke: | Remington |
| Kategori: | Hårføner |
| Modell: | D5017 Pro 2100 |
Trenger du hjelp?
Hvis du trenger hjelp med Remington D5017 Pro 2100 still et spørsmål nedenfor, og andre brukere vil svare deg
Hårføner Remington Manualer
22 September 2025
21 September 2025
21 September 2025

21 September 2025
21 September 2025
21 September 2025
21 September 2025
21 September 2025
21 September 2025
21 September 2025
Hårføner Manualer
- Panasonic
- Fripac
- Alpina
- Rowenta
- Visage
- Maestro
- Essentiel B
- Braun
- Gorenje
- Zelmer
- Create
- Black Decker
- Moser
- Fagor
- WAD
Nyeste Hårføner Manualer
7 Oktober 2025
7 Oktober 2025
7 Oktober 2025
7 Oktober 2025

5 Oktober 2025
29 September 2025
29 September 2025

29 September 2025
29 September 2025
29 September 2025