ACP MXP5221 Bruksanvisning

Les nedenfor 📖 manual på norsk for ACP MXP5221 (19 sider) i kategorien mikrobølgeovn. Denne guiden var nyttig for 3 personer og ble vurdert med 4.5 stjerner i gjennomsnitt av 2 brukere

Side 1/19
Keep these instructions for future
reference. If the equipment changes
ownership, be sure this manual
accompanies equipment. Please refer to
the SAFETY INSTRUCTIONS for important
safety information prior to using this oven.
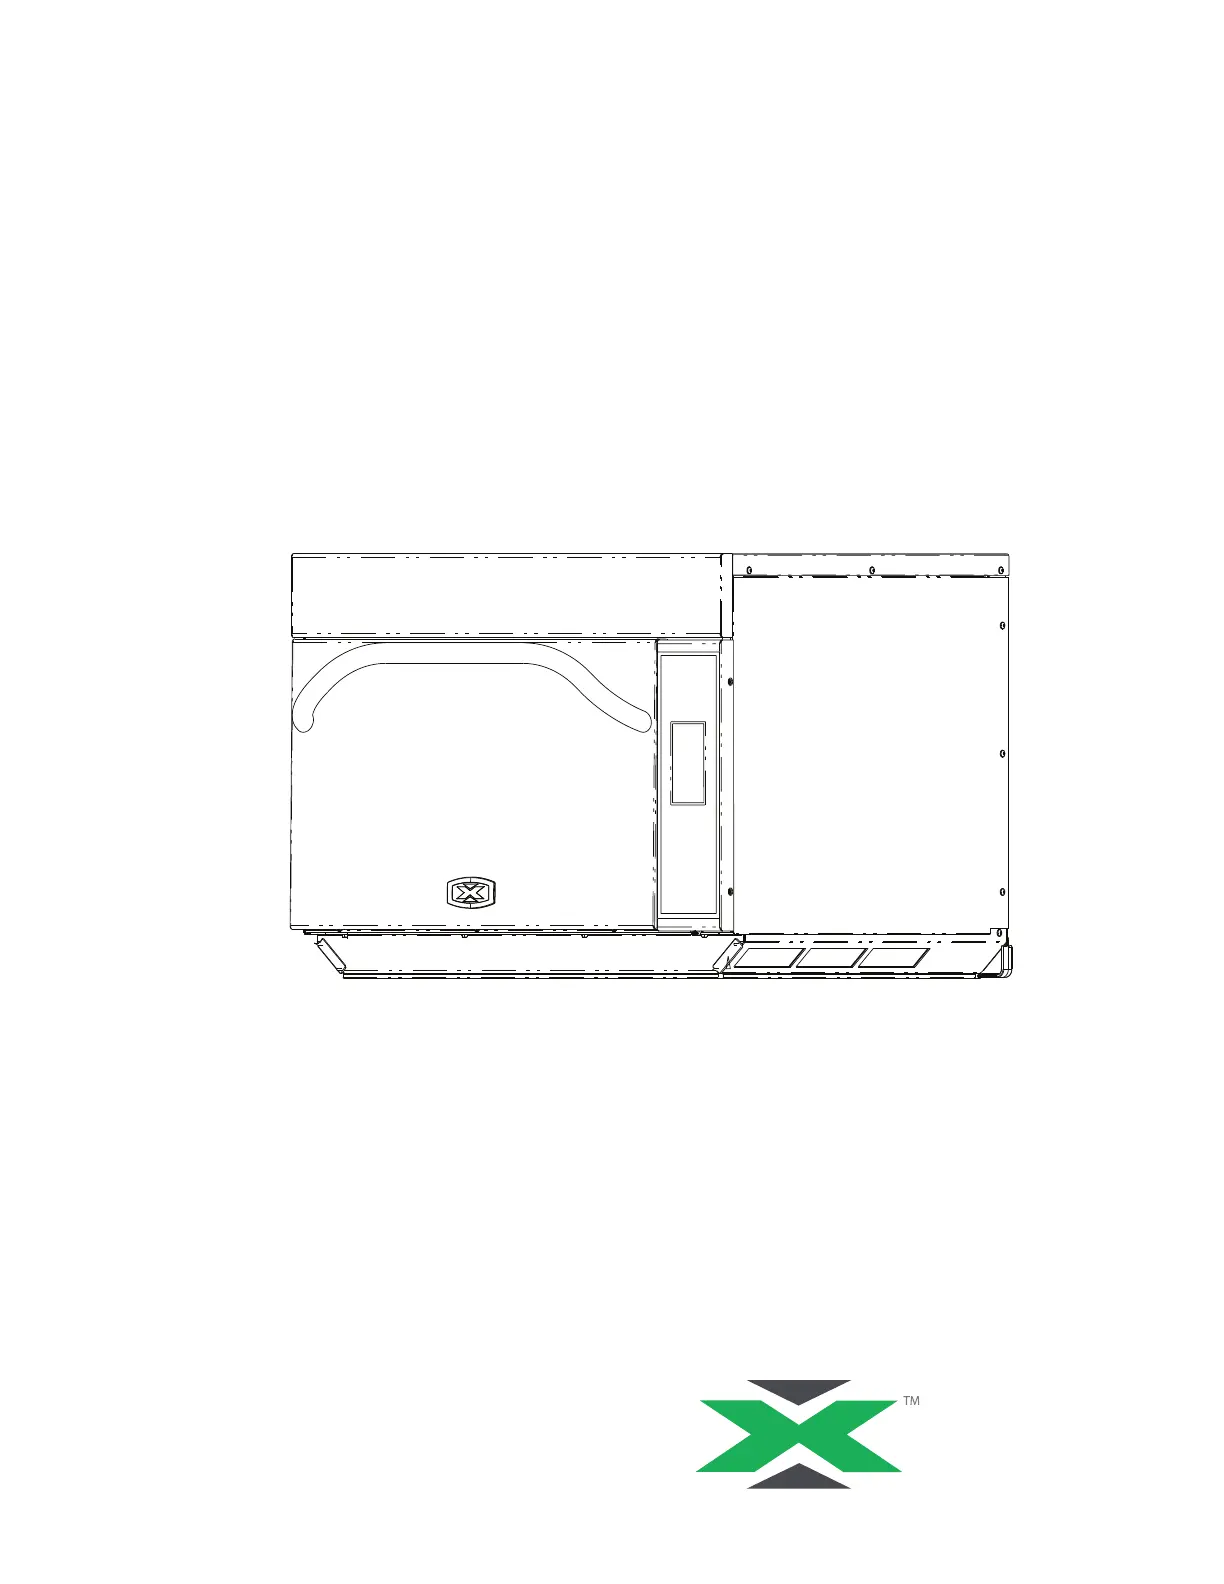
Owner’s Manual
HIGH SPEED COMMERCIAL COMBINATION OVEN
PRESS
2
Model Identication
Any questions or to locate an authorized ACP servicer,
call ACP ComServ Service Support.
Inside the U.S.A. or Canada, call toll-free at 866-
426-2621.
Outside the U.S.A. and Canada, call 319-368-8120.
Email: commercialservice@acpsolutions.com
Warranty service must be performed by an authorized
ACP servicer. ACP also recommends contacting an
authorized ACP servicer, or ACP ComServ Service
Support if service is required after warranty expires.
When contacting ACP, provide product information.
Product information is located on oven serial plate.
Record the following information:
Model Number: _____________________________
Serial or S/N Number: ________________________
Date of installation: __________________________
Dealer’s name and address: ___________________
__________________________________________
__________________________________________
To avoid risk of electrical shock or death, this oven must be grounded and plug must not be altered.
Grounding/Earthing Instructions
Oven MUST be grounded. Grounding reduces risk of electric shock by providing an escape wire for the electric
current if an electrical short occurs. This oven is equipped with a cord having a grounding wire with
a grounding plug. The plug must be plugged into an outlet that is properly installed and grounded.
Consult a qualied electrician or servicer if grounding instructions are not completely understood, or
if doubt exists as to whether the oven is properly grounded.
Do not use an extension cord.
If the product power cord is too short, have a qualied electrician install a three-slot receptacle. This
oven should be plugged into a separate circuit with the electrical rating as provided in product specications. When
the combination oven is on a circuit with other equipment, an increase in cooking times may be required and fuses
can be blown.
External Equipotential Earthing Terminal (export only)
Equipment has secondary earthing terminal. Terminal provides external earthing connection used in addition to
earthing prong on plug. Located on outside of oven back, terminal is marked with symbol shown below.
WARNING
Before using your oven, please take the time to read the Safety Instructions which shipped with the oven.
3
Features
1
2
3
4
5
6
7
3
1 Door Handle
Ergonomically designed for one handed operation.
2 Unit Serial Number
Located on the lower left hand side and back of the
oven.
3 Air Filters
The oven has two air lters. Each are located on
the lower sides of the oven. To remove, simply slide
out.
4 Display
Display provides user interface.
5 ON/OFF Pad
Use to turn on and shut oven off.
6 Keypad
Use for time input, programmed pads and data
input.
7 USB Port / Protective Cover
The oven is equipped with an USB Data Port. Use
with standard ash drives.
To program the oven using standard ash drive:
Oven must be in Off mode (Preheat must be OFF)
1. Remove protective cover from bottom of keypad.
2. Insert the ash drive into the slot located below the keypad.
3. From Off, press and hold the “2” pad to go to “User Options”.
4. Go to Option #17 by pressing “Back ” or repeatedly pressing “Enter
5. Select the desired operation by highlighting “Transfer card to oven
” or “Transfer oven
to ash drive
” with the Scroll Up or Scroll Down keypad.
*Important Note: After inserting ash drive in USB port wait at least 6 seconds before proceeding to Step 6.
6. Press the “Program
” pad to begin the transfer (The screen will indicate”TRANSFERRING” and indicate
“DONE” wait 15 seconds then transfer is complete.) *Important Note: If you do not wait 15 seconds when new
upload is attempted the screen will indicate “
NOT AXP CARD”.
7. Remove ash drive and close the protective cover.

Produkspesifikasjoner

Merke: ACP
Kategori: mikrobølgeovn
Modell: MXP5221

Trenger du hjelp?

Hvis du trenger hjelp med ACP MXP5221 still et spørsmål nedenfor, og andre brukere vil svare deg


mikrobølgeovn ACP Manualer

mikrobølgeovn Manualer

Nyeste mikrobølgeovn Manualer