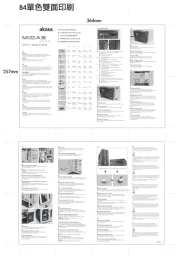
Akasa Crypto Bruksanvisning
Les nedenfor 📖 manual på norsk for Akasa Crypto (1 sider) i kategorien dataeske. Denne guiden var nyttig for 18 personer og ble vurdert med 4.7 stjerner i gjennomsnitt av 9.5 brukere
Side 1/1
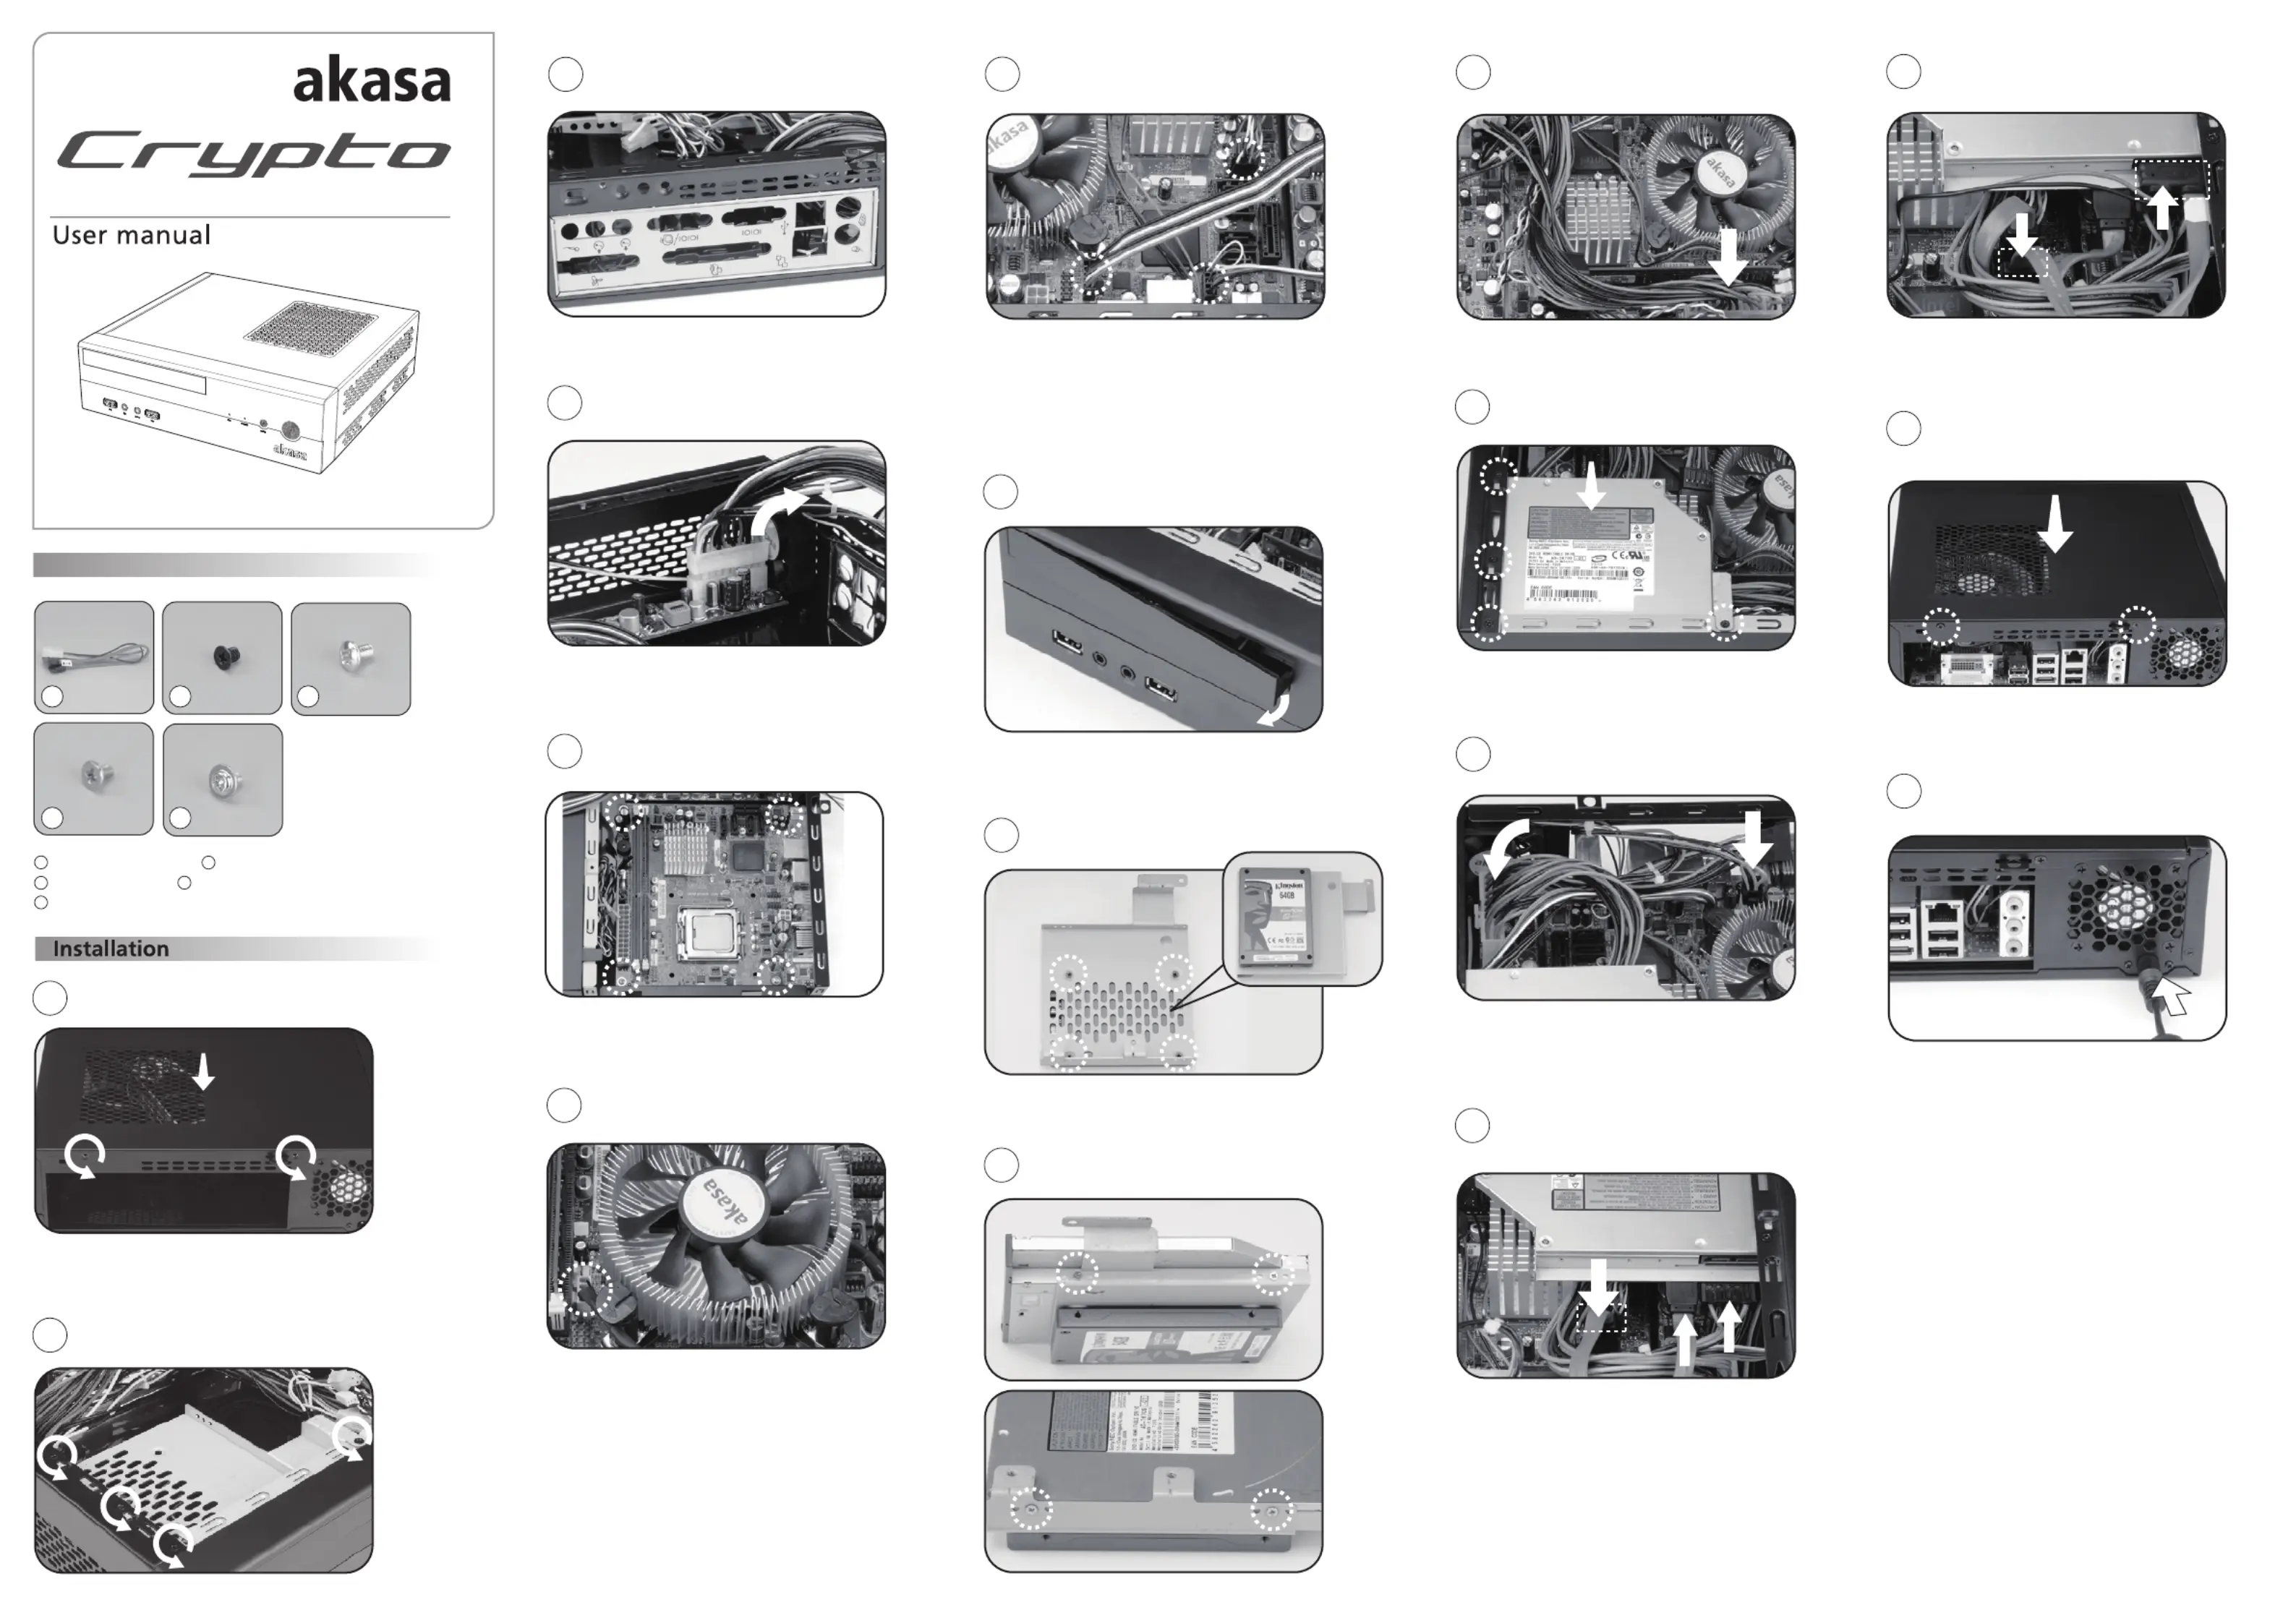
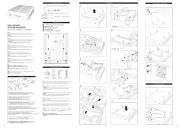
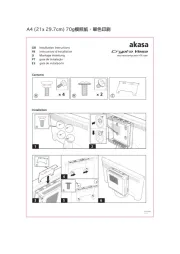
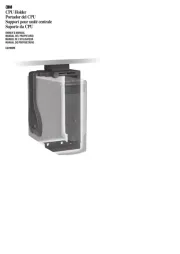
compact mini-ITX case
Contents
1 2
4 5
3
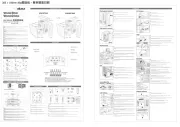
Mini-SATA cable for ODD
Disk tray screws
2.5” HDD/SSD screws Optical disk drive screws
Motherboard screws
3
1
4
5
2
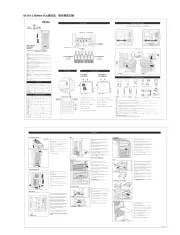
Open the case top cover by undoing the 2 screws
on the rear of the case and slide it out.
Remove the drive tray by undoing all 4 screws and sliding it to the back.
Install the blanking plate supplied with the motherboard.
1
2
Remove the internal power cable from the DC-DC board.
Install the motherboard and secure with 4 screws.
Install the CPU cooler (if required).
Connect the case front panel cables
(USB, Audio, Power/Reset buttons, Power/HDD LED’s)
to the corresponding motherboard headers
(see the motherboard manual if not apparent).
Remove the slim drive cover
(if you are planning to use an optical drive ).
Install the HDD under the drive tray (as illustrated)
Install the slimline optical drive (optional).
Route the internal power cable as shown.
Slide in and secure the drive tray.
Reconnect the 24pin motherboard connector and
plug in the 4pin 12V ATX connector (if applicable).
Connect power to the HDD, use SATA cable
(not provided) to connect the drive to the motherboard.
If an optical drive is used, connect the power and
data using the mini SATA adapter provided.
Slide back the case top cover and secure with 2 screws.
Connect the power adapter to the DC socket.
5
3
4
6
7
8
9
10
11
12
13
14
15
16
17
Produkspesifikasjoner
| Merke: | Akasa |
| Kategori: | dataeske |
| Modell: | Crypto |
| Bredde: | 245 mm |
| Dybde: | 222.5 mm |
| Høyde: | 68 mm |
| Antall USB 2.0-porter: | 2 |
| Lydutgang: | Ja |
| Produktfarge: | Sort |
| Formfaktor: | HTPC |
| Modell/Type: | PC |
| Krav til strømforsyning: | 80 W |
| Interne driverporter: | 1x2.5" |
| Lydkontakter: | Ja |
Trenger du hjelp?
Hvis du trenger hjelp med Akasa Crypto still et spørsmål nedenfor, og andre brukere vil svare deg
dataeske Akasa Manualer
19 September 2025
18 September 2025

18 September 2025
18 September 2025
18 September 2025
18 September 2025
18 September 2025
18 September 2025
17 September 2025
17 September 2025
dataeske Manualer
- Zalman
- ENDORFY
- Asus
- SilverStone
- LC-Power
- SilentiumPC
- Cougar
- Corsair
- Spirit of Gamer
- Fractal Design
- Antec
- Be Quiet!
- Cooler Master
- Tripp Lite
- Lian Li
Nyeste dataeske Manualer
18 Oktober 2025
11 Oktober 2025
5 Oktober 2025
5 Oktober 2025
5 Oktober 2025
5 Oktober 2025
4 Oktober 2025
4 Oktober 2025
4 Oktober 2025
4 Oktober 2025