Black Decker CTO100B Bruksanvisning

Black Decker ovn CTO100B

Les nedenfor 📖 manual på norsk for Black Decker CTO100B (13 sider) i kategorien ovn. Denne guiden var nyttig for 2 personer og ble vurdert med 4.5 stjerner i gjennomsnitt av 2 brukere

Side 1/13
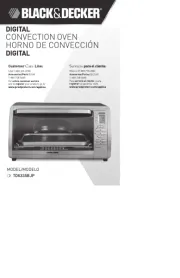
Série, Serie CTO100 Series
?
USA/Canada 1-800-231-9786
Mexico 01-800-714-2503
www.blackanddecker.com
Accessories/Parts (USA/Canada) 1-800-738-0245
Accesorios/Partes
(EE.UU/Canadá)
Accessoires/Pièces (É.-U./Canada)
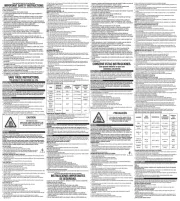
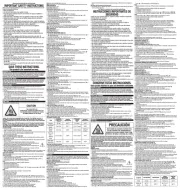
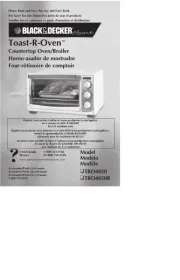
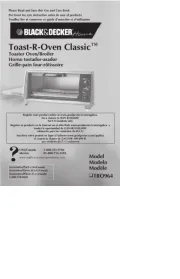
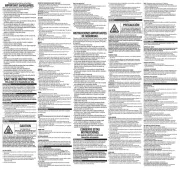
PLEASE READ AND SAVE THIS USE AND CARE BOOK.
POR FAVOR LEA ESTE INSTRUCTIVO ANTES DE USAR EL PRODUCTO.
VEUILLEZ LIRE ET CONSERVER CE GUIDE D’ENTRETIEN ET D’UTILISATION.
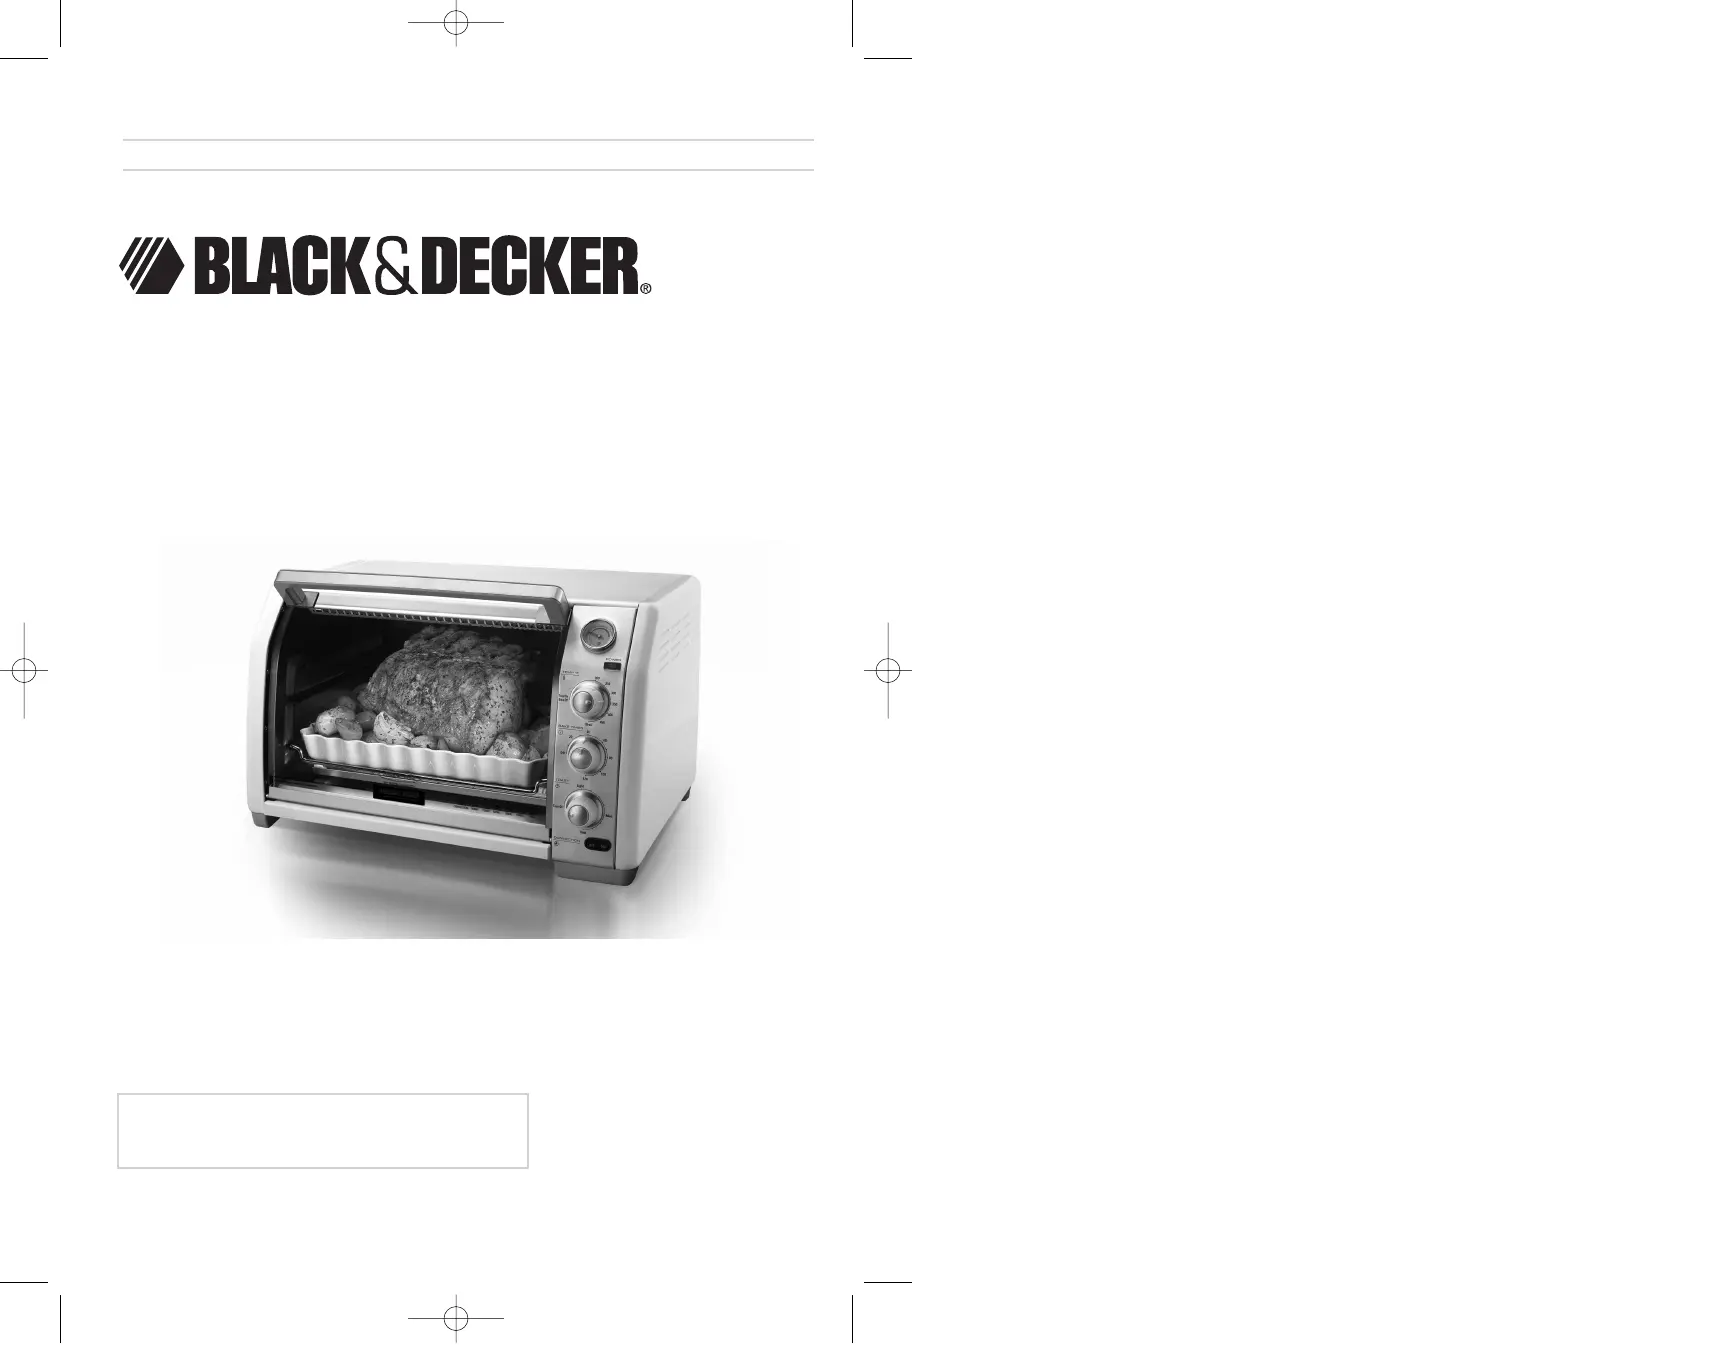
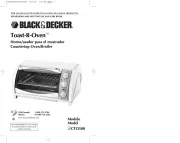
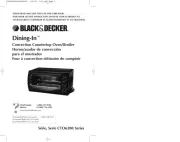
Countertop Convection Oven
Horno de convección para el mostrador
Four à convection
CTO100Pub10000011881 5/6/05 12:08 PM Page 1
2
1
When using electrical appliances, basic safety precautions should always be
followed, including the following:
Read all instructions.
Do not touch hot surfaces. Use handles or knobs.
To protect against risk of electrical shock, do not immerse cord, plug, or any
non-removable parts of this oven in water or other liquid.
Close supervision is necessary when any appliance is used by or near
children.
Unplug from outlet when not in use and before cleaning. Allow to cool
before putting on or taking off parts.
Do not operate any appliance with a damaged cord or plug or after the
appliance malfunctions or is dropped or damaged in any manner. Return
the appliance to the nearest authorized service facility for examination,
repair, or electrical or mechanical adjustment. Or, call the appropriate toll-
free number listed on the cover of this manual.
The use of accessory attachments not recommended by the appliance
manufacturer may cause injuries.
Do not use outdoors.
Do not let cord hang over edge of table or counter, or touch hot surfaces.
Do not place on or near a hot gas or electrical burner, or in a heated oven.
Extreme caution must be used when moving an appliance containing hot
oil or other hot liquid.
Turn all controls to OFF before inserting or removing plug from wall outlet.
Do not use appliance for other than intended use.
Oversize foods or metal utensils must not be inserted in this appliance, as
they may create a fire or risk of electric shock.
A fire may occur if the toaster oven is covered or touching flammable
material including curtains, draperies, walls and the like, when in
operation. Do not store any item on top of unit when in operation.
Do not clean with metal scouring pads. Pieces can break off the pad and
touch electrical parts resulting in a risk of electric shock.
Extreme caution should be used when using containers constructed of other
than metal or glass.
Do not store any material, other than manufacturer's recommended
accessories, in this oven when not in use.
Do not place any of the following materials in the oven: paper, cardboard,
plastic wrap, and the like.
IMPORTANT SAFEGUARDS
SAVE THESE INSTRUCTIONS.
GROUNDED PLUG
As a safety feature, this product is equipped with a grounded plug, which will only fit
into a three-prong outlet. Do not attempt to defeat this safety feature. Improper
connection of the grounding conductor may result in the risk of electric shock.
Consult a qualified electrician if you are in doubt as to whether the outlet is properly
grounded.
ELECTRICAL CORD
a) A short power-supply cord (or detachable power-supply cord) is to be
provided to reduce the risk resulting from becoming entangled in or tripping
over a longer cord.
b) Longer detachable power-supply cords or extension cords are available and
may be used if care is exercised in their use.
c) If a long detachable power-supply cord or extension cord is used,
1) The marked electrical rating of the detachable power-supply cord or extension
cord should be at least as great as the electrical rating of the appliance,
2) If the appliance is of the grounded type, the extension cord should be a
grounding-type 3-wire cord, and
3) The longer cord should be arranged so that it will not drape over the
countertop or tabletop where it can be pulled on by children or tripped over.
NOTE: If the power supply cord is damaged, it must be replaced by the
manufacturer or its service agent or a similarly qualified person in order
to avoid a hazard.
Do not cover crumb tray or any parts of the oven with metal foil. This will
cause overheating of the oven.
To stop toasting, turn toast shade selector to TOAST OFF. To stop baking
or broiling, turn temperature control BAKE OFF and Timer to OFF.
CTO100Pub10000011881 5/6/05 12:08 PM Page 2
4
3
1. Bake preheating gauge
2. Power indicator light
3. Toast and Bake/Broil temperature control
4. 120-minute bake timer
5. Toast shade selector
6. Convection switch
†7.Slide rack (Part # 14582101)
†8.Slide-out crumb tray
(Part # 1471110213710303 (W)) (Part # 1471110213710304 (B))
9. Ergonomic door handle
†10. Bake pan (Part # 14581201)
†11. Broil rack (Part # 14581301 )
12. Extra-deep curved interior
†Consumer replaceable
Product may vary slightly from what is illustrated.
How to Use
This product is for household use only.
Getting Started
Remove packing materials and any stickers.
Important: For warranty verification, please do not remove line cord sticker.
•Wash all parts as instructed in the Care and Cleaning section.
Select a location for the unit. Leave some space between the back and top of the unit and your
cabinet and walls to allow heat to flow without damaging counter space.
Insert the crumb tray underneath the bottom heating elements.
Plug the unit into a standard outlet.
Using Slide Rack
The slide rack must be used for all cooking functions. It may be inserted into either the upper or
lower rack slot. It can also be inverted for two additional positions.
1 - top up 2 - top down
3 - bottom up 4 - bottom down
Slide Rack Positions
Convection oven has 2 slots with 4 rack positions
Upper slot (use rack positions 1 and 2)
Lower slot (use rack positions 3 and 4)
Toasting
1. Insert the slide rack in the lower slot (rack position (3)). It is not necessary to preheat the oven
for toasting.
2. Set the toast shade selector as desired. For best results, select the medium setting for your first
cycle, then adjust lighter or darker to suit your taste.
3. Be sure to turn temperature control to TOAST ON. The POWER indicator light comes on and
stays on during the toasting cycle. When toasting is done, the signal bell sounds. The oven
automatically shuts off and the POWER indicator light goes out.
4. To momentarily stop toasting at any time, open the oven door. The heating elements and the
POWER indicator light go out. Close the door to resume toasting. The heating elements and the
POWER indicator light turn back on.
CTO100Pub10000011881 5/6/05 12:08 PM Page 4

Produkspesifikasjoner

Merke: Black Decker
Kategori: ovn
Modell: CTO100B

Trenger du hjelp?

Hvis du trenger hjelp med Black Decker CTO100B still et spørsmål nedenfor, og andre brukere vil svare deg


ovn Black Decker Manualer

ovn Manualer

Nyeste ovn Manualer