Black Decker DCM675WF Bruksanvisning
Black Decker
kaffemaskin
DCM675WF
Les nedenfor 📖 manual på norsk for Black Decker DCM675WF (13 sider) i kategorien kaffemaskin. Denne guiden var nyttig for 13 personer og ble vurdert med 4.5 stjerner i gjennomsnitt av 7 brukere
Side 1/13
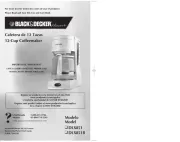
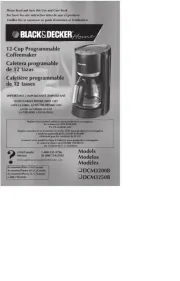
Models
Modelos
Modèles
❑
DCM675BF
❑
DCM675BMT
❑
DCM675RF
❑
DCM675WF
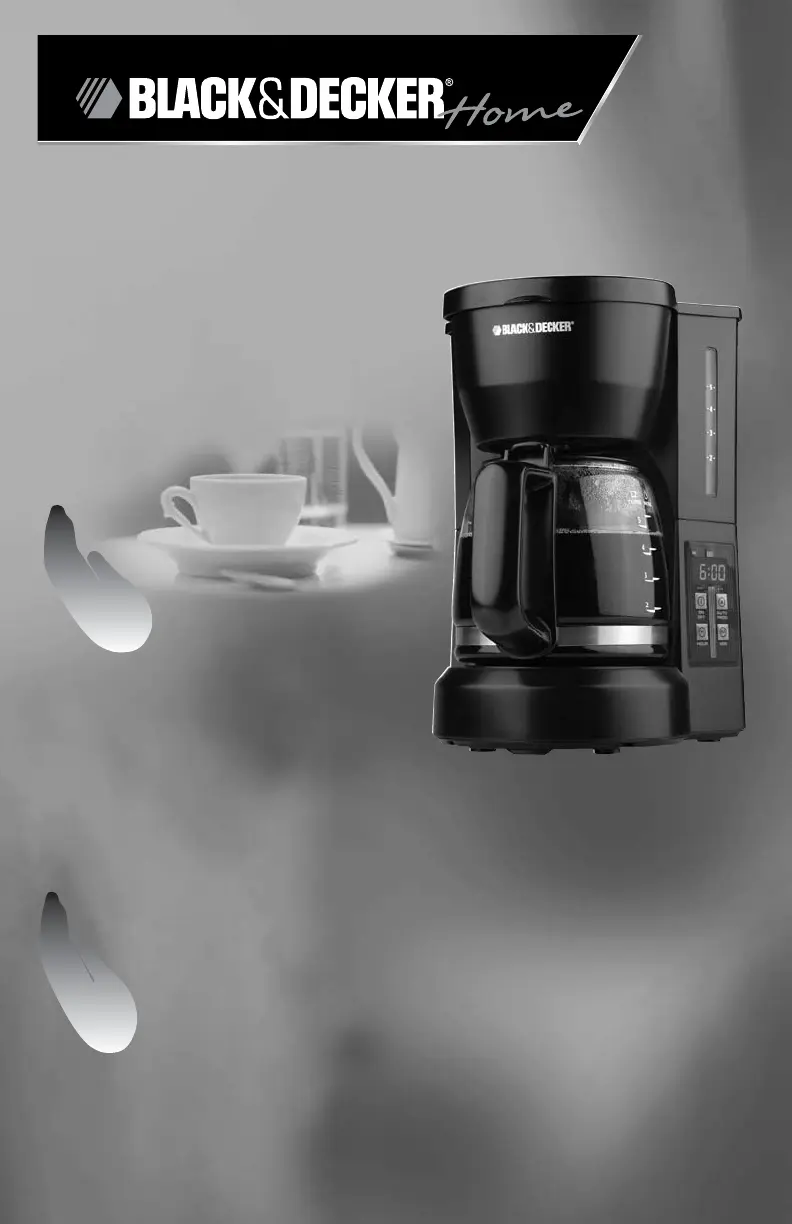
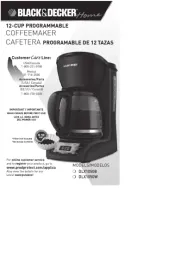
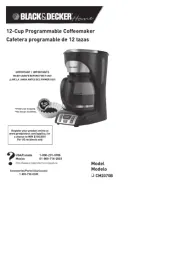
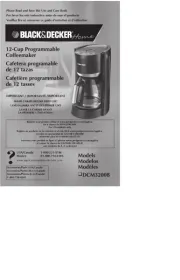
5-CUPPROGRAMMABLE
COFFEEMAKER
CAFETERAPROGRAMABLE
DE5TAZAS
CAFETIÈRE
PROGRAMMABLE
DE5TASSES
Svcàlaclientèle:
Canada 1-800-231-9786
Accessoires/Pièces(Canada)
1-800-738-0245
Pour accéder au serviceàlaclientèle
enligne
ou pour inscrire votre
produit en ligne, rendez-vour à
www.prodprotect.com/applica
CustomerCrLine:
USA
1-800-231-9786
Mexico
01-800 714-2503
Accessories/Parts(USA)
Accesorios/Partes(EE.UU)
1-800-738-0245
For onlinecustomerservice
and to register your product, go to
www.prodprotect.com/applica
Produkspesifikasjoner
| Merke: | Black Decker |
| Kategori: | kaffemaskin |
| Modell: | DCM675WF |
Trenger du hjelp?
Hvis du trenger hjelp med Black Decker DCM675WF still et spørsmål nedenfor, og andre brukere vil svare deg
kaffemaskin Black Decker Manualer
6 September 2025
6 September 2025
5 September 2025

4 September 2025
4 September 2025
4 September 2025
4 September 2025
4 September 2025
4 September 2025
4 September 2025
kaffemaskin Manualer
- Delonghi
- Tristar
- Illy
- Mahlkönig
- Essentiel B
- Avantco
- Zojirushi
- AEG
- Bravilor Bonamat
- Graef
- Krups
- Exquisit
- Café
- Proctor Silex
- Kogan
Nyeste kaffemaskin Manualer
19 Oktober 2025

19 Oktober 2025
17 Oktober 2025
16 Oktober 2025
15 Oktober 2025
13 Oktober 2025

13 Oktober 2025

13 Oktober 2025
13 Oktober 2025
13 Oktober 2025