Black Decker SK600 Bruksanvisning

Les nedenfor 📖 manual på norsk for Black Decker SK600 (17 sider) i kategorien Sammenbrudd. Denne guiden var nyttig for 5 personer og ble vurdert med 4.5 stjerner i gjennomsnitt av 2 brukere

Side 1/17
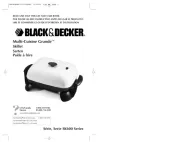
Série, Serie SK600 Series
READ AND SAVE THIS USE AND CARE BOOK
POR FAVOR LEA ESTE INSTRUCTIVO ANTES DE USAR EL PRODUCTO
LIRE ET CONSERVER CE GUIDE D’ENTRETIEN ET D’UTILISATION
USA/Canada 1-800-231-9786
Mexico 01-800-714-2503
www.blackanddecker.com
Accessories/Parts (USA/Canada) 1-800-738-0245
Accesorios/Partes
(EE.UU/Canadá)
Accessoires/Pièces (É.-U./Canada)
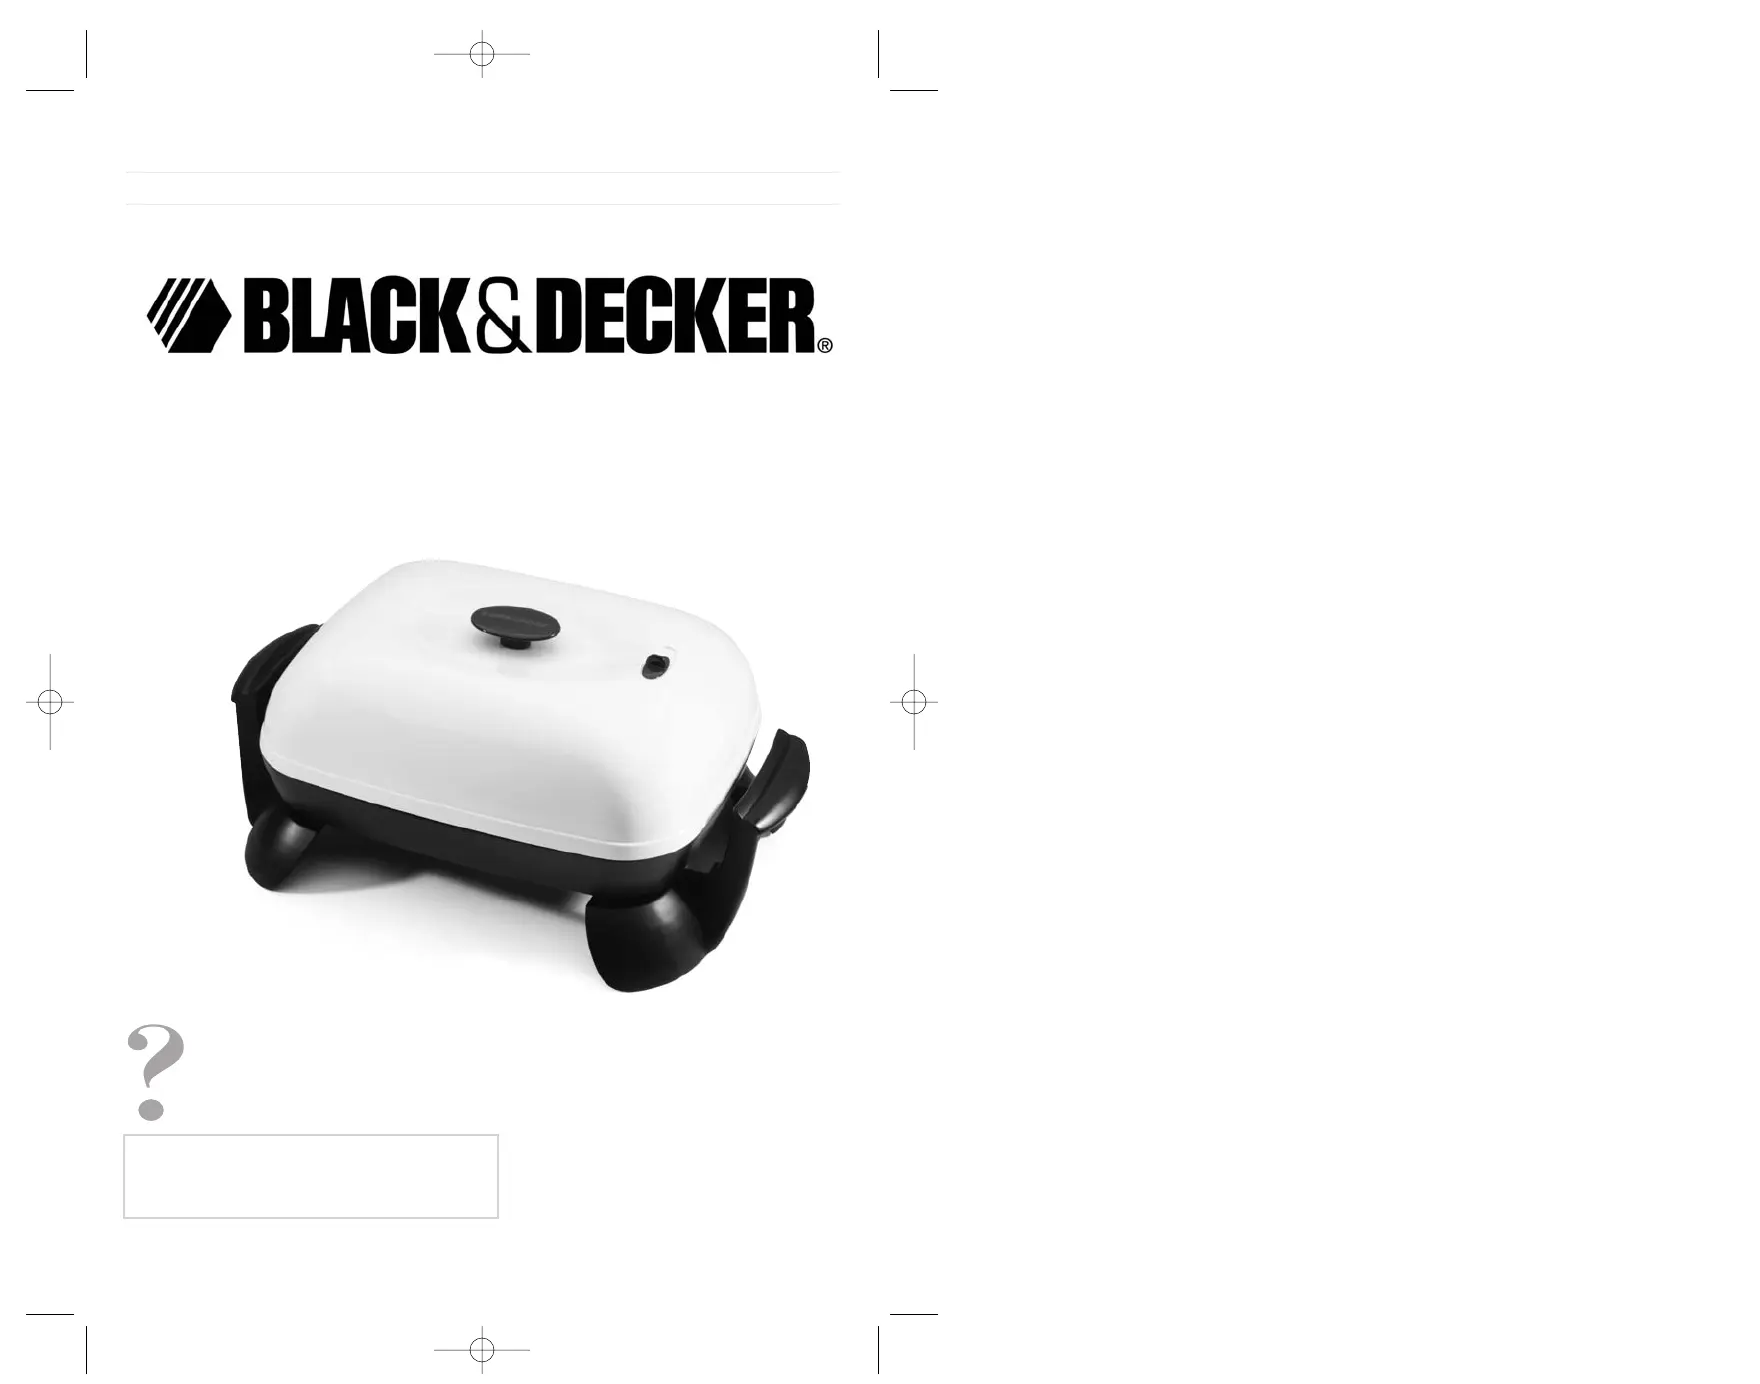
Multi-Cuisine Grande
Skillet
Sarten
Poêle à frire
SK600UPub177275-01RV02 8/12/04 3:40 PM Page 1
1
2
IMPORTANT SAFEGUARDS
When using electrical appliances, basic safety precautions should always
be followed including the following:
Read all instructions.
Do not touch hot surfaces. Use handles or knobs.
To protect against electric shock, do not spill on or immerse cord, plug,
or temperature control in water or other liquids.
Close supervision is necessary when any appliance is used by or near
children.
Unplug from outlet when not in use and before cleaning. Allow to cool
before putting on or taking off parts and before cleaning the appliance.
Do not operate any appliance with a damaged cord or plug or after the
appliance malfunctions or has been dropped or damaged in any
manner. Return the appliance to the nearest authorized service facility
for examination, repair, or electrical or mechanical adjustment.
The use of attachments not recommended by the appliance
manufacturer may cause fire, electric shock or injuries.
Do not use outdoors.
Do not let cord hang over edge of table or counter, it can be
accidentally pulled or touch hot surfaces.
Do not place on or near a hot gas or electric burner, or in a heated
oven.
Extreme caution must be used when moving an appliance containing
hot oil or other hot liquids.
Always attach temperature control to the skillet first, then plug cord in
the wall outlet. To disconnect, turn any control to "off," then remove the
plug from the wall outlet.
Do not use the appliance for other than intended use.
SAVE THESE INSTRUCTIONS
GROUNDED PLUG (Canada Models Only)
This product is equipped with a grounded plug, which will only fit into a three-prong outlet.
Do not attempt to defeat this feature. Improper connection of the grounding conductor may
result in the risk of electric shock. Consult a qualified electrician if you are in doubt as to
whether the outlet is properly grounded.
POLARIZED PLUG (US Models Only)
This appliance has a polarized plug (one blade is wider than the other). To reduce the risk of
electric shock, this plug will fit in a polarized outlet only one way. If the plug does not fit fully
in the outlet, reverse the plug. If it still does not fit, contact a qualified electrician. Do not
modify the plug in any way.
ELECTRICAL CORD
a) A short detachable power-supply cord is to be provided to reduce the risk resulting from
becoming entangled in or tripping over a longer cord.
b) Longer detachable power-supply cords or extension cords are available and may be used if
care is exercised in their use.
c) If a longer detachable power-supply cord or extension cord is used,
1) The marked electrical rating of the cord set or extension cord should be at least as great as
the electrical rating of the appliance, and
2) The cord should be arranged so that it will not drape over the countertop or tabletop where
it can be pulled on by children or tripped over unintentionally. If the appliance is of the
grounded type, the extension cord should be a grounding-type 3-wire cord.
TAMPER-RESISTANT SCREW
This appliance is equipped with a tamper-resistant screw to prevent removal of the bottom
cover. To reduce the risk of fire or electric shock, do not attempt to remove the bottom cover.
There are no user serviceable parts inside. Repair should be done only by authorized service
personnel.
Note: If the power supply cord is damaged, it must be replaced by the manufacturer or its
service agent or a similarly qualified person in order to avoid a hazard.
ASSEMBLE BEFORE FIRST USE
1. Place the Skillet Pan upside down on a table or counter and remove the screws. Be sure
the metal washers remain in place over the holes.
2. Position each Handle overhanging the edge of the counter for easier assembly so that the
holes in the Handles line up with the holes in the raised “mounting” area on the bottom
of the Skillet Pan.
NOTE: For models with the Tilt-Leg Feature — decide which side of the Pan you would like
to have raised (see “Tilt-Leg Feature”). We recommend installing the handle with the tilt-leg
on the control side so that juices will flow to the opposite end for easier basting; however,
you may choose either side.
3. Use the screws to secure the Handles to the Skillet Pan. DO NOT OVER-TIGHTEN as it
may crack the Handles. Turn the Skillet Pan back over and place it on a flat, level surface
to be sure the Handles and Feet sit level.
SK600UPub177275-01RV02 8/12/04 3:40 PM Page 2
4
3
1. Skillet Pan
†2. Lid (Part# 177803-00)
3. Vent
4. Lid Handle
†5. Probe/Plug (Part# 177805-00)
6. Temperature Control/Signal Light
†7. Handles (Part# 177804-000)
† Consumer replaceable

Product may vary slightly from what is illustrated.
How To Use
“Conditioning” The Pan
IMPORTANT: Before first use, remove the Control and wash the Skillet Pan and
Lid in soapy water; dry thoroughly. To preserve the nonstick coating, condition the
Pan by spreading a light coating of cooking oil over the inside surfaces. Wipe
away excess oil with a paper towel. Do not use nonstick cooking spray to
condition. You will not have to re-condition again after first use.
NOTE: Only use the Temperature Control provided with this Skillet. Other
controls may fit but will not provide proper performance.
1. Set the Temperature Control to “Off” and push the
Probe firmly into the socket on the Skillet Pan (A).
Be sure the Control is securely inserted. Always attach
the Control to the Pan FIRST before plugging into an
outlet.
2. Preheat the Skillet Pan before adding any grease or
vegetable oil unless the recipe says to add fats first.
Some foods do not require Skillet preheating. Use the charts in this book as a
guide for procedures. To preheat the Skillet, turn the Temperature Control Knob to
the recommended setting. When the Signal Light goes out, the Skillet is preheated.
During cooking, the Signal Light will cycle on and off indicating that the
temperature selected is being maintained.
3. Some recipes call for simmering which means to cook foods in liquid just
below the boiling point. The simmer point varies depending on the type of
liquid and amount of food. To simmer, bring the food or liquid to a boil by
turning the Temperature Control Knob to around 350°F (177°C). When the
liquid begins to boil, slowly turn the Control Knob back until the Signal Light
goes out. Cover and simmer for the length of time necessary. The Light will
cycle on and off frequently to maintain the simmer temperature.
4. While the handles and base “feet” are heat-resistant, do not cook on heat-
sensitive surfaces. Once cooking is complete, you can remove the Control to
bring the Skillet Pan to a table for easy serving. To remove, be sure the Control
is unplugged and set at Off. Using a pot holder or mitt, hold the Skillet with
one hand and the pull the Temperature Control out from the Pan with the other.
NOTE: Some counter and table surfaces are sensitive to heat. Take care to avoid
damaging linoleum, vinyl tile, painted or varnished surfaces. Heat-resistant
formica and porcelain enamel surfaces are not affected providing the underside of
the pan is clean. When in doubt, use a heat- resistant pad or hot plate under the
Skillet.
5. Use plastic, rubber, nonstick coated, or wood utensils when cooking and
serving. If using metal utensils, take care not to dig into the nonstick finish.
Do not cut food on the surface using a knife to avoid scratching the nonstick
coating.
6. o prevent accidental burning, use pot holders when touching the Lid and lift it
only by the top handle. Use pot holders and extreme caution when moving the
Skillet if it contains hot liquids.
A
SK600UPub177275-01RV02 8/12/04 3:40 PM Page 4

Produkspesifikasjoner

Merke: Black Decker
Kategori: Sammenbrudd
Modell: SK600

Trenger du hjelp?

Hvis du trenger hjelp med Black Decker SK600 still et spørsmål nedenfor, og andre brukere vil svare deg