Craftsman 351.217480 Bruksanvisning
Craftsman
Boremaskin
351.217480
Les nedenfor 📖 manual på norsk for Craftsman 351.217480 (28 sider) i kategorien Boremaskin. Denne guiden var nyttig for 36 personer og ble vurdert med 4.5 stjerner i gjennomsnitt av 18.5 brukere
Side 1/28
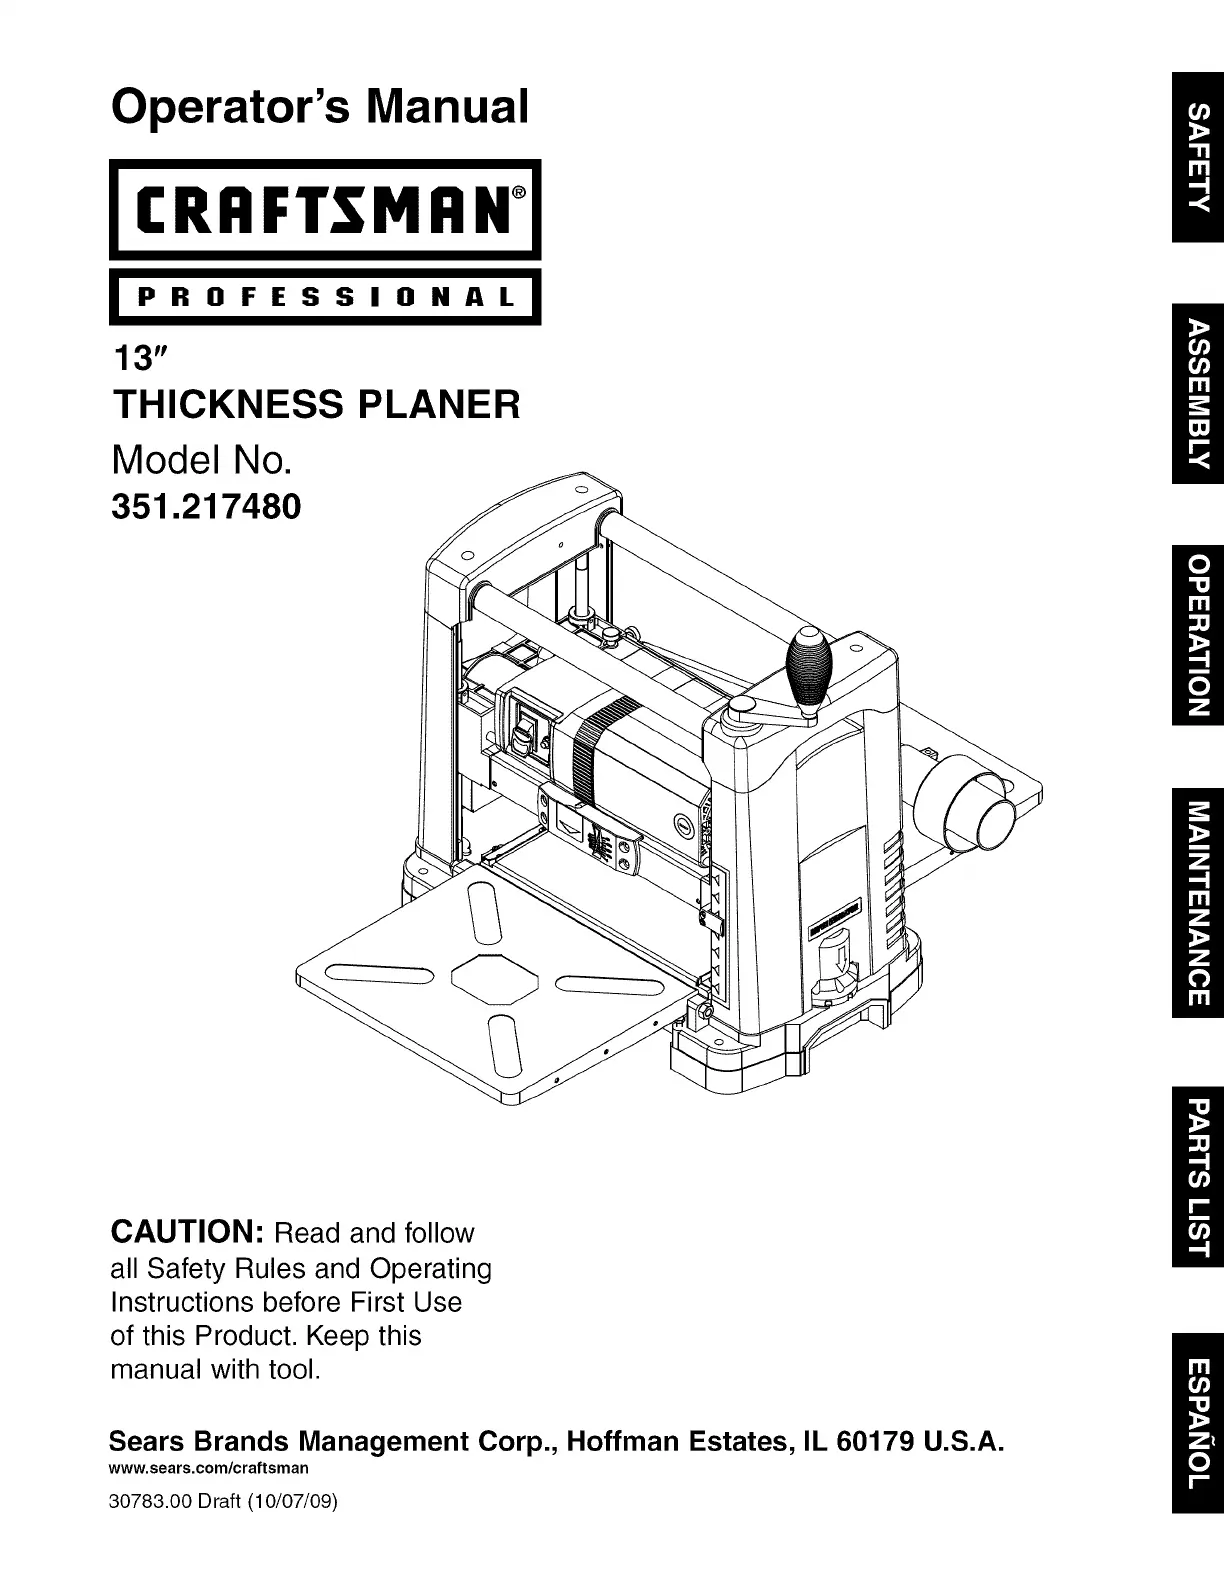
Operator's Manual
CRI:IFTSM I:1N°
i PROFESSIONAL i
13"
THICKNESS PLANER
Model No.
351.217480
CAUTION: Read and follow
all Safety Rules and Operating
Instructions before First Use
of this Product. Keep this
manual with tool.
Sears Brands Management Corp., Hoffman Estates, IL 60179 U.S.A.
www.sears.com/craftsman
30783.00 Draft (10/07/09)
Produkspesifikasjoner
| Merke: | Craftsman |
| Kategori: | Boremaskin |
| Modell: | 351.217480 |
Trenger du hjelp?
Hvis du trenger hjelp med Craftsman 351.217480 still et spørsmål nedenfor, og andre brukere vil svare deg
Boremaskin Craftsman Manualer

16 Oktober 2024

16 Oktober 2024

16 Oktober 2024

16 Oktober 2024

16 Oktober 2024

16 Oktober 2024

16 Oktober 2024

16 Oktober 2024
Boremaskin Manualer
- Verto
- Vonroc
- Flex
- Duro Pro
- Herkules
- MSW
- Stalco
- Metabo
- Zipper
- Gamma
- Bavaria By Einhell
- Netter Vibration
- Ryobi
- Gude
- Festool
Nyeste Boremaskin Manualer

3 April 2025

3 April 2025

3 April 2025

1 April 2025

30 Mars 2025

30 Mars 2025

30 Mars 2025

30 Mars 2025

28 Mars 2025

28 Mars 2025