DAP Audio MP-100DBT Bruksanvisning
DAP Audio
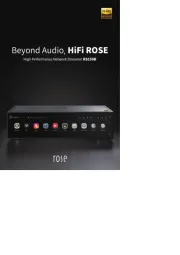
Hi-fi system
MP-100DBT
Les nedenfor 📖 manual på norsk for DAP Audio MP-100DBT (32 sider) i kategorien Hi-fi system. Denne guiden var nyttig for 19 personer og ble vurdert med 4.6 stjerner i gjennomsnitt av 10 brukere
Side 1/32
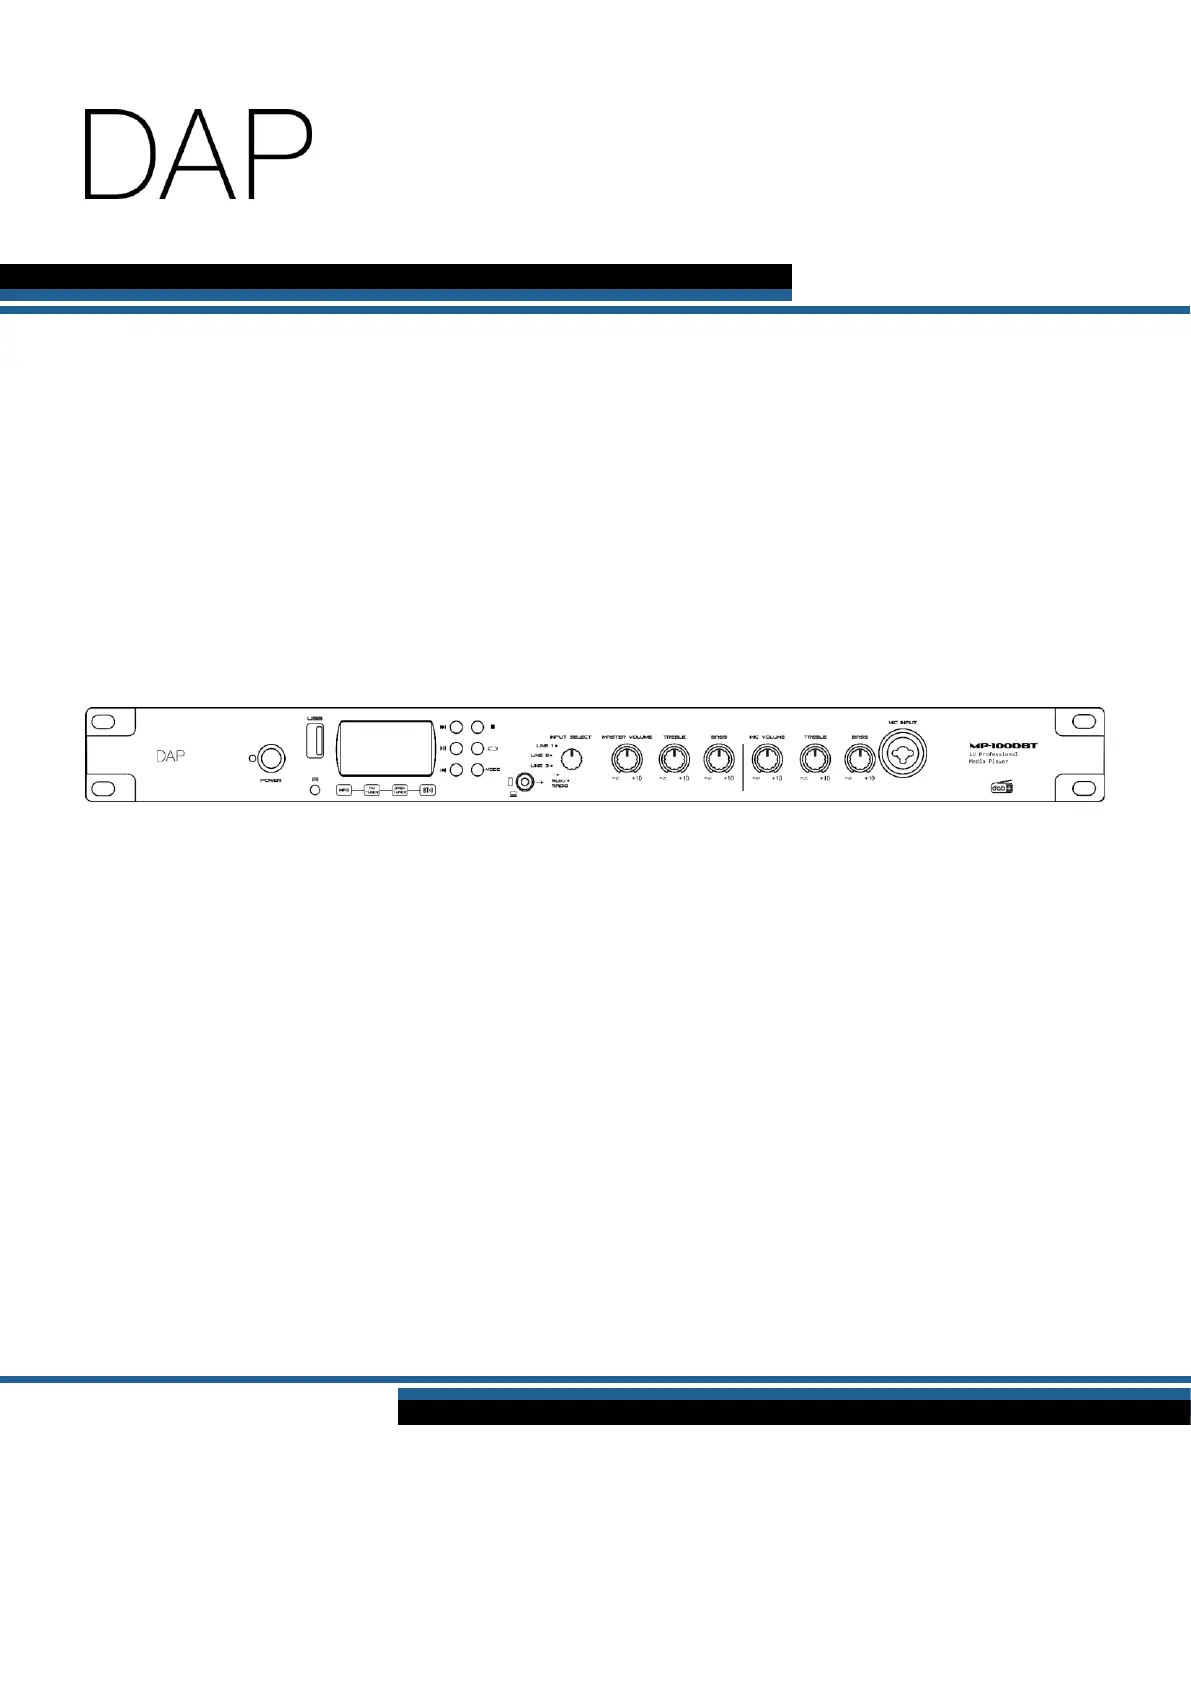
MP-100DBT
Highlite International B.V. – Vestastraat 2 – 6468 EX – Kerkrade – the Netherlands
Product code: D1246
USER MANUAL
ENGLISH
V1
Produkspesifikasjoner
| Merke: | DAP Audio |
| Kategori: | Hi-fi system |
| Modell: | MP-100DBT |
Trenger du hjelp?
Hvis du trenger hjelp med DAP Audio MP-100DBT still et spørsmål nedenfor, og andre brukere vil svare deg
Hi-fi system DAP Audio Manualer

5 Mars 2025

23 Januar 2025

22 Januar 2025

22 Januar 2025
Hi-fi system Manualer
- Sony
- Trevi
- Vankyo
- Creative
- Irradio
- Fiio
- Liam&Daan
- Steelseries
- SVS
- Sangean
- Denver
- Alpine
- SSL
- Vocopro
- Steinberg
Nyeste Hi-fi system Manualer
20 Oktober 2025
20 Oktober 2025
19 Oktober 2025
18 Oktober 2025
18 Oktober 2025
18 Oktober 2025

18 Oktober 2025
18 Oktober 2025
18 Oktober 2025
17 Oktober 2025