DataVideo TLM-170P Bruksanvisning
Les nedenfor 📖 manual på norsk for DataVideo TLM-170P (20 sider) i kategorien skjerm. Denne guiden var nyttig for 17 personer og ble vurdert med 4.6 stjerner i gjennomsnitt av 9 brukere
Side 1/20
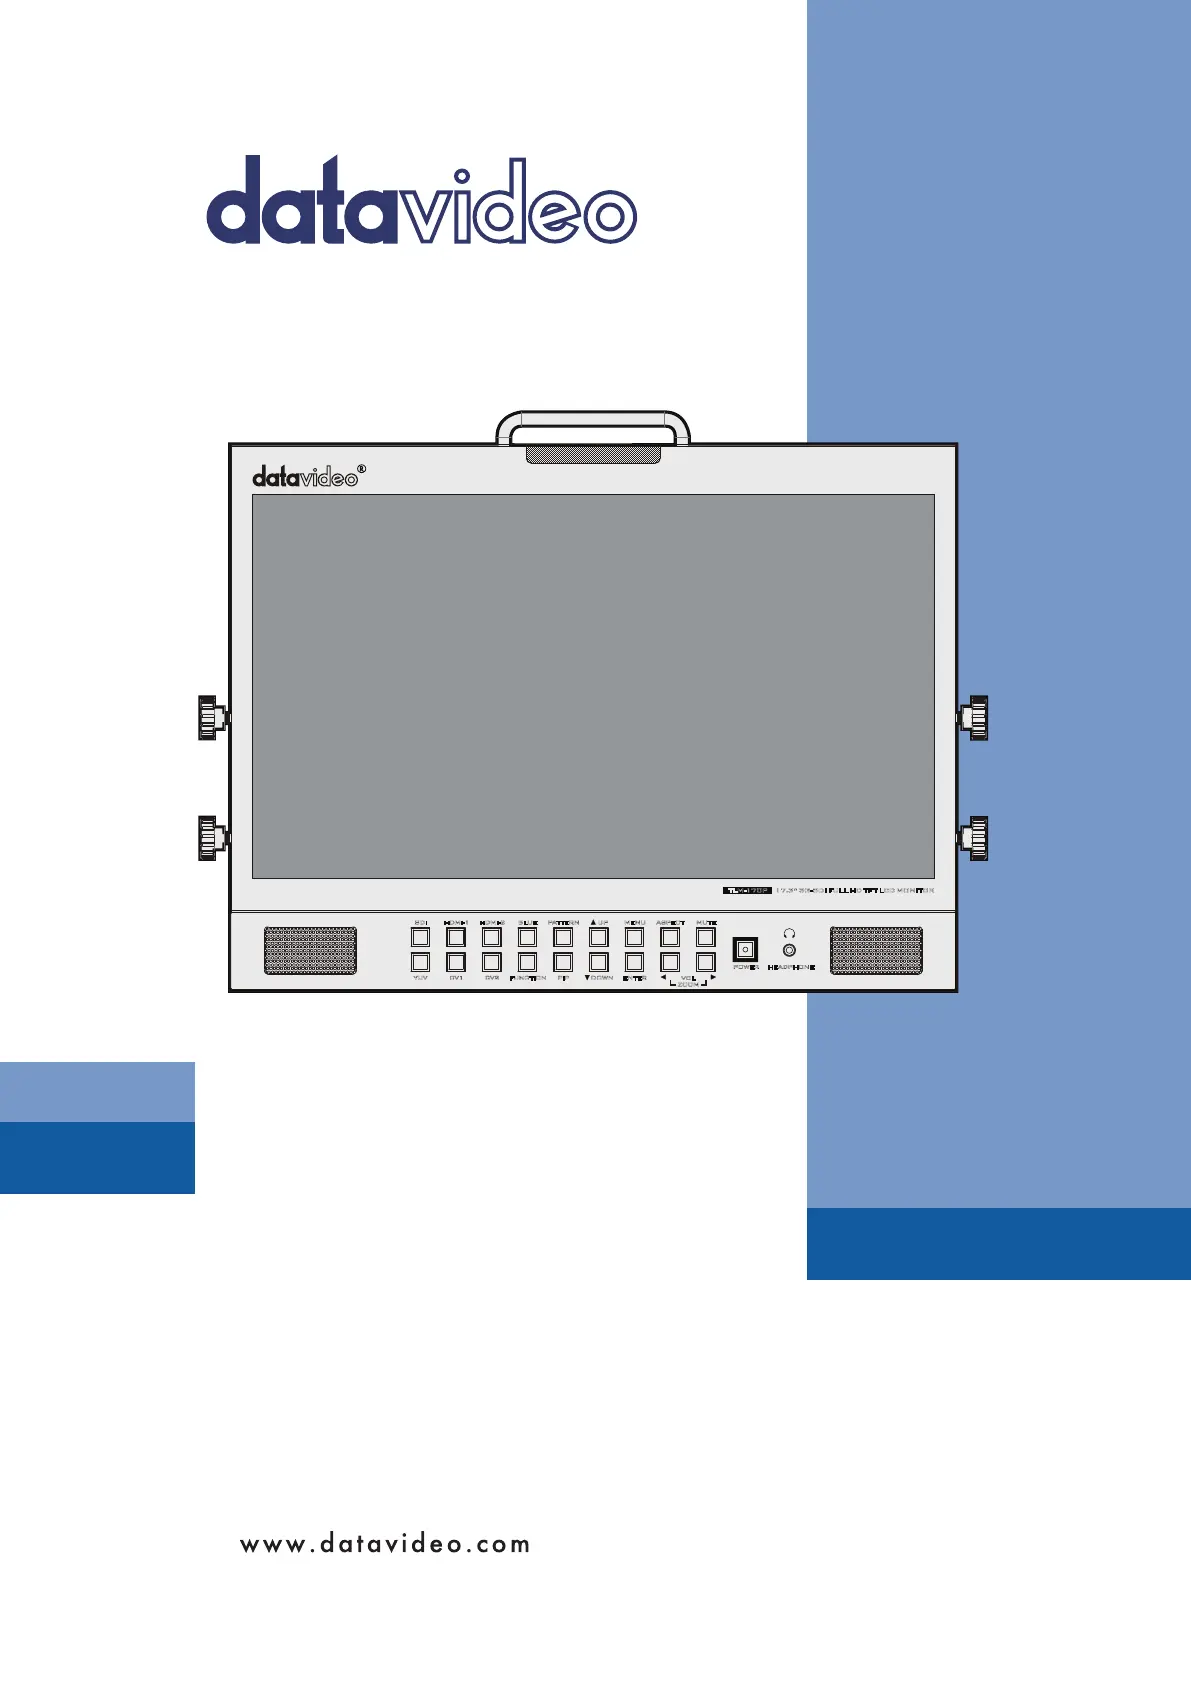
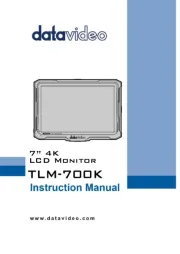
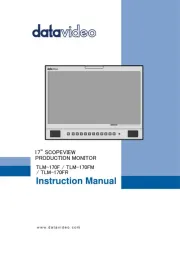
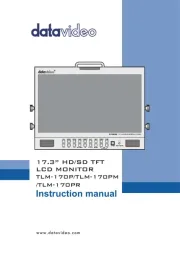
17.3” HD/SD TFT
LCD MONITOR
Instruction manual
TLM-170P/TLM-170PM
/TLM-170PR
17.3” 3G-SDI FULL HD TF T LCD MONITORTLM-170P
POWER
VOL
ZOOM
+
-
MENU
ENTER
UP MUTE
DOWN
ASPECT
PIPFUNCTIONCV2
HDMI-1 HDMI-2 BLUE PATTERN
CV1
SDI
YUV
HEADPHONE
Produkspesifikasjoner
| Merke: | DataVideo |
| Kategori: | skjerm |
| Modell: | TLM-170P |
| Berøringsskjerm: | Nei |
| Synsvinkel, horisontal: | 160 ° |
| Skjermform: | Flat |
| Antall HDMI-porter: | 2 |
| DVI-port: | Nei |
| Innebygde høyttalere: | Ja |
| Maksimal oppdateringshastighet: | 60 Hz |
| 3D: | Nei |
| HDMI: | Ja |
| Skjermteknologi: | LED |
| Innebygd kamera: | Nei |
| AMD FreeSync: | Nei |
| NVIDIA G-SYNC: | Nei |
| Innebygd USB-hub: | Nei |
| Kontrastforhold: | 600:1 |
| Skjermoppløsning: | 1920 x 1080 piksler |
| Strømforbruk (standby): | - W |
| Høydejustering: | Nei |
| Produktfarge: | Sort |
| HD-type: | Full HD |
| Bredde (uten stativ): | - mm |
| Høyde (uten stativ): | - mm |
| Vekt (uten stativ): | - g |
| Skjermdiagonal: | 17.3 " |
| Naturlig sideforhold: | 16:9 |
| Strømforbruk (vanlig bruk): | 30 W |
| VESA-montering: | Ja |
| Dybde (uten stativ): | - mm |
| Paneltype: | TFT |
| Synsvinkel, vertikal: | 140 ° |
| Av/på-bryter: | Ja |
| Oppdateringsresponstid: | - ms |
| Skjermlysstyrke (typisk): | 400 cd/m² |
| Innebygd TV-mottaker: | Nei |
| Kabellåsport: | Nei |
| Vippjustering: | Nei |
| Dreibar: | Nei |
| Omdreiningsakse/midtpunkt: | Nei |
| Rotering: | Nei |
Trenger du hjelp?
Hvis du trenger hjelp med DataVideo TLM-170P still et spørsmål nedenfor, og andre brukere vil svare deg
skjerm DataVideo Manualer

1 September 2025
31 August 2025

31 August 2025
31 August 2025
31 August 2025
31 August 2025
31 August 2025

31 August 2025
31 August 2025

31 August 2025
skjerm Manualer
- Phoenix Contact
- Lenovo
- Hikvision
- Kogan
- Danfoss
- Optoma
- Desview
- Vimar
- GVision
- HELGI
- LC-Power
- Barco
- Postium
- OSEE
- KeepOut
Nyeste skjerm Manualer
20 Oktober 2025
19 Oktober 2025
18 Oktober 2025
18 Oktober 2025
18 Oktober 2025
18 Oktober 2025
18 Oktober 2025
18 Oktober 2025
17 Oktober 2025

17 Oktober 2025