DS18 NXL-X10TPNEO Bruksanvisning
Les nedenfor 📖 manual på norsk for DS18 NXL-X10TPNEO (11 sider) i kategorien Høyttaler. Denne guiden var nyttig for 7 personer og ble vurdert med 4.4 stjerner i gjennomsnitt av 4 brukere
Side 1/11

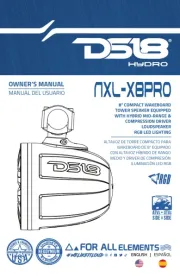
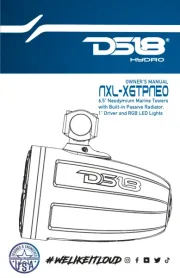
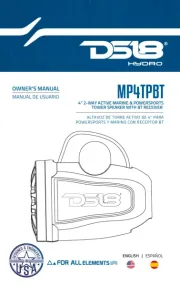
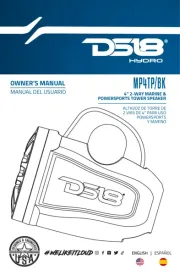
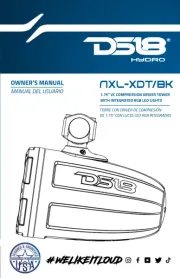
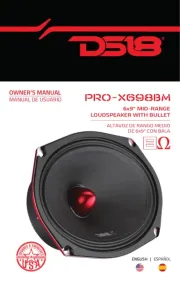
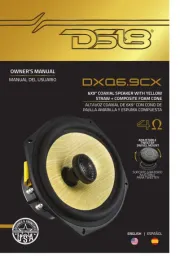
OWNER’S MANUAL
MANUAL DEL USUARIO
TORRE MARINA CON ALTAVOZ DE
NEODIMIO DE 10" Y DRIVER DE
COMPRESIÓN CON DIFUSOR DE
ALUMINIO Y RADIADOR PASIVO
10" MARINE TOWER NEODYMIUM SPEAKER
WITH ALUMINUM HORN COMPRESSION
DRIVER AND PASSIVE RADIATOR
ENGLISH | ESPAÑOL
NXL-x10tpneo
Produkspesifikasjoner
| Merke: | DS18 |
| Kategori: | Høyttaler |
| Modell: | NXL-X10TPNEO |
Trenger du hjelp?
Hvis du trenger hjelp med DS18 NXL-X10TPNEO still et spørsmål nedenfor, og andre brukere vil svare deg
Høyttaler DS18 Manualer
20 September 2025
20 September 2025
19 September 2025
19 September 2025
19 September 2025
19 September 2025
19 September 2025
13 September 2025
12 September 2025
12 September 2025
Høyttaler Manualer
- Sonoro
- Sirus
- Mount-It!
- Kalley
- Pure Acoustics
- EarFun
- On-Q
- Uniden
- QTX
- Tracer
- Alto
- Infinity
- Davis
- Grimm Audio
- Feelworld
Nyeste Høyttaler Manualer

23 Oktober 2025
21 Oktober 2025
21 Oktober 2025

20 Oktober 2025
20 Oktober 2025
20 Oktober 2025
20 Oktober 2025
20 Oktober 2025
20 Oktober 2025
20 Oktober 2025