Eura WDP-42A3 Bruksanvisning
Eura
Ringeklokke
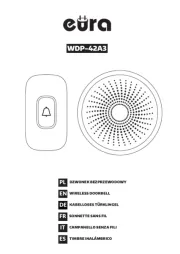
WDP-42A3
Les nedenfor 📖 manual på norsk for Eura WDP-42A3 (20 sider) i kategorien Ringeklokke. Denne guiden var nyttig for 14 personer og ble vurdert med 3.8 stjerner i gjennomsnitt av 7.5 brukere
Side 1/20

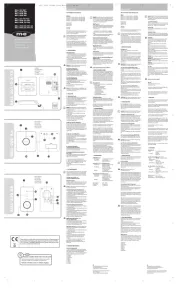
PL
DZWONEK BEZPRZEWODOWY
EN
WIRELESS DOORBELL
DE
KABELLOSES TÜRKLINGEL
FR
SONNETTE SANS FIL
IT
CAMPANELLO SENZA FILI
ES
TIMBRE INALÁMBRICO
WDP-42A3
Produkspesifikasjoner
| Merke: | Eura |
| Kategori: | Ringeklokke |
| Modell: | WDP-42A3 |
Trenger du hjelp?
Hvis du trenger hjelp med Eura WDP-42A3 still et spørsmål nedenfor, og andre brukere vil svare deg
Ringeklokke Eura Manualer
17 September 2025
Ringeklokke Manualer
- Smartwares
- Arlo
- Somfy
- Apelson
- Lorex
- Arendo
- NuTone
- Middle Atlantic
- Cata
- Biltema
- EMOS
- Kogan
- Vibell
- Extel
- Friedland
Nyeste Ringeklokke Manualer

17 Oktober 2025
24 September 2025
19 September 2025
15 September 2025

15 September 2025
11 September 2025
10 September 2025
10 September 2025
10 September 2025
9 September 2025