Haier HRT18F1APS Bruksanvisning
Les nedenfor 📖 manual på norsk for Haier HRT18F1APS (44 sider) i kategorien Kjøleskap. Denne guiden var nyttig for 24 personer og ble vurdert med 4.5 stjerner i gjennomsnitt av 12.5 brukere
Side 1/44
User Manual
Guide de l’Utilisateur
Manual del Usuario
Model
HRT Series
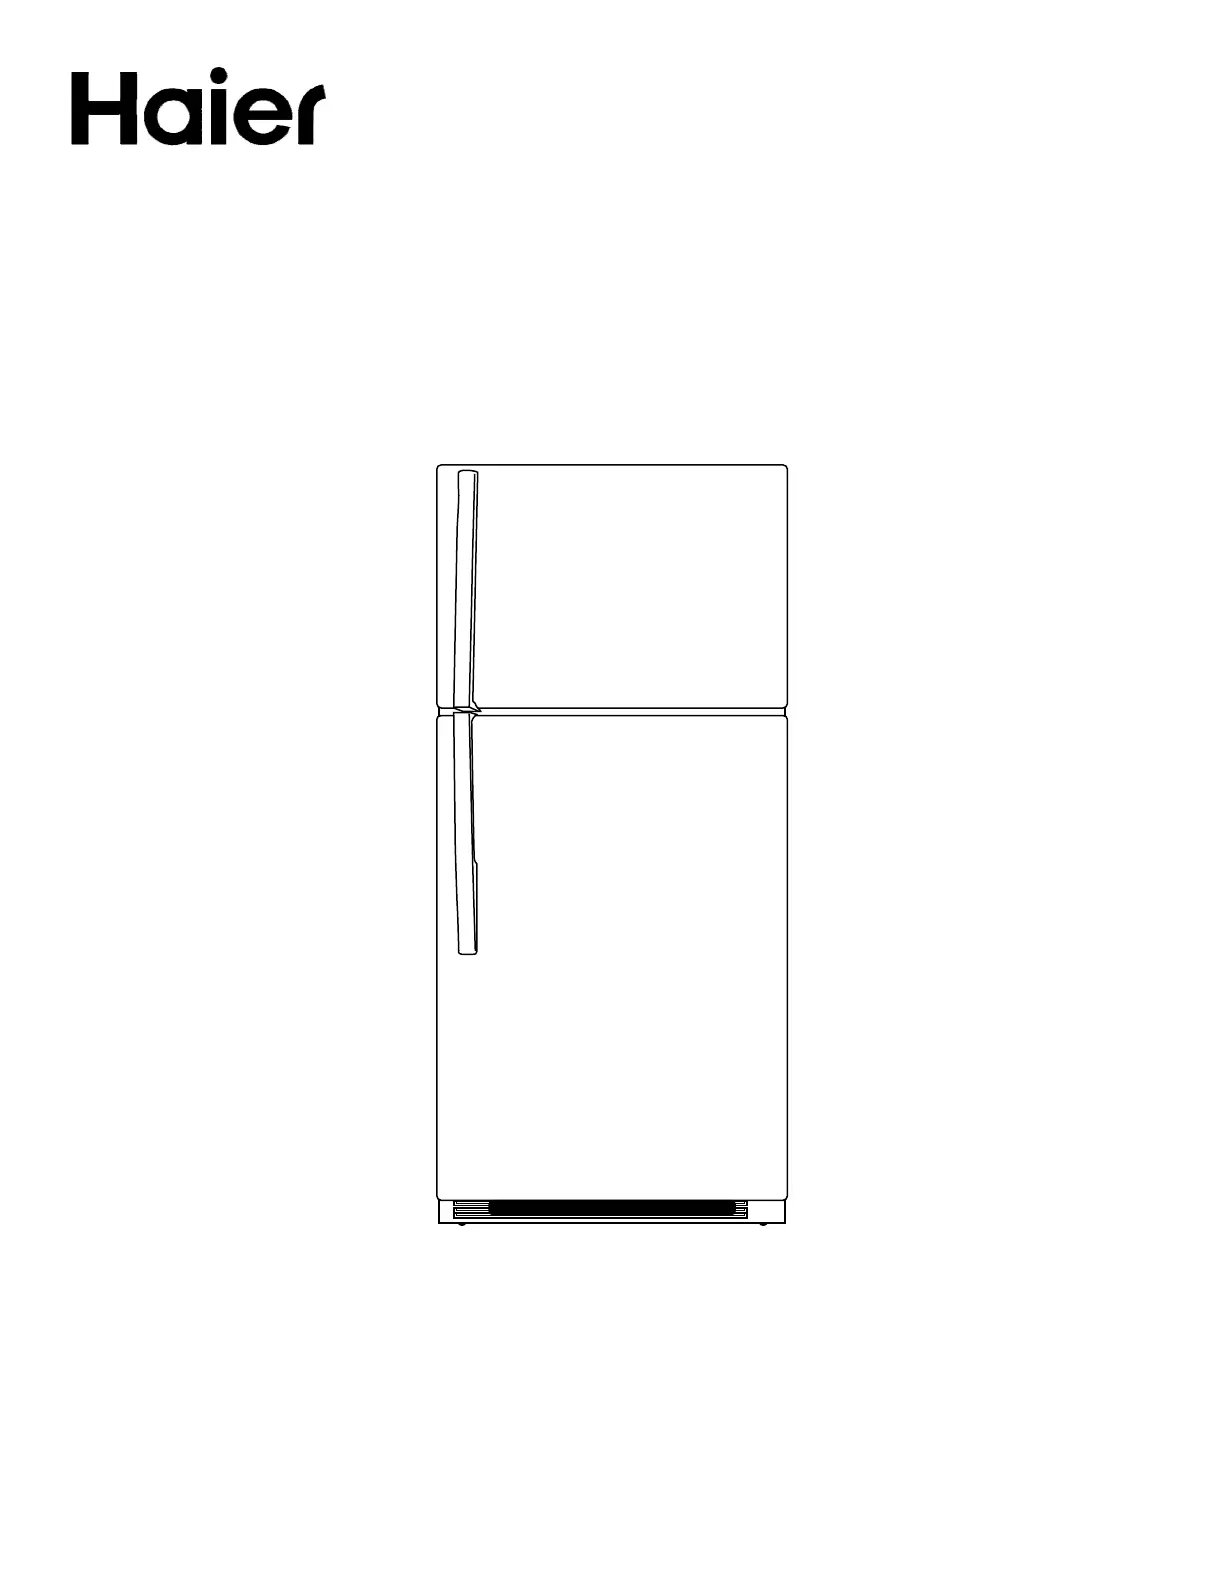
Frost-Free Top Mount
Refrigerator/Freezer
Réfrigérateur/congélateur sans
givre à compartiments superposes
Refrigerador/congelador sin
escarcha, de puertas horizontales
Design may vary by model number.
La configuration peut varier selon le numéro de modèle.
El diseño puede variar conforme al número de modelo.
P/N 0060517094 Rev E
Produkspesifikasjoner
| Merke: | Haier |
| Kategori: | Kjøleskap |
| Modell: | HRT18F1APS |
Trenger du hjelp?
Hvis du trenger hjelp med Haier HRT18F1APS still et spørsmål nedenfor, og andre brukere vil svare deg
Kjøleskap Haier Manualer
25 September 2025
24 September 2025
15 August 2025
2 August 2025
2 August 2025

11 Februar 2025

11 Februar 2025

11 Februar 2025

11 Februar 2025

9 Februar 2025
Kjøleskap Manualer
- Wolkenstein
- Delfield
- Edgestar
- Thomson
- Cookology
- GALAXY
- Dacor
- Icecool
- Helkama
- DCG
- Kernau
- Edesa
- Zanussi
- AYA
- Fisher And Paykel
Nyeste Kjøleskap Manualer

21 Oktober 2025
21 Oktober 2025
21 Oktober 2025

20 Oktober 2025
20 Oktober 2025

20 Oktober 2025

19 Oktober 2025

19 Oktober 2025

19 Oktober 2025
18 Oktober 2025