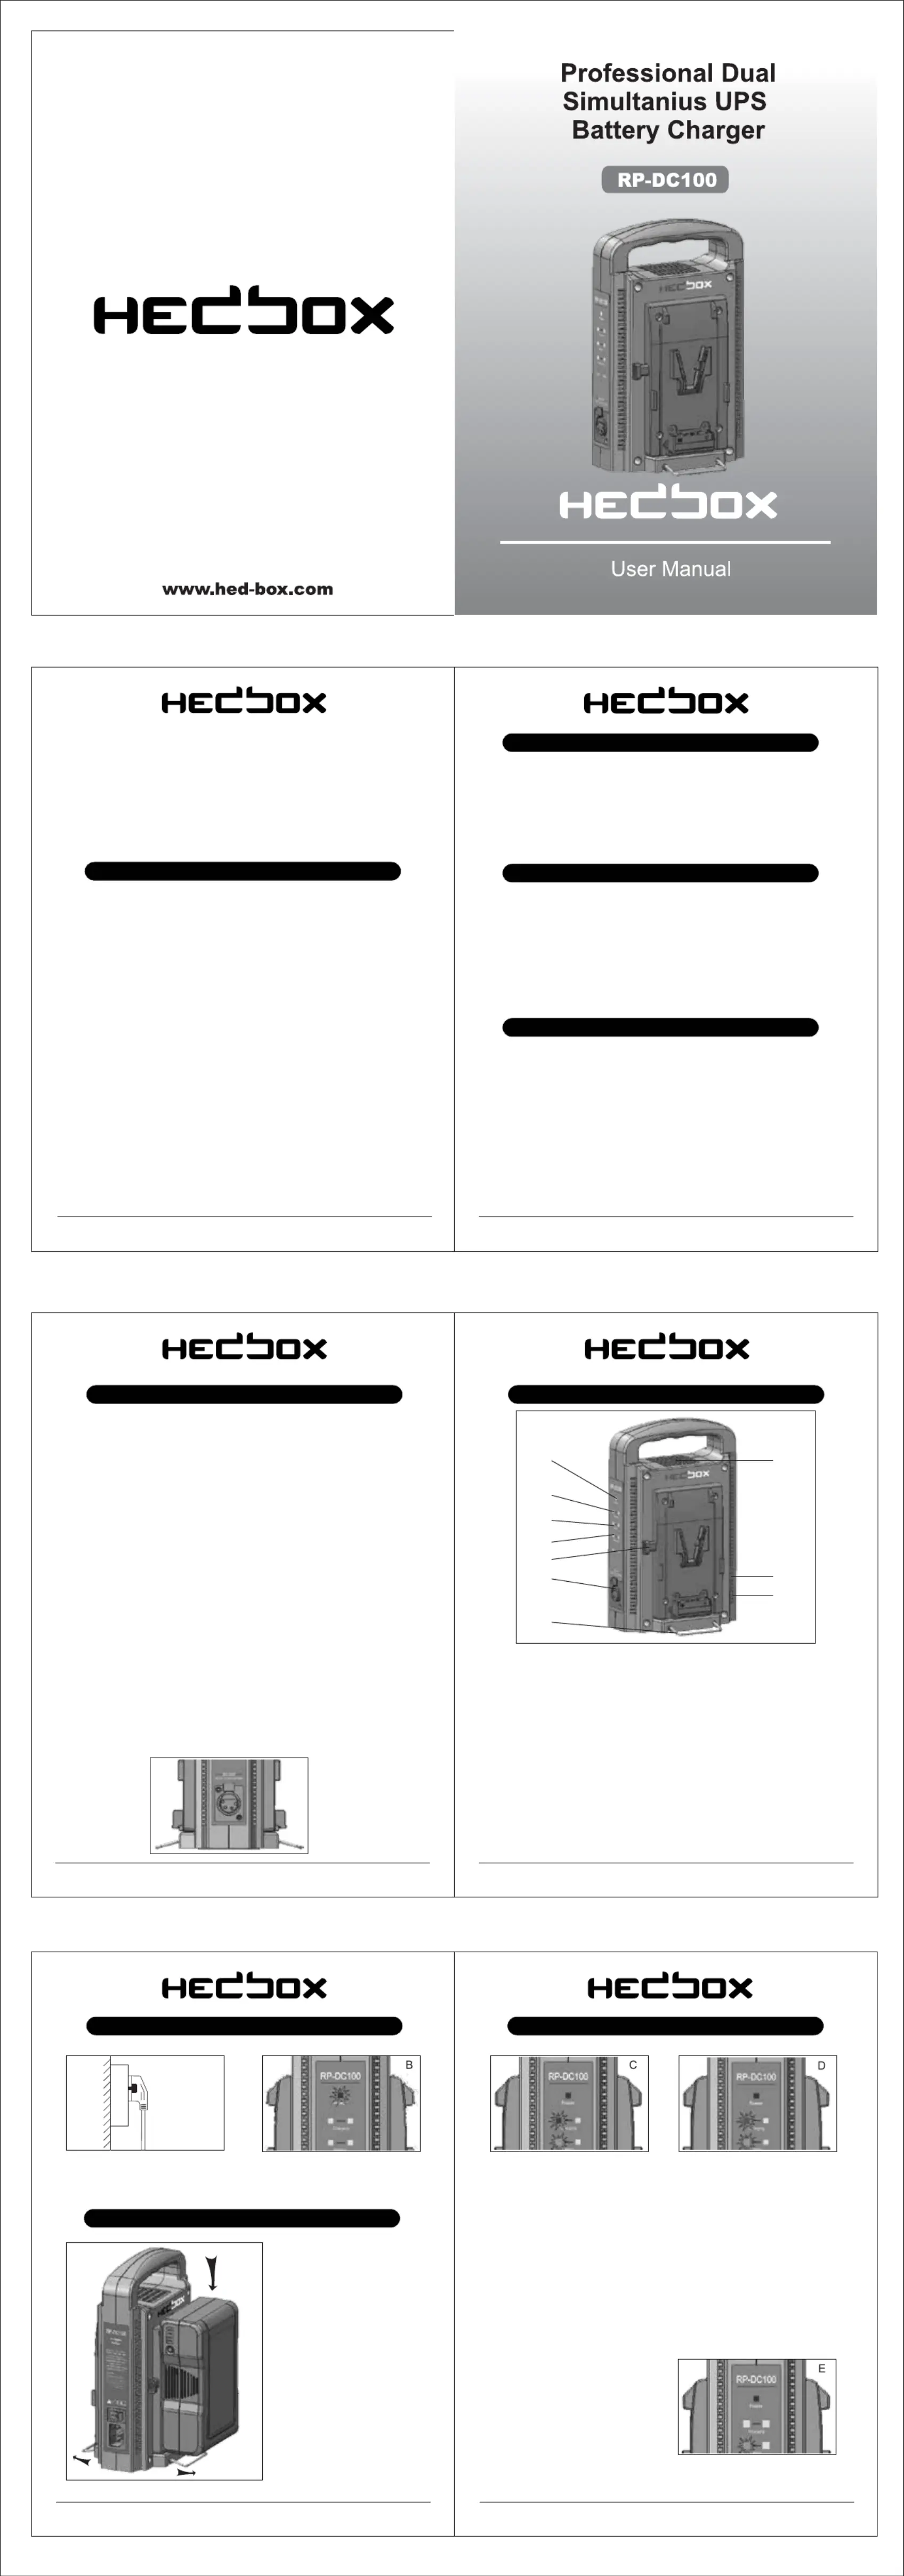
Hedbox RP-DC100 Bruksanvisning
Hedbox
Ikke kategorisert
RP-DC100
Les nedenfor 📖 manual på norsk for Hedbox RP-DC100 (1 sider) i kategorien Ikke kategorisert. Denne guiden var nyttig for 27 personer og ble vurdert med 4.6 stjerner i gjennomsnitt av 14 brukere
Side 1/1
Page 1
Page 5
Page 6
A
1 Plug the Power Cord on the AC power (picture A). .
2. Turn ON the AC Power Switch.
3. The Power LED indicator will illuminate Red during AC power. (picture B).
Page 2
Page 4Page 3
1. When you insert Battery to the Charger, LED “Battery” indicator illuminate
BLUE, indicate that the battery is ready for charging. The Charger have two
charging plates, that on the LED Indication screen is indicated as CH1 (L) &
CH2 (R). After insertion one (1) Battery on charger, charging process start
automatically with 3A±400mAh (Single Mod). If you insert second Battery
charging process will switch to Dual Mod 2A±400mAh (Simultanius Charging).
Charger LED “Charging” indicator illuminate RED indicate that the charging
process of the Battery is activate. (picture C.)
Thank you for your purchase of the Professional Dual Simulatius Power Bank Battery
Charger RP-DC100. This intelligent charger for Digital Camera and Camcorder
Batteries was designed with advanced power charging technology, allowing you to
charge your Professional Batteries at Studio place, or at the home. The Charger is
compatible with Li-Ion Rechargeable Batteries that run on power voltage of 14.4V to
14.8V. Please read these operating instructions carefully before operating use this unit
to power up Professional Camcorder or to Charge Battery Pack.
Product Features
1. Charge a Professional Battery Pack that run on 14.4V to 14.8V
2. Supply Power for Professional Studio Cameras, LED Light, Field Recorders etc.
4. LED Displays the battery ON, Charging Status, Power Status and BackUp Power
Supply Status, with red, blue and green colors
5. Provide constant Output voltage of: 16.5V / 4.5A ; 75W
6. Worldwide use with input between 100-240V;
7. With advanced MCU Micro-Computer Chip control, charger fully control the
charging process of the Li-Ion Professional Battery.
8. With CH1 or CH2 Battery attached to the unit, on DC Out provide Power Bank mod
BackUp Power Supply-UPS (Uninterruptible power supply) in case of AC failure.
9. 100,000 level of Anti-Static design, High Temperature and Fire-Proof makes it safer.
10. Passed MBTR 5000H test and own its patent with more reliable quality warranty;
11. Safety protection:
- Over temperature protection reaches at 85 , ℃
- Over voltage protection reaches at 19.5V,
- Over current protection reaches at 6.5A,
and have Short circuit protection & Charging time protection.
Overview
Product Components:
1. Main Power switch ON/OFF
2. Power Socket 100V - 240V / 50-60Hz
3. Fan Cooler ( Provide cooling of the unit)
4. Power LED Indicator (Red Color status charger unit is ON)
5. CH1 and CH2 Battery Charging LED Status
6. Battery connected on charger LED Status
7. UPS (Uninterruptible power supply) BackUp Power Supply LED status
8. Battery release pushup button
9. 4-Pin XLR (Female) DC Output 16.5V / 4,5A 75W
10. Spider stability support legs
Operation Instruction:
AC Input : AC 100-240V / 50-60Hz
DC Out : 16.5V / 4.5A ; 75W
Charger Out : Single Battery Charging Mod:
CH1 (L) or CH2 (R) : 16.8V / 3.0A
Dual Battery Charging Mod:
CH1 (L) and CH2 (R): 16.8V / 2.0A
Output Connection : 4 Pin XLR (Female)
Operating Temp.: -10 to 40 C
Dimensions: 225 x 141 x 100mm
Weight: 1200g
Please check that the components size and voltages will be compatible according to
your Camcorder DC Voltage Input or Battery Pack Charging Voltage and Current.
Please use the manual instruction of the Camcorder or Battery Pack, and read this
manual carefully before using the unit with this AC Adaptor / Charger.
We are not responsible for any damage caused by incorrect use or operation.
1. This device is for indoor use only, don’t put or use it in high temperature and high
moisture environment;
2. It’s a common phenomenon for the unit to feel hot when using;
3. Avoid falling and bumping otherwise the electrical components will be damaged;
4. Don’t try to disassemble or open the cover under any circumstance in order to
avoid danger.
Notice
Caution
Specification
1.To Power any Pro Camcorder or any other unit with constant power, on DC
out, use the supplied cable with 4-pin XLR (Male to Female) RPC-DC4X4
Connector. Conect the cable to the Charger DC 4Pin Power Out (picture F.)
2. When a Cable is plugged into the 4-pin XLR auxiliary Power RPC-DC4X4
output, and the Main Power switch off the Charger RP-DC100 is , ON
charging process of the Battery will be suspended. The “Charging” LED will
go OFF and “Battery” LED indicator (if the battery is on the charger) will
illuminate BLUE. In this case output power is 16.5V 4.5A/ 75W.
3. If you turn the main Power Switch on the Charger or unexpected OFF
main electric power failure occur (AC input is cut off), Charger RP-DC100
with the inserted Battery, will automatically go to the UPS BACK UP POWER
MODE. In this case the RP-DC100 provide power to the DC Out, from the
battery that is attached to the charger, the “Adaptor UPS” LED indicator
illuminate GREEN, indicate that the power from the Battery is provideing to
the DC Out.
4. When two Batteries are attached on the charger at the same time, the
UPS Powering from the battery to the DC Out is made by priority.
5. Once the cable is unplugged, the charger will continue the previous
charging sequence and from the same point of interruption.
4.
5.
6.
7.
8.
9.
3.
1.
2.
10.
Battery Instalation on Charger:
1. On the bottom of the Charger
use and spread wide the Spider
Stability Support legs, this will
ensure that the charger will
have extra stability when the
Battery is attached to the main
body of the RP-DC100
Charger.
2. Use Professional V-lock or
Gold Mount Battery, insert
battery in to the V-lock or Gold
Mount plate. Observe the
Charger LED “Battery”
indicator, it will illuminate BLUE,
if the battery is attached
appropriate.
1.
2.
Charging Battery Pack:
2. If the SOC≥85% ( State Of Charging) Charger LED “Charging” indicator
illuminate GREEN, indicate that the charging process is on the finishing state.
(picture D.)
3. When the charging process is finish
and battery is fully charged, Charger
LED “Charging” indicator will go OFF,
indicate that the charging process is
done and the battery is full and ready
for use. Remove the Battery from the
charging Plate. (picture E.)
DC Out Powering & Power Bank Mod:
F
Produkspesifikasjoner
| Merke: | Hedbox |
| Kategori: | Ikke kategorisert |
| Modell: | RP-DC100 |
Trenger du hjelp?
Hvis du trenger hjelp med Hedbox RP-DC100 still et spørsmål nedenfor, og andre brukere vil svare deg
Ikke kategorisert Hedbox Manualer

11 Mars 2025

19 Februar 2025

11 Februar 2025

11 Februar 2025

11 Februar 2025

11 Februar 2025

11 Desember 2024

11 Desember 2024

11 Desember 2024

11 Desember 2024
Ikke kategorisert Manualer
- RGV
- Unicol
- Røde
- Miniland
- Artusi
- NZXT
- BRIO
- Ampetronic
- Motorola
- Toa
- ActiveJet
- Gardenline
- Deltaco Gaming
- Zenec
- Inverto
Nyeste Ikke kategorisert Manualer

23 Oktober 2025

23 Oktober 2025

23 Oktober 2025

23 Oktober 2025

23 Oktober 2025

23 Oktober 2025

23 Oktober 2025

23 Oktober 2025

23 Oktober 2025

23 Oktober 2025