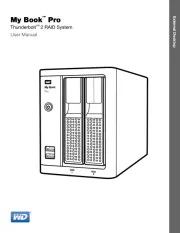
Icy Box IB-3780-C31 Bruksanvisning
Icy Box
ekstern hardisk
IB-3780-C31
Les nedenfor 📖 manual på norsk for Icy Box IB-3780-C31 (2 sider) i kategorien ekstern hardisk. Denne guiden var nyttig for 17 personer og ble vurdert med 4.2 stjerner i gjennomsnitt av 9 brukere
Side 1/2
4.
1. 2. 3.
5.
6. 7. 8.
9.
10.
11 .
12 .
4.
1.
2.
3.
5.
6.
7.
8.
9.
10.
13.
1.
3.
2.
5.
4.
IB-3780-C31
3sec.
USER’S MANUAL
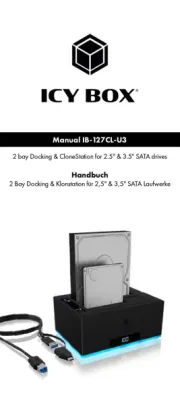
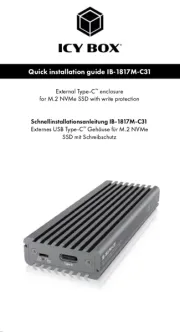
8x HDD Enclosure with single mode functions
USB 3.1 Gen 2 / Type-C
™
For 2.5" and 3.5" SATA HDD/SSD
Cleaning the device
Harmful cleaning agents
Scratches, discolouration, damage caused by moisture or short circuit in
the device
• Disconnect the device prior to cleaning
• Aggressive or intense cleaning agents and solvents are unsuitable
• Make sure there is no residual moisture after cleaning
• We recommend cleaning devices using a dry, anti-static cloth
Disposing of the device
Environmental pollution, unsuitable for recycling
Potential environmental pollution caused by components, recycling circle
interrupted
This icon on product and packaging indicates that this product must not be disposed of as
part of domestic waste. In compliance with the Waste Electrical and Electronic Equipment
Directive (WEEE) this electrical device and potentially included batteries must not be dis-
posed of in conventional, domestic waste or recycling waste. If you would like to dispose
of this product and potentially included batteries, please return it to the retailer or your local
waste disposal and recycling point.
If you have any questions, please do not hesitate to contact our support at
support@raidsonic.de or visit our website at www.raidsonic.de.
Brief Notes
• Operation System
Windows 10 / Windows 7 / 8.1
mac OS
®
X 10.12 or later
• Operation Environment
Temperature 0 ~ 40 °C Humidity 90% RH
• Hot-plug for USB Type-C
™
interface
Supports USB 3.1 Gen 2 10 Gbit/s transfer speed, and also
backward supports USB 3.0/2.0 interface for older PC and
MAC systems.
• USB 2.0 / 3.0 / 3.1 compatible *
*Additional cable required, cable converter adapters
not recommended
• Smart Fan
Smart fan controlled by the built-in thermal sensor and it
comes with 2 modes (auto / manual) and 3 levels of speed:
Packaging content
Main device x1, Quick installation guide x1, Screws for 2.5" HDD x16
Screws for 3.5" HDD x32, HDD handle x16, bracket x8, screw
driver p1-x1 / key x2, USB 3.1 Gen 2 Type-C
™
to C cable, p1-x1 power cord
Sync Button
Make sure enclosure is connected to a computer that is ON,
by USB. If not, enclosure will just turn off.
Set the power Sync mode to your preference.
*These are the Power Sync modes:
IMPORTANT
IMPORTANT
Level 1: Low below 45° 1000 rpm ~1400 rpm
Level 2: Medium 45°C ~ 54°C 1500 rpm ~1900 rpm
Level 3: High over 55°C 2400 rpm ~2800 rpm
Orange LED
When the PC is turned off, the enclo-
sure will go into sleeping mode. When
you turn on the PC, the enclosure will
turn on automatically
OFF (no LED)
No Power sync, enclosure stays on
when you turn PC off.
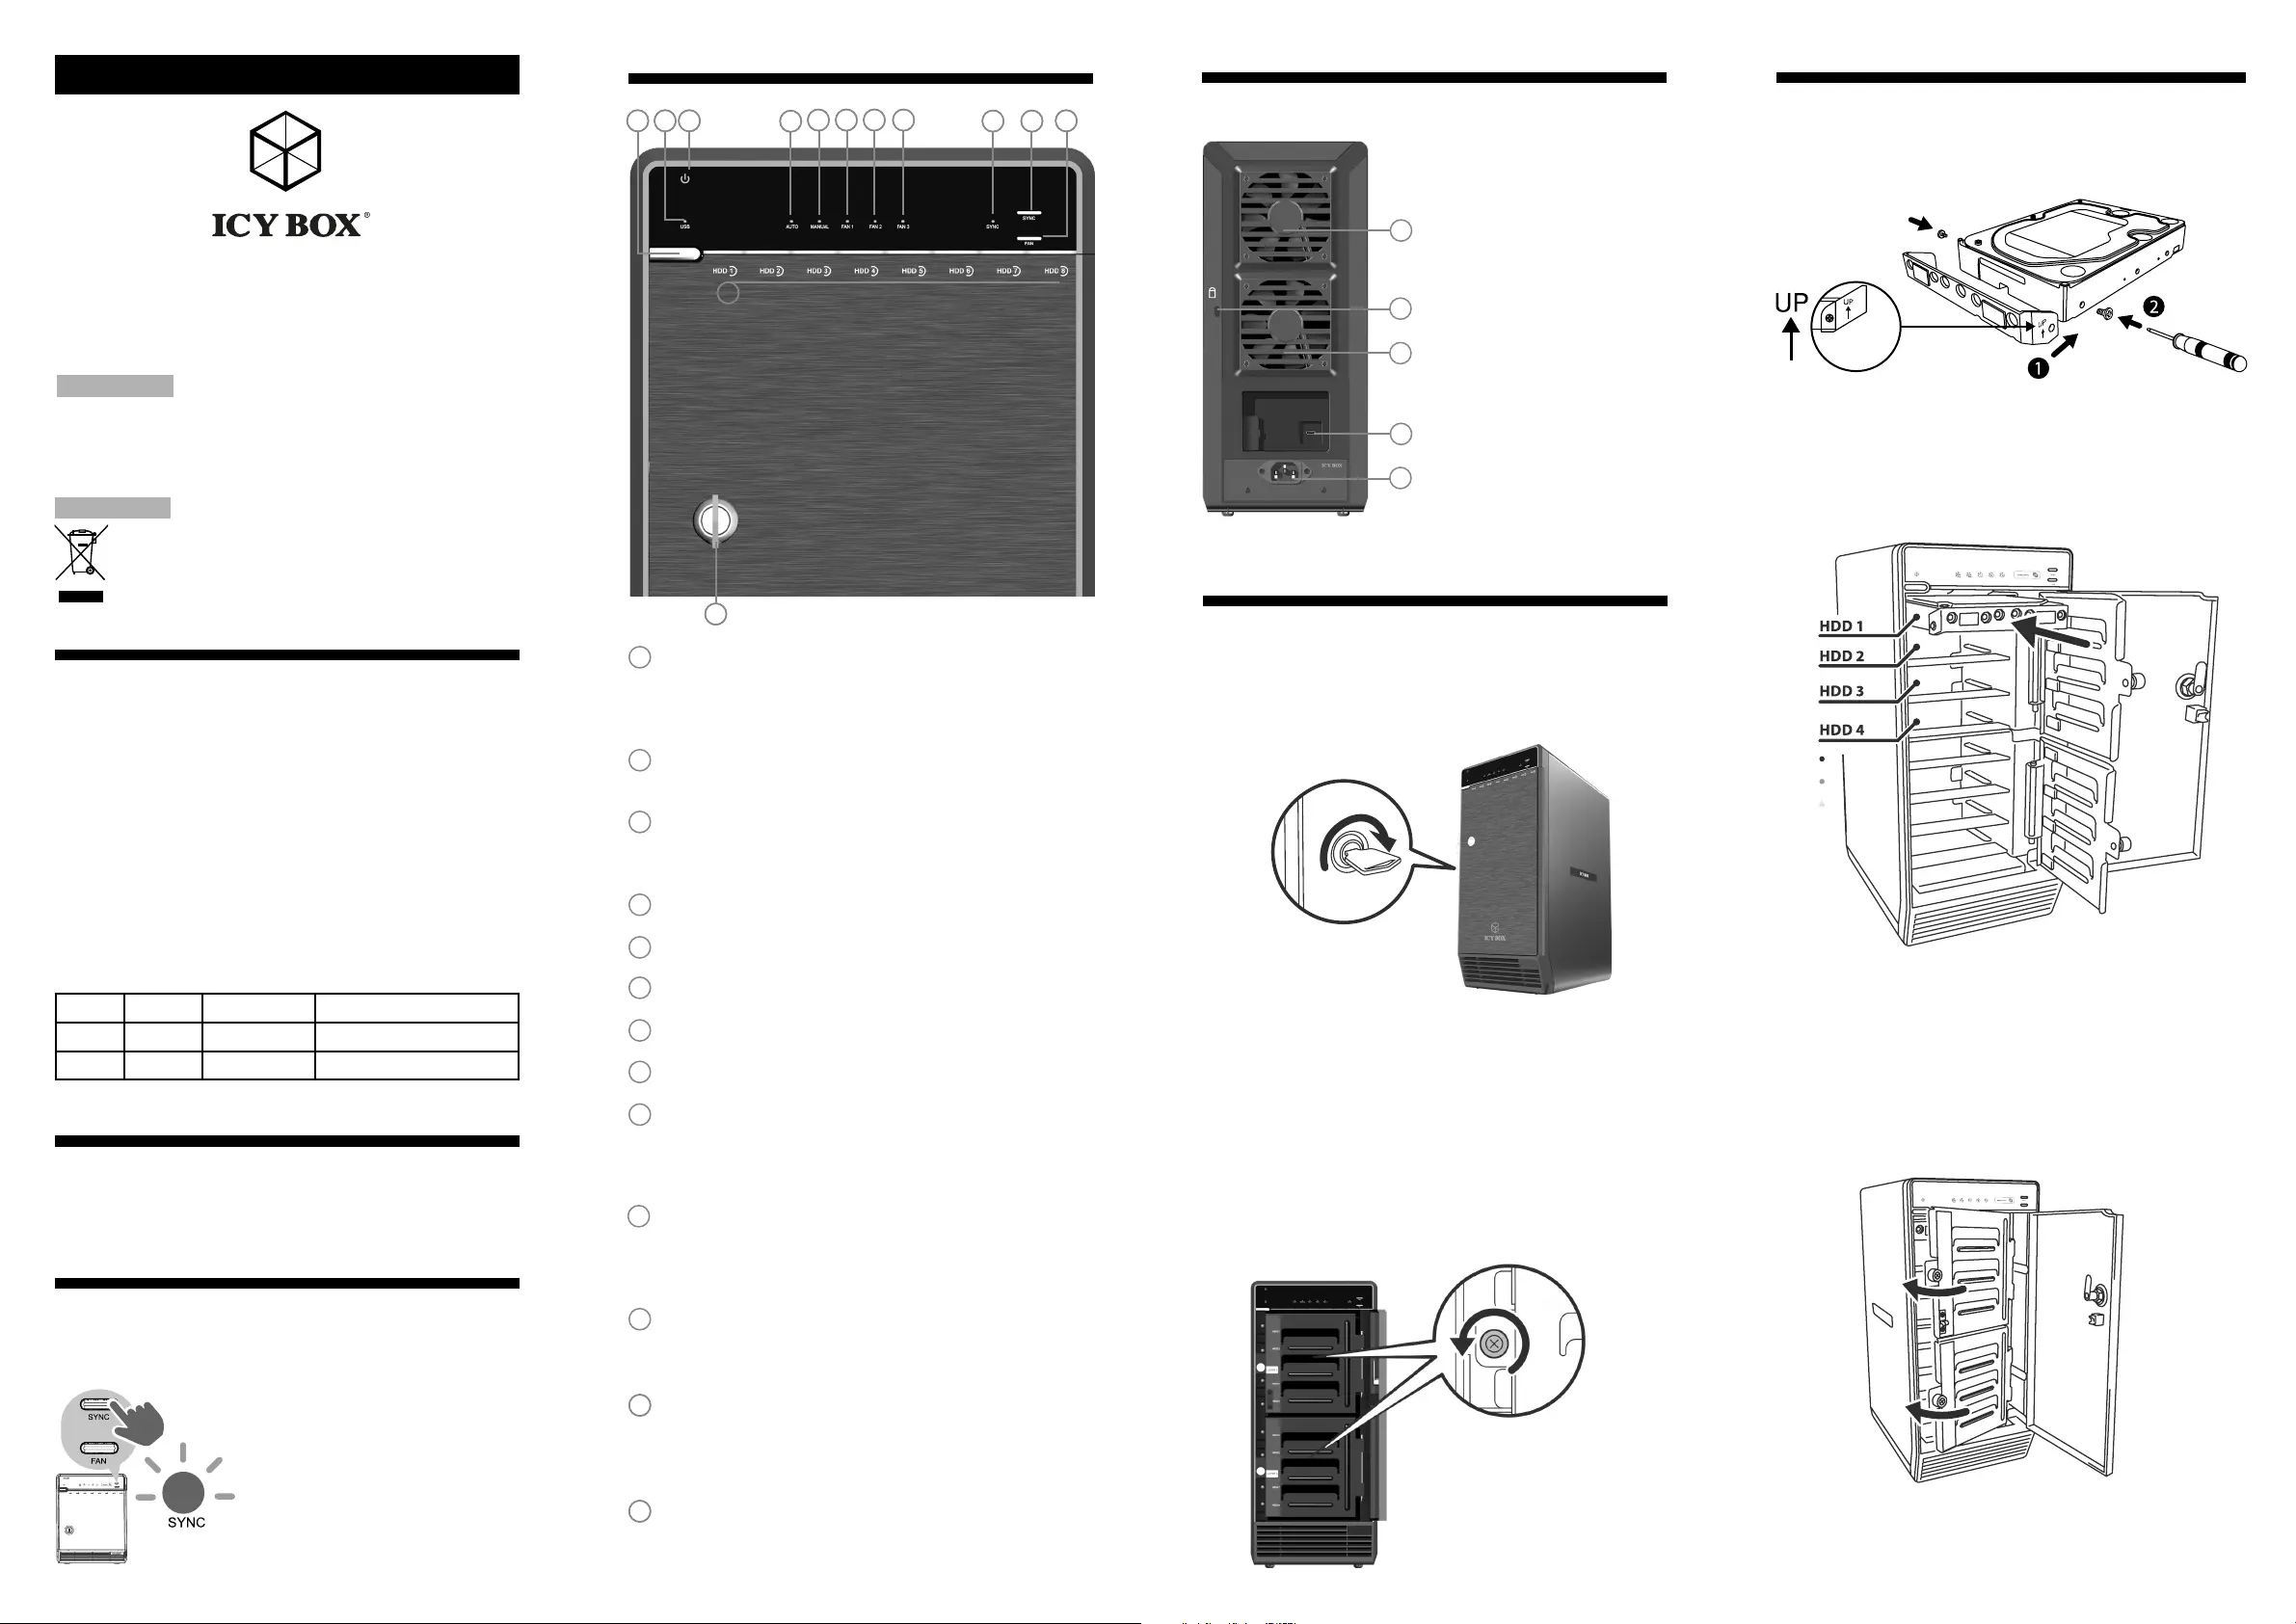
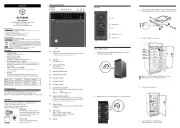
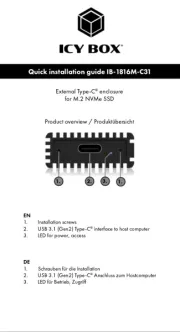
Understanding Interface
Front View
Make sure the HDD is securely installed first at all times.
Otherwise the PC may not recognize the device.
!
Power button
It needs to be pressed and held for 3 seconds to power off.
This design prevents accidental power off.
USB Status
Link interface use
Power indicator status
Blue - Power on
Orange - Sleep mode
Smart fan automatic mode
Smart fan manual mode
Fan speed / level 1
Fan speed / level 2
Fan speed / level 3
Synchronization mode LED
LED Orange When the PC is off,the device goes to sleep
mode.
LED OFF Synchronization is off.
Synchronization mode button
Switch power Sync mode (no power Sync / Hibernate)
It needs to be pressed and held for 3 seconds to power off.
This design prevents accidental power off.
Smart fan button
Controls auto & manual modes and fan speed from level
1 to level 3.
HDD Access
HDD1 / HDD2 / HDD3 / HDD4
HDD5 / HDD6 / HDD7 / HDD8 Status
Blue Flashing light = Read
Key slot
12 .
13.
Rear View
Fan
Security lock
Fan
USB Type-C
™
port
AC Input port
Quick Installation Guide
1. Unlock the cover with the key supplied and press the circular
depression to open the cover
2. Release the inner covers by turning the screws counter clockwise
3. Please use the provided handles to secure the 8 HDDs with screws-
Quick Installation Guide for 3,5" HDD, Installation for 2,5" will follow up
4. Install the HDDs from up to down.
5. Close and secure the covers.
6. Connect the power cord to the device,
plug in USB Type-C
™
cable in the rear
11 .
Produkspesifikasjoner
| Merke: | Icy Box |
| Kategori: | ekstern hardisk |
| Modell: | IB-3780-C31 |
| Produkttype: | HDD/SSD-kabinett |
| Vekt: | 6000 g |
| Bredde: | 255 mm |
| Dybde: | 155 mm |
| Høyde: | 350 mm |
| LED-indikatorer: | Ja |
| Bruksanvisning: | Ja |
| AC-adapter inngangsspenning: | 100 - 240 V |
| USB-kontakttype: | USB Type-C |
| Strømkildetype: | AC |
| Opprinnelsesland: | China |
| Pakkevekt: | 7130 g |
| USB-versjon: | 3.2 Gen 2 (3.1 Gen 2) |
| Materiale: | Aluminium, Plastic |
| USB-tilkobling: | Ja |
| Maksimal lagringskapasitet: | 80 TB |
| Brikkesett: | VIALabs VL820, ASmedia ASM1352R x4 |
| UASP-støtte: | Ja |
| Dataoverføringshastighet: | 10 Gbit/s |
| Produktfarge: | Sort |
| Antall USB-porter: | 1 |
| Pakkedybde: | 325 mm |
| Pakkehøyde: | 465 mm |
| Pakkebredde: | 240 mm |
| Kabler inkludert: | AC, USB Type-C |
| Pakketype: | Boks |
| Driftstemperatur (T-T): | 0 - 40 °C |
| Oppbevaringstemperaturomåde (Celsius): | -20 - 60 °C |
| Lagringsrelativ fuktighet: | 5 - 95 |
| Harmonisert system (HS)-kode: | 84733080 |
| Skruer inkludert: | Ja |
| Nøkkellås: | Ja |
| Av/på-bryter: | Ja |
| Støttede Windows operativsystemer: | Ja |
| RAID-nivåer: | JBOD |
| Støttede lagringsgrensesnitt: | Serial ATA, Serial ATA II, Serial ATA III |
| Antall lagringsdrivere som støttes: | 8 |
| Relativ luftfuktighet under drift (H-H): | 5 - 95 |
| Plugg inn og spill: | Ja |
| Støttede Mac operativsystemer: | Ja |
| Viftediameter: | 80 mm |
| Antall vifter: | 2 vifter |
| Masterkassens (ytterkassens) bruttovekt: | 15600 g |
| Masterkassens (ytterkassens) lengde: | 342 mm |
| Produkter per masterkasse (ytterkasse): | 2 stykker |
| Masterkassens (ytterkassens) bredde: | 500 mm |
| Masterkassens (ytterkassens) høyde: | 487 mm |
| Kjønn på USB-kontakt: | Hunkjønn |
| AC-adapter inngangsstrøm: | 2.5 A |
| Lagringsstasjonens størrelse: | 2.5/3.5 " |
| AC-adapter frekvens: | 50 - 60 Hz |
Trenger du hjelp?
Hvis du trenger hjelp med Icy Box IB-3780-C31 still et spørsmål nedenfor, og andre brukere vil svare deg
ekstern hardisk Icy Box Manualer
6 Oktober 2025
5 Oktober 2025
5 Oktober 2025
5 Oktober 2025
5 Oktober 2025
5 Oktober 2025
5 Oktober 2025
5 Oktober 2025
5 Oktober 2025
5 Oktober 2025
ekstern hardisk Manualer
- Medion
- CalDigit
- Sony
- iStorage
- Fantec
- InLine
- Akasa
- Be Quiet!
- Nextorage
- Hitachi
- Western Digital
- Tripp Lite
- Corsair
- Rocstor
- ioSafe
Nyeste ekstern hardisk Manualer
6 Oktober 2025
6 Oktober 2025
6 Oktober 2025
6 Oktober 2025
6 Oktober 2025
6 Oktober 2025

6 Oktober 2025
6 Oktober 2025
6 Oktober 2025
6 Oktober 2025