Imarflex IMC-122DS Bruksanvisning
Imarflex
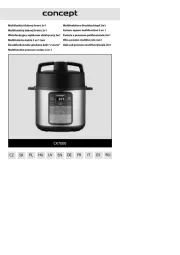
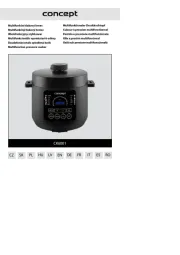
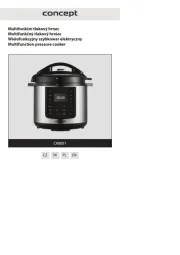
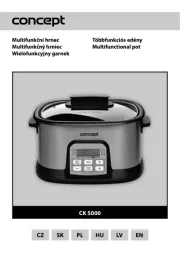
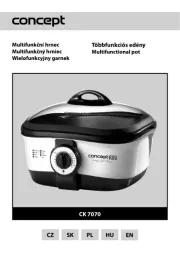
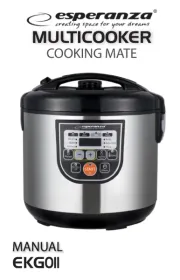
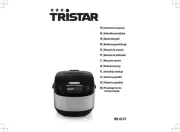
Multikoker
IMC-122DS
Les nedenfor 📖 manual på norsk for Imarflex IMC-122DS (3 sider) i kategorien Multikoker. Denne guiden var nyttig for 19 personer og ble vurdert med 4.0 stjerner i gjennomsnitt av 10 brukere
Side 1/3

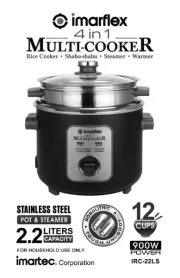
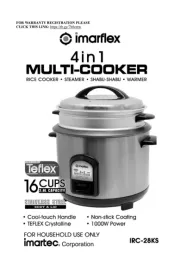
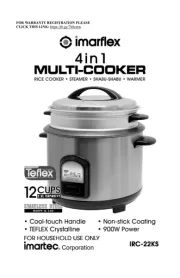
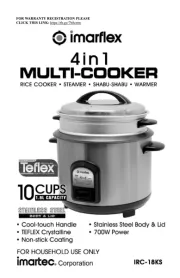
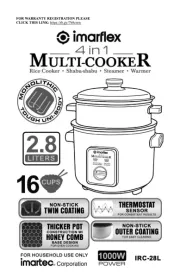
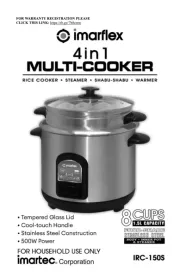
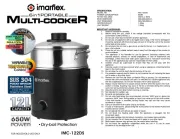
SPECIFICATION:
MODEL NO. : IMC-122DS
POWER CONSUMPTION : 650W
RATED VOLTAGE : 230Va.c. 60Hz
BOX DIMENSION : 246x206x220mm
UNIT DIMENSION : 260x180x230mm
GROSS WEIGHT : 1.43kg.
UNIT WEIGHT : 1.09kg.
IMPORTANT SAFEGUARD:
1. Read all instructions carefully.
2. Before using the unit, check if the voltage indicated corresponds with the
convenience outlet (230Va.c.).
3. Do not use a two-way socket with another appliance.
4. Do not use any appliance with a damaged cord or plug. If the cord is damaged it
should be replaced with the same type and size or bring the unit to the nearest
authorized service center.
5. Do not place the unit near a gas stove, an electric burner, in a heated oven, or
near a hot surface.
6. Place the unit on a stable surface; keep it away from the edge of the counter to
avoid accidents.
7. This appliance is not intended for use by persons (including children) with
reduced physical, sensory or mental capabilities, or lack of experience and
knowledge, unless they have been given supervision or instruction concerning
the use of the appliances by a person responsible for their safety.
8. Children should be supervised to ensure that they do not play with the
appliance.
9. Extreme caution must be exercised when using an appliance containing boiling
liquid in the multi-cooker.
10. Do not allow the cord to touch the hot surface of the unit.
11. For protection against electric shock, do not immerse the unit including the base
unit in water or any other liquid.
12. Remove the unit from the base unit before lling or pouring. Do not attempt to
remove the unit from the base unit until it is switched off. Use the appliance only
with the supplied base. Do not use the base unit for other purposes.
13. Always ensure that the lid is closed and do not lift it while the liquid in the multi-
cooker is boiling. Scalding may occur if the lid is removed during the cooking
cycle. Do not touch the hot surfaces of the multi-cooker.
14. Allow the unit to cool down before moving or cleaning.
15. Not intended for outdoor use.
16. No parts are dishwasher safe.
17. Do not cook food below the recommended minimum level or above the ‘MIN’
maximum ‘MAX’ level. Boiling water or liquid may come out of the multi-cooker.
If the multi-cooker is overlled, boiling liquids may spill out that may cause
accidents or injuries.
18. Carry or move the multi-cooker only by its handle.
19. In case of malfunctions, please bring the multi-cooker to the nearest Authorized
Imarflex Service Center.
20. Do not operate the unit without any water or liquid.
21. Do not touch the heating plate when the appliance is plugged into the
convenient outlet.
22. Avoid water spillage into the socket, connector, cord, power base and alike.
23. Do not immerse the unit body and base unit in water or any other liquid.
24. Multi-cooker steamer may get very hot, be careful when handling.
25. Do not leave the appliance unattended while the unit is in use to avoid
accidents or any damage to the unit.
1
Produkspesifikasjoner
| Merke: | Imarflex |
| Kategori: | Multikoker |
| Modell: | IMC-122DS |
Trenger du hjelp?
Hvis du trenger hjelp med Imarflex IMC-122DS still et spørsmål nedenfor, og andre brukere vil svare deg
Multikoker Imarflex Manualer
4 Oktober 2025
4 Oktober 2025
4 Oktober 2025
4 Oktober 2025
4 Oktober 2025
3 Oktober 2025

3 Oktober 2025
5 August 2025

3 Februar 2025

3 Februar 2025
Multikoker Manualer
- Morphy Richards
- Zojirushi
- Arcelik
- Esperanza
- Oster
- Tefal
- Brentwood
- Steba
- Salton
- Gorenje
- Tiger
- Ninja
- Moulinex
- Scarlett
- Turbotronic
Nyeste Multikoker Manualer
29 September 2025
29 September 2025
29 September 2025
29 September 2025
29 September 2025
28 September 2025
28 September 2025
22 September 2025

19 September 2025
17 September 2025