JBL GX-A3001 Bruksanvisning
Les nedenfor 📖 manual på norsk for JBL GX-A3001 (470 sider) i kategorien Bilradio. Denne guiden var nyttig for 2 personer og ble vurdert med 4.5 stjerner i gjennomsnitt av 2 brukere
Side 1/470

GX-A604/GX-A602/GX-A3001
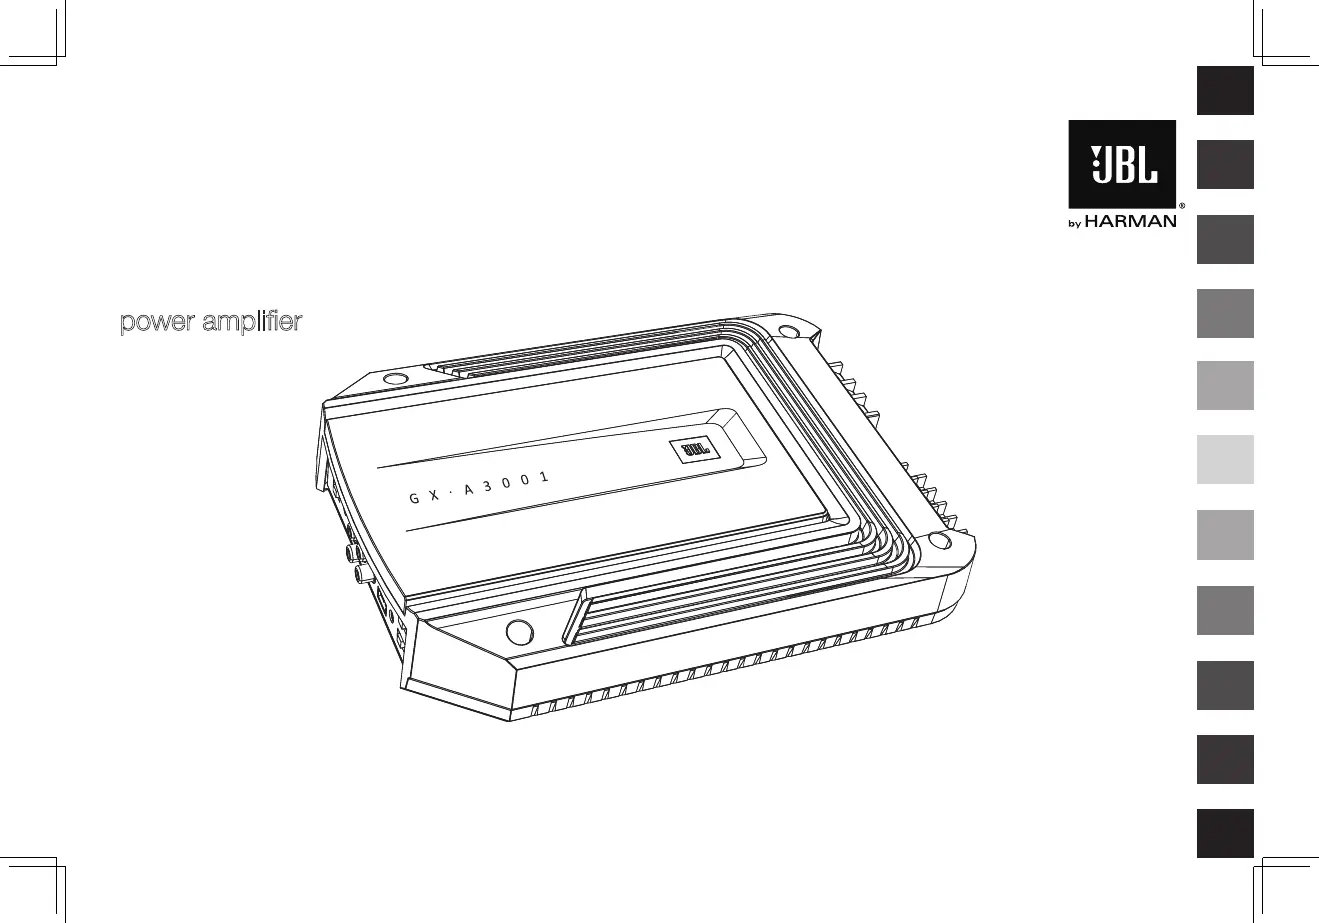
power amplifier
OWNER’S MANUAL
EnglishFrançaisEspañolDeutschItaliano
Русский
日本語영어
Nederlands
Svenska
Dansk

2
introduction
THANK YOU for purchasing a JBL
®
GX-series amplifier. So we can better serve you should you require warranty service, please retain your original
sales receipt and register your amplifier online at www.jbl.com.
included items
GX-Series Amplifier (x 1)
Speaker-level input harness
(GX-A602, GX-A3001 x 1)
(GX-A604 x 2)
locAtion And mountinG
Although these instructions explain how to install GX-series amplifiers in a general sense, they do not show specific installation methods that may be
required for your particular vehicle. If you do not have the necessary tools or experience, do not attempt the installation yourself. Instead, please ask
your authorized JBL car audio dealer about professional installation.
InstallatIon WarnIngs and tIps
IMPORTANT: Disconnect the vehicle’s negative (–) battery terminal before beginning the installation.
•Alwayswearprotectiveeyewearwhenusingtools.
•Checkclearancesonbothsidesofaplannedmountingsurface.Besurethatscrewsorwireswillnotpuncturebrakelines,fuellinesorwiring
harnesses, and that wire routing will not interfere with the safe operation of the vehicle.
•Whenmakingelectricalconnections,makesuretheyaresecureandproperlyinsulated.
•Ifyoumustreplaceanyoftheamplifier’sfuses,besuretousethesametypeoffuseandcurrentratingasthatoftheoriginal.

www.jbl.com
English
3
INSTALLATION LOCATION
Amplifiers need air circulation to stay cool. Select a location that provides enough air for the amp to cool itself.
•Suitablelocationsareunderaseat(providedtheamplifierdoesn’tinterferewiththeseatadjustmentmechanism),inthetrunk,orinanyother
location that provides enough cooling air.
•Donotmounttheamplifierwiththeheatsinkfacingdownward,asthisinterfereswiththeamplifier’sconvectioncooling.
•Mounttheamplifiersothatitwillnotbedamagedbythefeetofbackseatpassengersorshiftingcargointhetrunk.
•Mounttheamplifiersothatitremainsdry–nevermountanamplifieroutsidethecarorintheenginecompartment.
MOUNTING THE AMPLIFIER
NOTE: You may find it more convenient to make all of the connections to the amplifier before you permanently mount it to the vehicle.
1. Select a suitable mounting location as described above.
2. Using the amplifier as a template, mark the locations of the mounting holes on the mounting surface.
3. Drill pilot holes in the mounting surface.
4.Attachtheamplifiertothemountingsurfacewithfourappropriatemountingscrewsofyourownchoice.Wesuggestusing#8Phillips-headsheet
metalscrews.Makesuretheamplifierismountedsecurely.
Produkspesifikasjoner
Merke: | JBL |
Kategori: | Bilradio |
Modell: | GX-A3001 |
Bredde: | 206 mm |
Dybde: | 52 mm |
Høyde: | 291 mm |
Produktfarge: | Sort |
Signal-til-støy-forhold (SNR): | 98 dB |
DC-inngangskontakt: | Ja |
Lyd-utgang kanaler: | 1.0 kanaler |
Frekvensrekkevidde: | 10 - 320 Hz |
Tilkoblingstype høyttalere: | RCA |
RMS utgangseffekt pr. kanal (2 Ohm): | 300 W |
RMS utgangseffekt pr. kanal (4 Ohm): | 200 W |
Linje innganger (RCA): | 2 |
Peak effekt per kanal: | 415 W |
Trenger du hjelp?
Hvis du trenger hjelp med JBL GX-A3001 still et spørsmål nedenfor, og andre brukere vil svare deg
Bilradio JBL Manualer
3 August 2025
3 August 2025
3 August 2025
19 Februar 2025
1 Januar 2025
31 Desember 2025
Bilradio Manualer
- Bilradio Philips
- Bilradio Sony
- Bilradio Pioneer
- Bilradio Panasonic
- Bilradio Audio-Technica
- Bilradio Pyle
- Bilradio Kenwood
- Bilradio Blaupunkt
- Bilradio PAC
- Bilradio Muse
- Bilradio Renkforce
- Bilradio Trevi
- Bilradio RetroSound
- Bilradio Boss
- Bilradio Mystery
- Bilradio Alpine
- Bilradio Rockford Fosgate
- Bilradio Deaf Bonce
- Bilradio Akai
- Bilradio Xblitz
- Bilradio Shuttle
- Bilradio Dual
- Bilradio Audison
- Bilradio DLS
- Bilradio Irradio
Nyeste Bilradio Manualer
3 August 2025
3 August 2025
3 August 2025
3 August 2025
3 August 2025
3 August 2025
31 Mars 2025
29 Mars 2025
5 Mars 2025
6 Februar 2025