JL Audio RD900/5 Bruksanvisning
Les nedenfor 📖 manual på norsk for JL Audio RD900/5 (20 sider) i kategorien Mottaker. Denne guiden var nyttig for 10 personer og ble vurdert med 4.8 stjerner i gjennomsnitt av 5.5 brukere
Side 1/20
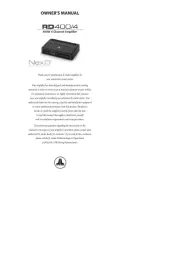
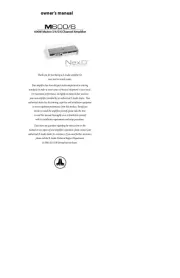
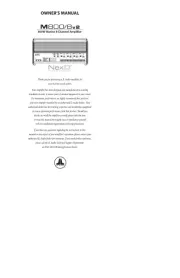
Thank you for purchasing a JL Audio amplifier for
your automotive sound system.
Your amplifier has been designed and manufactured to exacting
standards in order to ensure years of musical enjoyment in your vehicle.
For maximum performance, we highly recommend that you have
your new amplifier installed by an authorized JL Audio dealer. Your
authorized dealer has the training, expertise and installation equipment
to ensure optimum performance from this product. Should you
decide to install the amplifier yourself, please take the time
to read this manual thoroughly to familiarize yourself
with its installation requirements and setup procedures.
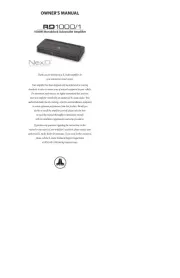
If you have any questions regarding the instructions in this
manual or any aspect of your amplifier’s operation, please contact your
authorized JL Audio dealer for assistance. If you need further assistance,
please call the JL Audio Technical Support Department
at (954) 443–1100 during business hours.
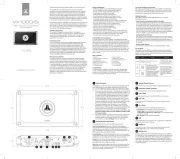
OWNER’S MANUAL
900W 5-Channel System Amplier
Produkspesifikasjoner
| Merke: | JL Audio |
| Kategori: | Mottaker |
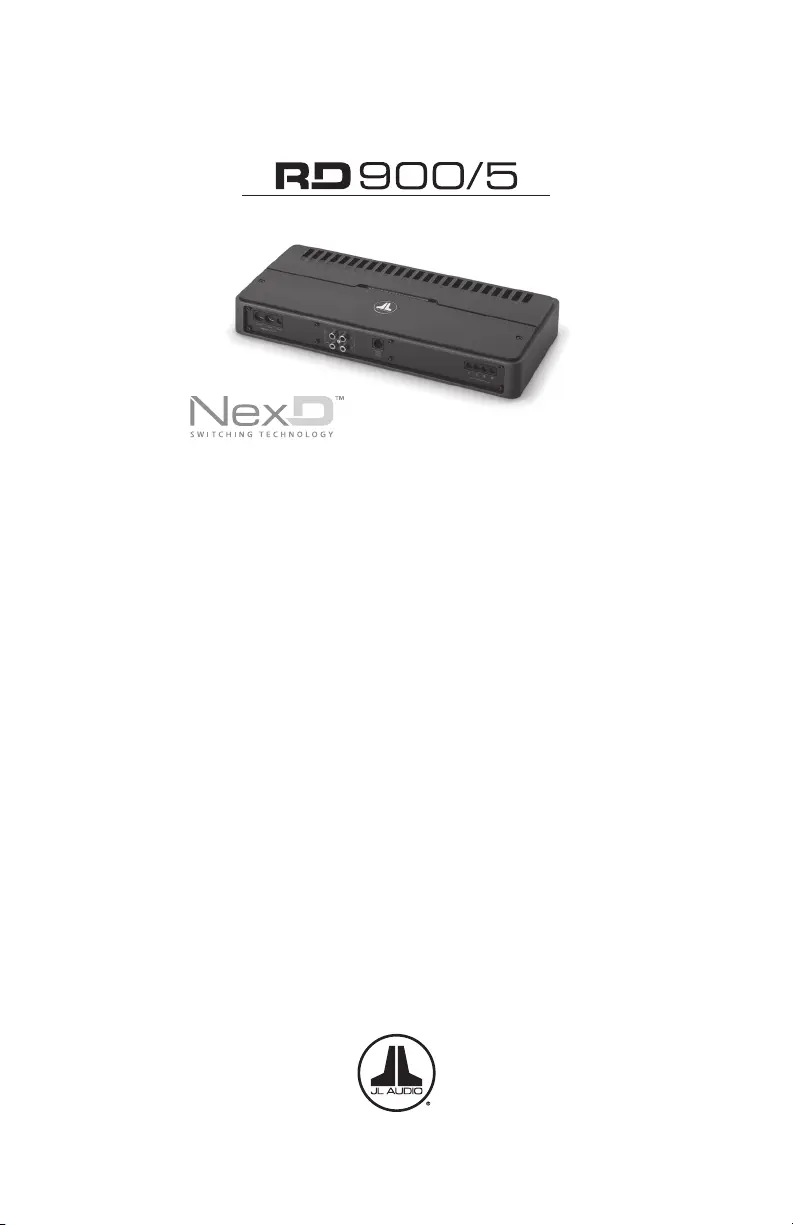
| Modell: | RD900/5 |
Trenger du hjelp?
Hvis du trenger hjelp med JL Audio RD900/5 still et spørsmål nedenfor, og andre brukere vil svare deg
Mottaker JL Audio Manualer
19 Oktober 2025
19 Oktober 2025
19 Oktober 2025
19 Oktober 2025
19 Oktober 2025
19 Oktober 2025
19 Oktober 2025
19 Oktober 2025
19 Oktober 2025
19 Oktober 2025
Mottaker Manualer
- August
- Sunfire
- Mosconi
- IFi Audio
- Anthem
- Irradio
- ICOM
- Imperial
- Marshall Electronics
- VMV
- Match
- Jensen
- Technical Pro
- Atlas
- Inter-M
Nyeste Mottaker Manualer

20 Oktober 2025
20 Oktober 2025

20 Oktober 2025
20 Oktober 2025

20 Oktober 2025

20 Oktober 2025
20 Oktober 2025

20 Oktober 2025
20 Oktober 2025
20 Oktober 2025