Kenwood Chef XL KVL61 Bruksanvisning
Kenwood
Foodprosessor
Chef XL KVL61
Les nedenfor 📖 manual på norsk for Kenwood Chef XL KVL61 (24 sider) i kategorien Foodprosessor. Denne guiden var nyttig for 35 personer og ble vurdert med 4.9 stjerner i gjennomsnitt av 18 brukere
Side 1/24
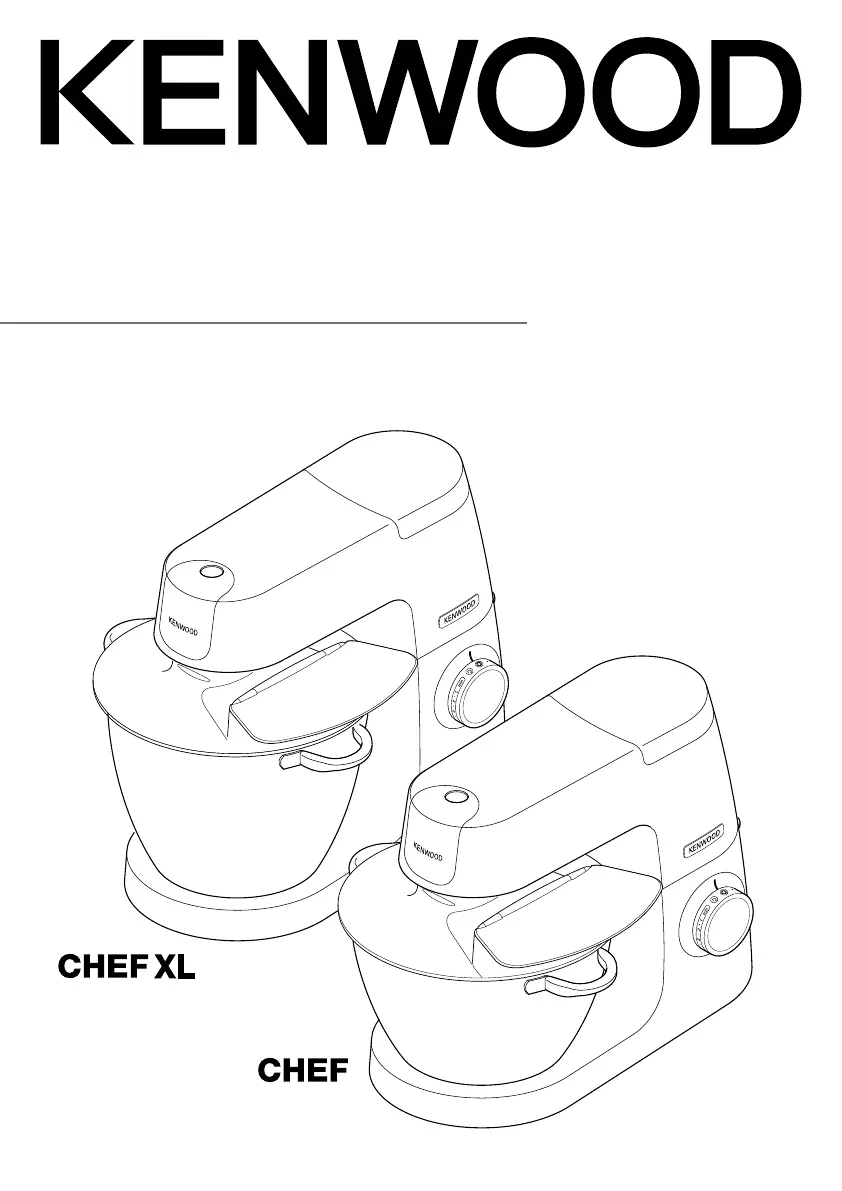
TYPE KVC51 (Chef)
TYPE KVL61 (Chef XL)
instructions
istruzioni
instrucciones
Bedienungsanleitungen
gebruiksaanwijzing
Produkspesifikasjoner
| Merke: | Kenwood |
| Kategori: | Foodprosessor |
| Modell: | Chef XL KVL61 |
Trenger du hjelp?
Hvis du trenger hjelp med Kenwood Chef XL KVL61 still et spørsmål nedenfor, og andre brukere vil svare deg
Foodprosessor Kenwood Manualer

12 Mars 2025

5 Mars 2025

2 Januar 2025

24 Desember 2024
Foodprosessor Manualer
- Create
- KitchenAid
- Khind
- Morphy Richards
- Sencor
- Royal Catering
- Vitamix
- ProfiCook
- Dash
- DCG
- Bosch
- Chefman
- Beautiful
- Imarflex
- Oster
Nyeste Foodprosessor Manualer

5 April 2025

30 Mars 2025

30 Mars 2025

30 Mars 2025

28 Mars 2025

27 Mars 2025

12 Mars 2025

12 Mars 2025

12 Mars 2025

12 Mars 2025