Mayer MMAO2088 Bruksanvisning
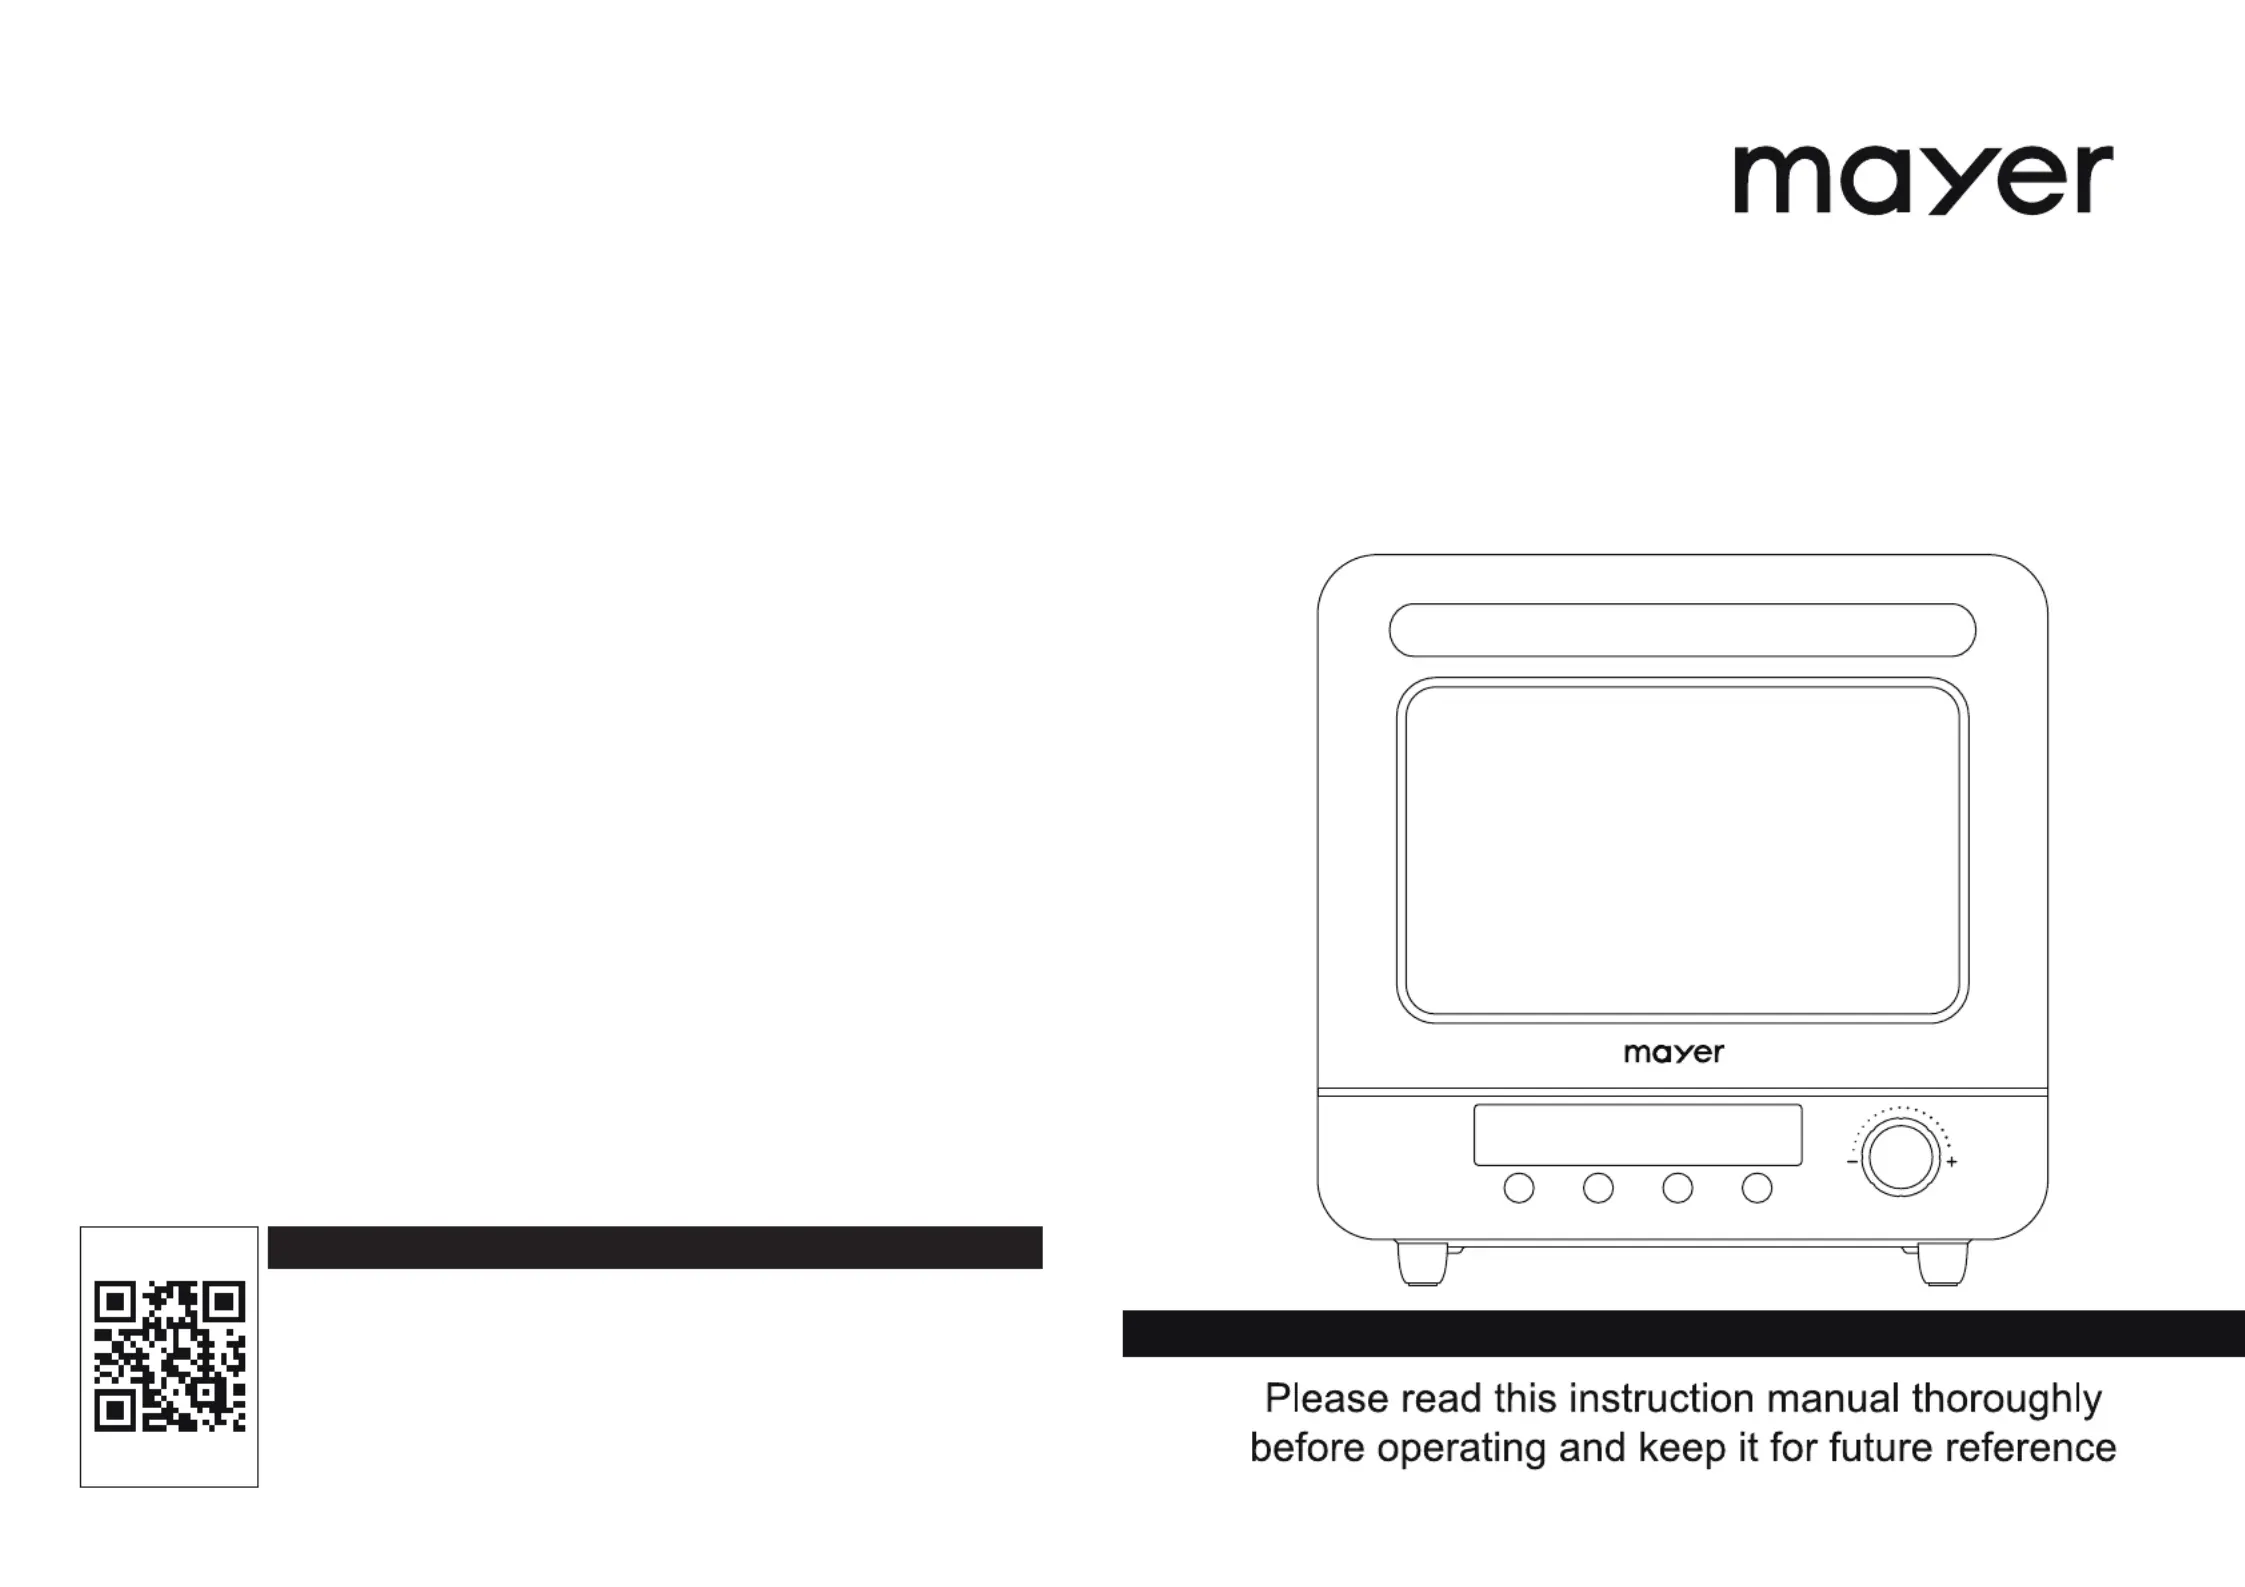
Mayer
Frityrkoker
MMAO2088
Les nedenfor 📖 manual på norsk for Mayer MMAO2088 (16 sider) i kategorien Frityrkoker. Denne guiden var nyttig for 48 personer og ble vurdert med 4.5 stjerner i gjennomsnitt av 2 brukere
Side 1/16

Warranty & Customer Service
SCAN FOR
e-Warranty
MAYER MARKETING PTE LTD
Customer Service Hotline: 6542-8383 (Mon - Fri 9:00am to 5:00 pm)
Service Centre Operating Hours:
Mon - Fri: 9:00am to 5:00pm
Sat: 9:00am to 12:00pm
Closed on Sunday & Public Holidays
71 Ubi Crescent, #06-02, Excalibur Centre, Singapore 408571.
e-Warranty Registration at https://www.mayer.sg
Baked Scotch Eggs
Ingredients:
•
•
•
•
•
•
•
Method:
1.
2.
3.
4.
5.
6.
Note:
•
2 hard-boiled eggs
150g minced meat
10g our
Egg wash, a moderate amount
15g bread crumbs
Black pepper, adequate amount
Salt, adequate amount
Remove the shells of the hard-boiled eggs.
Add black pepper and salt into the minced meat and mix well.
Take an adequate amount of meat and atten it on a surface. Put the egg on the meat, then
wrap the egg up with the meat. Make sure the egg is fully concealed and covered.
Cover the meat with our, then egg wash, then followed by bread crumbs. Let it sit for 5
minutes.
Cook the scotch eggs at 230°C for 25 minutes.
After cooking, take out the scotch eggs and leave it to cool for a while before serving.
Ingredients and its quantity can be adjusted according to personal preference.
Digital Air Oven
MMA 2088O
TOASTER OVEN

1 14
IMPORTANT SAFETY INSTRUCTIONS
•
•
•
•
•
•
•
•
•
•
•
•
•
•
•
•
•
•
•
•
•
This appliance is not intended for use by persons (including children) with reduced
physical, sensory or mental capabilities, or lack of experience and knowledge unless they
have been given supervision or instruction concerning the use of the appliance by a person
responsible for their safety.
Children should be supervised to ensure that they do not play with the appliance.
Do not operate any appliance with a damaged cord or plug or after the appliance
malfunctions, or has been dropped or damaged in any manner. If the supply cord is
damaged, it must be replaced by the Service Centre to avoid a hazard.
When using electrical appliances, basic safety precautions should always be followed to
reduce the risk of re, electric shock, and/or injury.
Do not immerse appliance, cord or plug in water or other liquid.
Unplug from the outlet when not in use and before cleaning.
Do not unplug the appliance by pulling on the cord.
Use the accessories from the appliance only, as other accessories not from the appliance
may cause re, electric shock or injury.
Do not touch hot surfaces. Always use handles or knobs.
Do not let the cord hang over the edge of the table or counter, or touch hot surfaces.
Do not place on or near a hot gas or electric burner.
When operating the oven, keep at least 10cm of free space on all sides of the oven to allow
for adequate air circulation. A re may occur if the oven is covered or touching ammable
material, including the curtain, draperies, walls, and the like, when in operation. Do not
store any item on top of the appliance when in operation.
Allow the appliance to cool before putting on or taking o parts, and before cleaning.
To disconnect, turn the time control to OFF, then remove the plug.
Use extreme caution when moving or removing accessories, or disposing of hot grease, hot
oil, or other hot liquids.
Do not cover the accessories or any part of the oven with aluminium foil. This may cause the
oven to overheat.
Do not clean the inside of the oven with with abrasive sponge or metal scouring pads,
pieces can break o the pad and touch electrical parts, creating a risk of electric shock.
Oversized foods or metal utensils must not be inserted in the appliance as they may create
a re or risk of electric risk.
Extreme cautions should be exercised when using cooking or baking containers
constructed of anything other than metal or ovenproof glass.
Be sure that nothing touches the top or bottom elements of the oven.
Do not place any of the following materials in the oven: cardboard, plastic, paper, or
anything similar.
Chinese-Style Garlic Ribs
Ingredients:
•
•
•
•
•
•
•
Method:
1.
2.
3.
4.
5.
6.
7.
8.
Note:
•
500g ribs
1 tbsp soy sauce
2 tbsp oyster sauce
2 tsp white sugar
2 tsp minced ginger
Red pepper chili slice, adequate amount
2 cloves of garlic, minced
Combine soy sauce, oyster sauce, white sugar, ginger, red pepper chilli and ¼ serving of
minced garlic together to make the sauce. Mix well.
Pour the sauce into the ribs and mix together. Leave it to marinate for about 3 – 4 hours.
Put some aluminium foil on the baking tray
Put the marinated ribs onto the aluminium foil on the baking tray. Pour the remaining
marinade sauce on the ribs.
Fry the remaining ¾ serving of minced garlic with some oil then pour the minced garlic and
the oil over the marinated ribs.
Cover up the ribs with the same aluminium foil and seal it.
Cook the ribs at 230°C for 25 minutes.
After that, take out the baking tray, open up the sealed aluminium foil, then put the ribs
back into the oven and cook for another additional 10 minutes.
Ingredients and their quantity can be adjusted according to personal preference.

13 2
Egg Cookies
Ingredients:
•
•
•
Method:
1.
2.
3.
4.
5.
6.
Note:
•
Cajun Baked Chicken Wings
Ingredients:
•
•
•
Method:
1.
2.
3.
4.
5.
6.
7.
Note:
•
•
2 eggs
50g ne sugar
80g low gluten our
Mix eggs and ne sugar together in a mixer. Mix at high speed until the mixture is
combined. Then change to low speed and mix until the small bubbles are smoothen out.
Add in the sifted our into the mixture and fold the mixture until all the our has been
incorporated in and the texture of the mixture is consistent.
Transfer the mixture into a piping bag and remove all the air inside.
Line the baking tray with baking paper.
Pipe out the cookies in about 1 – 2 cm diameter size onto the baking paper on the baking
tray.
Bake the cookies at 150°C for 30 minutes.
Ingredients and their quantity can be adjusted according to personal preference.
500g mid-joint chicken wings
35g cajun spice seasoning powder
35ml water
Make small cuts on the wings and score them.
Mix the seasoning powder with water together until incorporated.
Pour the sauce into the wings and mix together. Set aside to marinate.
Line the baking tray with baking paper.
Put the marinated wings on baking paper on the baking tray. Pour the remaining marinade
sauce on the wings.
Put the wings into the oven to bake after preheating the oven.
Use Chicken Function to cook chicken.
Ingredients and their quantity can be adjusted according to personal preference.
For a softer, more moist and less drying outside texture, you can place the detachable water
tank lled with water when baking or cooking.
INTRODUCTION OF PARTS
PRODUCT TECHNICAL PARAMETERS
•
•
•
•
Always wear protective, insulated oven gloves when inserting or removing items from the
hot oven.
This appliance has a tempered, safety glass door. The glass in stronger than ordinary glass
and more resistant to breakage. Tempered glass can still break around the edges. Avoid
scratching the door surface or nicking edges.
This appliance is OFF when the Timer Control button is in the “OFF” position.
Do not use the appliance outdoors or for other than intended use.
MMAO2088
MODEL
220-240V~, 50/60Hz
RATED VOLTAGE
1250W
RATED POWER
20L
GROSS CAPACITY
Handle
Glass Door
Temperature Knob /
Select Button
LED Display
Bake Tray Wire Rack
Tray Handle Detachable Water Tank
Mesh Basket Tray

11 4
•
•
•
•
•
•
•
•
•
Note:
•
•
•
2. DIY Function
•
•
•
•
•
•
•
Press the "Menu" button and turn the Select knob to the desired function.
The LED display will light up the selected preset function with the default temperature and
time.
Once you have chosen your preset function, press the select button.
After selecting the function, the temperature display will blink.
Turn the "Select" knob to adjust to your desired temperature and press the Select button to
conrm.
After selecting the temperature, the time display will blink. Turn the "Select" knob to adjust
to your desired cooking time.
Once the temperature and timer are set, press the "Start/Stop" button to start the cooking.
The appliance will start to pre-heat and the display will show the current temperature and
the pre-heat indicator will turn on.
When the appliance reaches the set temperature, the Preheating Indicator will switch o
and the Ready Indicator lights up, the timer will then start the count down till the cooking is
nished.
If needed, lightly spray the food with oil or cooking spray so they don’t stick to the basket.
Place food on the wire rack, frying basket or bake tray
Ensure food items have plenty of space so that air can circulate easily and give well cooked
and crispy results.
To customize or DIY your cooking time and temperature, press the DIY , then turn the Select
knob to adjust the temperature.
The LED display will light up the default temperature and time.
The temperature display will blink. Turn the "Select" knob to adjust to your desired
temperature and press the Select button to conrm.
After selecting the temperature, the time display will blink. Turn the "Select" knob to adjust
to your desired cooking time.
Once the temperature and timer are set, press the "Start/Stop" button to start the cooking.
The appliance will start to pre-heat and the display will show the current temperature and
the pre-heat indicator will turn on.
When the appliance reaches the set temperature, the Preheating Indicator will switch o
and the Ready Indicator lights up, the timer will then start the count down till the cooking is
nished.
Yogurt Buns
Ingredients:
•
•
•
•
•
•
•
•
•
•
Method:
1.
2.
3.
4.
5.
6.
7.
8.
Note:
•
400g our
100g yogurt
60g whipping cream
80g milk
Approximately 55g egg wash
4g salt
50g sugar
30g room temperature butter
5g yeast
Some almond akes
Combine our, yogurt, 45g egg wash, salt, sugar, yeast, whipping cream and milk together.
Mix till smooth and soft texture. Then add in butter and continue kneading. Make sure the
dough is well kneaded. Do windowpane test.
Take out the dough and cut it into 16 equal parts and roll them into small balls. Make sure
they are roll till smooth. Put the 16 balls of bread dough into the baking pan.
Put the baking pan into the oven to proof until the dough size increases to about 1.5 times
the current size. Use Ferment function, together with the water tank inside the oven lled
with water.
After proong, take out the bread from the oven and spread a layer of egg wash on the
bread dough.
Sprinkle the almond akes onto the bread dough.
Put the bread dough into the oven to bake after preheating the oven.
Use Bread Function to bake bread until golden brown.
For a softer, more moist and less drying outside texture, you can place the detachable water
tank lled with water when baking or cooking.

5 10
Caterpillar Red Bean Bun
Ingredients:
•
•
•
•
•
•
•
•
•
Method:
1.
2.
3.
4.
5.
6.
7.
8.
9.
10.
11.
Note:
•
200g our
7g milk powder
90g water
Approximately 30g egg wash
2g salt
28g sugar
20g room temperature butter
3g yeast
180g red bean paste
Combine our, milk powder, 20g egg wash, salt, sugar, yeast and water together. Mix till
smooth and soft texture. Then add in butter and continue kneading. Make sure the dough
is well kneaded. Do windowpane test.
Put the bread dough into a bowl, wrap it tightly with a cling wrap and set aside to let proof
until the dough size increases to about 1.5 to 2 times the current size.
Once the bread dough has nished the 1st proong, punch down the dough to remove any
air. Take out the dough and cut it into 6 equal parts and roll them into balls. Put the 6 balls
of bread dough into a bowl or baking pan, wrap it tightly with a cling wrap and set aside to
let proof for 15 minutes.
In the meantime, prepare the red bean paste for the llings. Split the red bean paste into 6
portions, approximately 30g each portion.
After 2nd proong, add the red bean paste into each ball of bread dough. Make sure to fold
in the dough after putting the lling in, and roll the bread dough into a round shape. Be
gentle when doing this to prevent the llings from coming out.
Make even cuts openings along the top of bread dough. Do not cut too near the edges or
too close to each cut. Be careful not to cut and damage the bottom layers.
Flip over the cut area of the bread, and gently roll the bread dough from the sides until it
looks like a longer shape, like a caterpillar.
Line the baking tray with baking paper and put the bread dough onto the baking paper.
Put into the oven to proof until the dough size increases to about 1.5 to 2 times the current
size. Use Ferment function, together with the water tank inside the oven lled with water.
After 3rd proong, take out the bread from the oven and spread a layer of egg wash on the
bread dough. Put the bread dough back into the oven to bake after preheating the oven.
Use Bread Function to bake bread.
For a softer, more moist and less drying outside texture, you can place the detachable water
tank lled with water when baking or cooking.
Cooking function information
Note
•
•
•
•
•
•
Cake Function: Ideal for baking cakes, muns, brownies, and pastries.
Pizza Function: The type of pizza will inuence cooking time. Pizzas with a thick crust may
require slightly more cooking time, and pizzas that are frozen may require even more
cooking time. Types of pizza: fresh, frozen, thin or thick crust, deep-dish.
Dehydrate Function: This function combines low and stable heat with automatic airow to
evenly dry out foods without cooking. Ideal for drying fruit or vegetable chips. The general
recommended temperatures for dehydration are 38°C - 80°C, but you may follow your
recipe accordingly.
Cookie Function: This function is ideal for baking homemade or commercially prepared
cookies and other baked treats. Also ideal for ready-to-bake croissants, cinnamon rolls,
biscuits, and strudels.
Yogurt Function: This is used for making yogurt with an appropriate recipe (using 42°C
temperature and up to 9.5 hours cooking time).
Fries Function: It is recommended to use frozen fries for this function. Do not defrost before
cooking.
Time Range
(H:MM)
Default Time
(H:MM)
Temperature RangeDefault Temperature
Bread 0:20
26 - 230°C
170°C
0:01 - 2:00
Cake 0:50 160°C
190°C
200°C
28°C
120°C
160°C
42°C
200°C
200°C
180°C
Pu 0:25
Pizza 0:15
Tart 0:25
Ferment 0:40 26 - 42°C
Dehydrate 1:00
26 - 230°C
Cookie 0:20
Steak 0:10
Yogurt 6:30 38 - 42°C0:10 - 9:50
Chicken 0:40
26 - 230°C0:01 - 2:00
Fries 0:20
230°C

9 6
Japanese Condensed Milk Bread
Ingredients:
•
•
•
•
•
•
•
Method:
1.
2.
3.
4.
5.
6.
7.
8.
9.
10.
Note:
•
20g our
20g ne sugar
120 – 130g milk
3g salt
35g condensed milk (set aside 20g for condensed milk sauce)
40g room temperature butter (set aside 20g for condensed milk sauce)
3g yeast
Knead all ingredients except butter till smooth and soft texture. Then add in butter and
continue kneading. Make sure the dough is well kneaded. Do windowpane test.
Put the bread dough into a bowl, wrap it tightly with a cling wrap and set aside to let proof
until the dough size increases to twice the current size.
Prepare the condensed milk sauce. Melt the butter and mix it with the condensed milk until
it is well combined. Set aside.
Once the bread dough has nished the 1st proong, punch down the dough to remove any
air. Take out the dough and cut it into 4 equal parts. Apply a layer of condensed milk sauce
onto the bread.
Stack the 4 pieces of bread dough together, then cut into 8 small pieces of equal parts.
Take an 8-inch chion cake tin and coat the thin with a thin layer of butter. Then put the 8
pieces of bread dough into the cake tin, and arrange them spaced out with an equal
amount of spacing distance. The bread dough should be turned in a perpendicular
direction, 90° angle standing position instead of its initial lying down position.
Wrap the cake tin tightly with a cling wrap and set it aside to let proof until the dough size
increases to twice the current size.
After 2nd proong, add dry toppings of your choice if you want, and spread the condensed
milk sauce around the bread dough. Dry toppings can be chocolate chips, dried nuts, or
dried fruits like raisins, dried cranberries, etc.
Put the cake tin on a wire rack or baking tray, and put it into the oven to bake after
preheating the oven.
Use Bread Function to bake bread.
For a softer, more moist and less drying outside texture, you can place the detachable water
tank lled with water when baking or cooking.
Bake Tray
•
•
•
•
•
•
•
Wire Rack
•
•
•
•
•
•
•
•
Used when making grilling or roasting meat, poultry, sh and various foods. It can be
placed on cavity Position A, B, or C.
When making cakes and cookies, it can be placed on Position B.
When cooking, please ensure food is placed on the bake tray.
When using the bake tray, it must be placed in the shelf position.
When taking out the bake tray after the food is cook, please us oven mittens as the bake
tray may be very hot. To avoid scalding, do not touch it directly with your bare hands.
To avoid damaging the oven door, do not drag the bake tray on the oven doors when
handling.
For easier cleaning, it is recommended to use an aluminium foil or baking paper on the
bake tray, before placing food on the bake tray.
Used when making grilling or roasting meat, poultry, sh and various foods. It can be
placed on cavity Position A, B, or C.
When using the wire rack, it must be placed in the shelf position.
Wire rack cannot be used individually. It should always be used together with the bake tray.
Place the bake tray at the below shelf position, under wire rack. This can help to keep the
base of the oven dry. Any water, oil or fats will drip down onto the bake tray.
When taking out the wire rack after the food is cook, please us oven mittens as the bake
tray may be very hot. To avoid scalding, do not touch it directly with your bare hands.
To avoid damaging the oven door, do not drag the wire rack on the oven doors when
handling.
For foods without any kitchenware bring used, use aluminium foil to wrap the wire rack rst
before placing food on the wire rack.
For easier cleaning, it is recommended to use an aluminium foil and/ or baking paper on
the wire rack, before placing food on the wire rack.
Position A
Position B
Position C
RECIPES - ANNEX

7 8
CLEANING AND MAINTENANCE
TROUBLESHOOTING
Plug in the appliance into a grounded wall socket
Press the “Start” button after choosing the desired
preset function, time, and temperature
Problem Cause of Issue Solution
The appliance is not plugged in
The “Start” button was not
pressed
Place smaller amount of ingredients at one time
Press the “Select” knob, turn clockwise to increase
the cooking temperature and press again to start
Press the “Select” knob, turn clockwise to increase
the cooking time and press again to conrm
The amount of ingredients
being cooked is too much
The set temperature is too low
The set time is too short
The appliance is
not switching on
The ingredients are
not fully cooked
Halfway of the cooking time, press “Stop” to
switch o the appliance, and carefully turn the
food over, then re-cook the food with the same
recipe and temperature with 1/2 the time
Certain types of ingredients
need to be turned over halfway
during the cooking time
The ingredients are
not evenly cooked
When cooking greasy ingredients in the
appliance, some oils will leak onto the bake tray.
The oil produces white smoke and the tray may
heat up more than the usual. This does not aect
the appliance or the end result
It is normal for white smoke to
appear when prepping greasy
ingredients
Please make sure the oven cavity is thoroughly
cleaned after every use.
The bake tray has grease
residues
White smoke
comes out of the
appliance
Mesh basket tray
•
Tray handle
•
Water Tank
•
•
Used when making potato chips, sh chips and other similar food. It should be placed on
cavity Position B.
Used to move out the wire rack and bake tray when they are hot.
Recommended when grilling or roasting meat, poultry, sh and various foods, to keep your
food moist and humid, not to dry or crisp on the outside.
To use it, ll up the water tank with water. There is a slot to insert the water tank at the back
of the oven cavity, towards the right side and nearer to the top of the cavity. Place the water
tank in before you start heating up the oven.
Cleaning
•
•
•
•
•
•
•
•
•
•
•
•
•
Cleaning of the appliance should only be carried out when the appliance has cooled down
to room temperature.
Turn o the main switch and disconnect the power plug from the main power supply.
Ensure that oven is thoroughly cooled down before cleaning.
Do not use any steam cleaner to clean this appliance.
To avoid corrosion which would shorten the useful life of the appliance, always keep it
clean. Always clean the appliance after use.
Do not immerse or soak the appliance into the water to clean. Please clean the appliance
using a damp cloth.
Only oven accessories can be soaked, immerse and rinse under water with detergent when washing.
If accessories are oily, soak them in warm detergent water rst before washing.
To avoid damage to the appliance body, control panel, oven walls and accessories, do not
use any cleaning cloth that contains metal, scrubbing cleaners, steel brush or cloth with a
rough surface for cleaning.
Use a soft and gentle cloth soaked in water or a kitchen paper towel to clean the appliance.
You may also soak the cloth in detergent water if the appliance is very oily, but please
ensure that all the soap substances are thoroughly cleaned o.
Use a soft and gentle sponge, and wash the accessories gently to prevent scratches or
damages of the accessories.
Dry up the appliance completely with dry cloth to prevent any possibility of mold growth.
Always make sure the cavity (including the bottom base and crumb tray) is completely
dried after use.
•
•
•
After each use:
•
•
•
Salt is a corrosive substance that would result in rust stains if left to build up inside the
oven. Acidic sauces, such as ketchup, mustard and preserves, contain chemicals like
chlorine and acids which would damage the cavity surface.
Do not allow grease and food debris to remain on the oven door and door seal. If the door
seal is not kept clean, the oven door may fail to close when the appliance is in operation.
This would cause damage to the front and sides of the appliance.
Use a soft sponge or cloth and soaked in gentle detergent to wash the crumb tray and
accessories used. Dry up completely with dry cloth before putting back into the oven to
prevent any mold growth.
Disconnect the plug from main power when the appliance is not in use. Keep the oven
clean at all times. When not in use for a long period of time, put the appliance in a dry place
away from corrosive gases.
After every use, clean and dry the oven body and cavity thoroughly.

Produkspesifikasjoner
Merke: | Mayer |
Kategori: | Frityrkoker |
Modell: | MMAO2088 |
Trenger du hjelp?
Hvis du trenger hjelp med Mayer MMAO2088 still et spørsmål nedenfor, og andre brukere vil svare deg
Frityrkoker Mayer Manualer
10 Januar 2025
Frityrkoker Manualer
- Frityrkoker Thomson
- Frityrkoker Miele
- Frityrkoker Haier
- Frityrkoker Royal Catering
- Frityrkoker Bosch
- Frityrkoker Grundig
- Frityrkoker Bartscher
- Frityrkoker Steba
- Frityrkoker Philips
- Frityrkoker Arendo
- Frityrkoker Amica
- Frityrkoker Domo
- Frityrkoker AEG
- Frityrkoker Inventum
- Frityrkoker Cecotec
- Frityrkoker Ninja
- Frityrkoker Delonghi
- Frityrkoker Imarflex
- Frityrkoker Bomann
- Frityrkoker Kogan
- Frityrkoker Create
- Frityrkoker G3 Ferrari
- Frityrkoker Sunbeam
- Frityrkoker Xiaomi
- Frityrkoker Morphy Richards
- Frityrkoker Midea
- Frityrkoker Gourmetmaxx
- Frityrkoker Gorenje
- Frityrkoker Panasonic
- Frityrkoker Westinghouse
- Frityrkoker Sencor
- Frityrkoker Electroline
- Frityrkoker Mistral
- Frityrkoker Cosmo
- Frityrkoker Khind
- Frityrkoker Taurus
- Frityrkoker Breville
- Frityrkoker Turbotronic
- Frityrkoker Bimar
- Frityrkoker RGV
- Frityrkoker Hendi
- Frityrkoker Concept
- Frityrkoker Livoo
- Frityrkoker Hyundai
- Frityrkoker Nevir
- Frityrkoker Ufesa
- Frityrkoker Rowenta
- Frityrkoker Ultenic
- Frityrkoker Tower
- Frityrkoker Salton
- Frityrkoker Termozeta
- Frityrkoker Tristar
- Frityrkoker Cuisinart
- Frityrkoker Costway
- Frityrkoker Eldom
- Frityrkoker Elba
- Frityrkoker Brentwood
- Frityrkoker Philco
- Frityrkoker Prixton
- Frityrkoker Tesla
- Frityrkoker Salter
- Frityrkoker Jata
- Frityrkoker Elta
- Frityrkoker ATAG
- Frityrkoker Princess
- Frityrkoker Wilfa
- Frityrkoker Ambiano
- Frityrkoker Heinner
- Frityrkoker Innoliving
- Frityrkoker Mx Onda
- Frityrkoker Dualit
- Frityrkoker Ariete
- Frityrkoker Tefal
- Frityrkoker Atosa
- Frityrkoker Izzy
- Frityrkoker Waring Commercial
- Frityrkoker Swan
- Frityrkoker Girmi
- Frityrkoker H.Koenig
- Frityrkoker Emerio
- Frityrkoker Aconatic
- Frityrkoker Healthy Choice
- Frityrkoker Bass Polska
- Frityrkoker Kambrook
- Frityrkoker Ardes
- Frityrkoker Steinberg
- Frityrkoker Nutrichef
- Frityrkoker DPM
- Frityrkoker Sogo
- Frityrkoker Comelec
- Frityrkoker Moulinex
- Frityrkoker Livington
- Frityrkoker Akai
- Frityrkoker Unold
- Frityrkoker Imperial
- Frityrkoker Clatronic
- Frityrkoker Stilfer
- Frityrkoker Cookology
- Frityrkoker Hanseatic
- Frityrkoker Proline
- Frityrkoker Kalorik
- Frityrkoker Tornado
- Frityrkoker Fritel
- Frityrkoker Alpina
- Frityrkoker Masterpro
- Frityrkoker Oster
- Frityrkoker Presto
- Frityrkoker Instant
- Frityrkoker APW Wyott
- Frityrkoker Fryclone
- Frityrkoker Cecilware
- Frityrkoker PowerXL
- Frityrkoker Avantco
- Frityrkoker Bourgini
- Frityrkoker Grunkel
- Frityrkoker Bella
- Frityrkoker Essentiel B
- Frityrkoker Paragon
- Frityrkoker Igenix
- Frityrkoker Harper
- Frityrkoker Baccarat
- Frityrkoker Chefman
- Frityrkoker Gourmia
- Frityrkoker BioChef
- Frityrkoker Vulcan
- Frityrkoker Frymaster
- Frityrkoker Vollrath
- Frityrkoker Haden
- Frityrkoker Ecozy
- Frityrkoker Giles
- Frityrkoker Instant Pot
Nyeste Frityrkoker Manualer
7 September 2025
7 September 2025
7 September 2025
7 September 2025
7 September 2025
7 September 2025
7 September 2025
7 September 2025
6 September 2025
6 September 2025