Moulinex Easy Fry & Grill EZ5018 Bruksanvisning
Moulinex
Frityrkoker
Easy Fry & Grill EZ5018
Les nedenfor 📖 manual på norsk for Moulinex Easy Fry & Grill EZ5018 (117 sider) i kategorien Frityrkoker. Denne guiden var nyttig for 19 personer og ble vurdert med 4.9 stjerner i gjennomsnitt av 10 brukere
Side 1/117
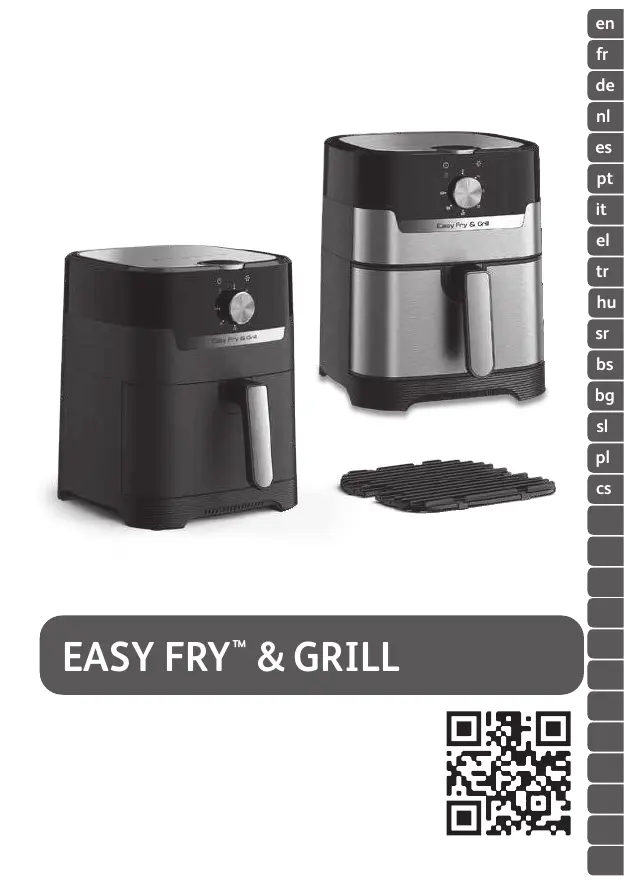
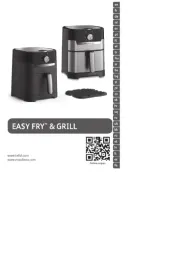
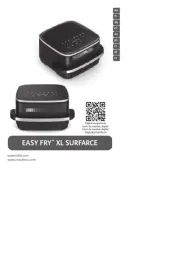
EASY FRY
™
& GRILL
www.tefal.com
www.moulinex.com
ru
sq
et
uk
lv
kk
lt
ro
tr
es
bg
hu
pt
sl
de
en
sr
it
sk
pl
nl
fr
bs
el
hr
cs
ar
fa
Online recipes
Produkspesifikasjoner
| Merke: | Moulinex |
| Kategori: | Frityrkoker |
| Modell: | Easy Fry & Grill EZ5018 |
Trenger du hjelp?
Hvis du trenger hjelp med Moulinex Easy Fry & Grill EZ5018 still et spørsmål nedenfor, og andre brukere vil svare deg
Frityrkoker Moulinex Manualer

31 August 2025
30 August 2025
25 August 2025
24 August 2025

24 August 2025
18 August 2025
18 August 2025
18 August 2025
18 August 2025
18 August 2025
Frityrkoker Manualer
- Sunbeam
- Taurus
- Concept
- Morphy Richards
- Brentwood
- Jata
- Cosori
- CaterChef
- Imperial
- Ardes
- Mistral
- Aiwa
- Swan
- Baccarat
- Paragon
Nyeste Frityrkoker Manualer
20 Oktober 2025
18 Oktober 2025

15 Oktober 2025
13 Oktober 2025
13 Oktober 2025
13 Oktober 2025

13 Oktober 2025
13 Oktober 2025
13 Oktober 2025
12 Oktober 2025