OSD Audio PS10 Bruksanvisning
Les nedenfor 📖 manual på norsk for OSD Audio PS10 (4 sider) i kategorien Subwoofer. Denne guiden var nyttig for 17 personer og ble vurdert med 4.8 stjerner i gjennomsnitt av 9 brukere
Side 1/4
A U D I O
OSD
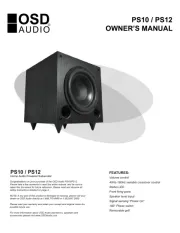
PS10 / PS12
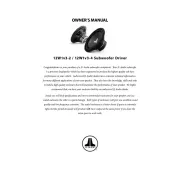
OWNER’S MANUAL
FEATURES:
Volume control
40Hz-180Hz variable crossover control
Status LED
Front firing ports
Speaker level input
Signal sensing “Power On”
180° Phase switch
Removable grill
Congratulations on your purchase of the OSD Audio PS10/PS12.
Please take a few moments to read this entire manual, and be sure to
retain this document for future reference. Please read and observe all
safety instructions detailed on page 2.
NOTE: if any part of this product is damaged or missing, please call your
dealer or OSD Audio directly at 1.888.779.4968 or 1.562.697.2600
Please read your warranty and retain your receipt and original carton for
possible future use.
For more information about OSD Audio electronics, speakers and
accessories please visit www.OSDAudio.com
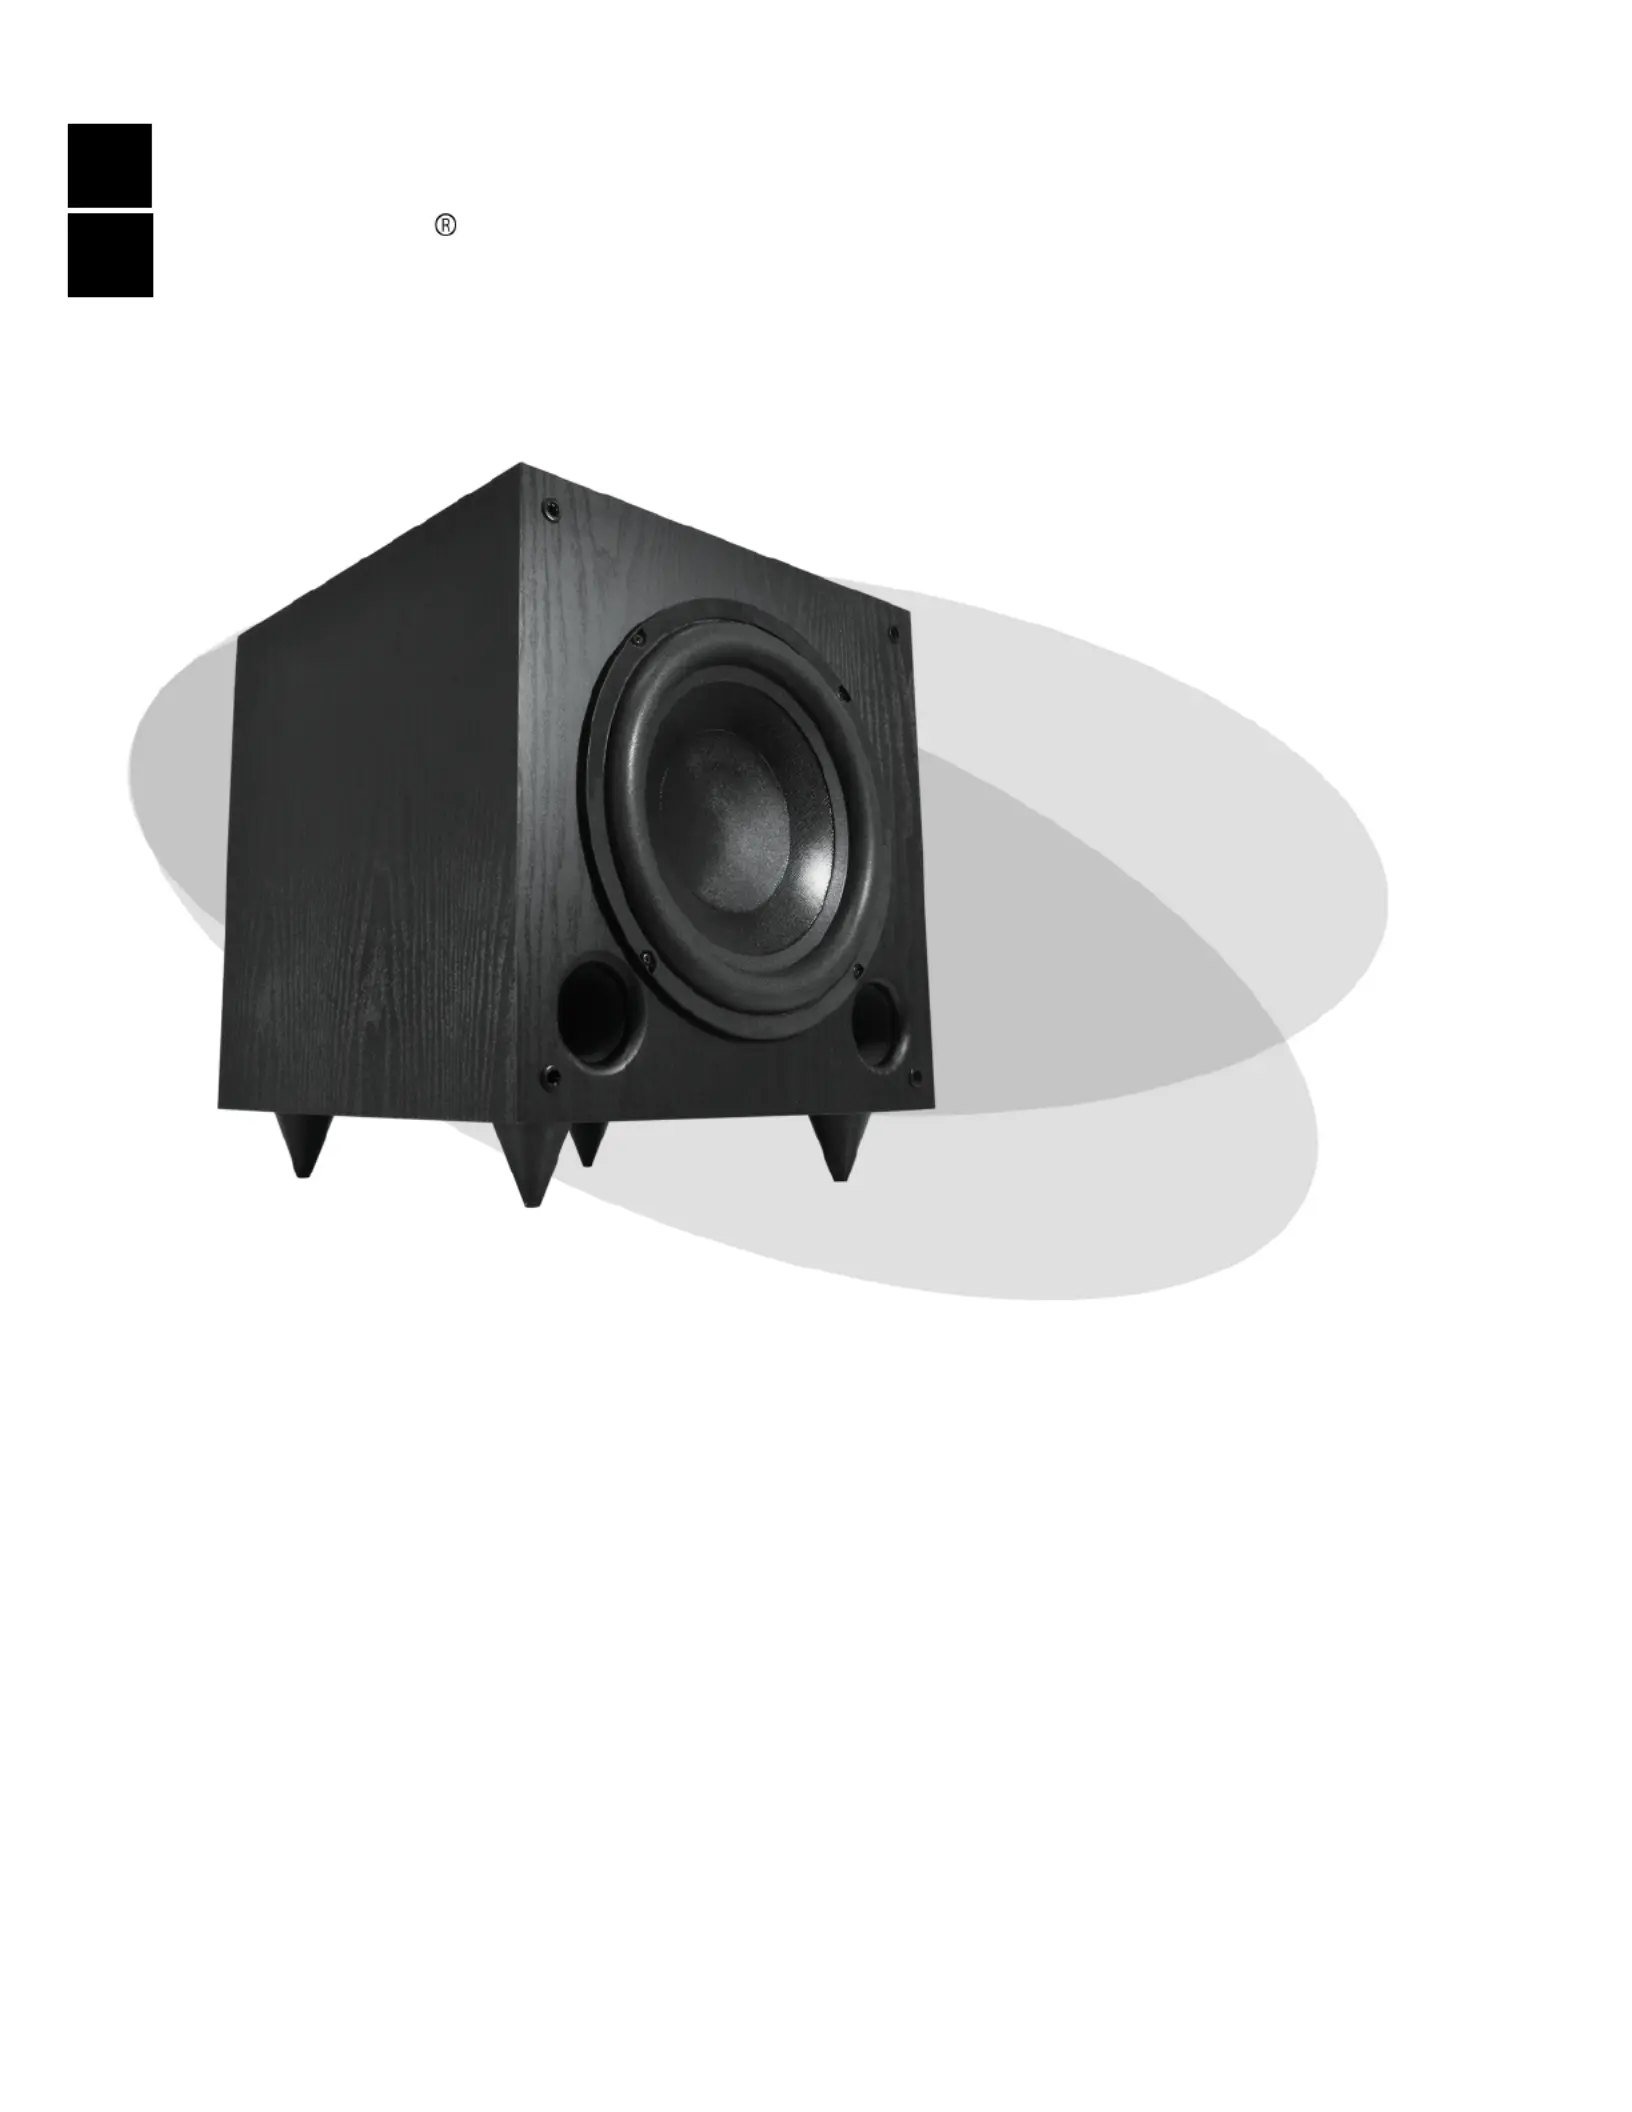
PS10 / PS12
Home Audio Powered Subwoofer
Produkspesifikasjoner
| Merke: | OSD Audio |
| Kategori: | Subwoofer |
| Modell: | PS10 |
| Strømkildetype: | AC |
| Impedans: | 8 Ω |
| Antall subwoofere: | 1 |
| Produktfarge: | Sort |
| Strømforbruk (vanlig bruk): | 200 W |
| Hurtigstartsguide: | Ja |
| Line-in: | Ja |
| Av/på-bryter: | Ja |
| Subwoofer-vekt: | 14968.5 g |
| Linie-utgang (RCA): | 2 |
| Line-out: | Ja |
| Subwoofer RMS-styrke: | 125 W |
| Subwoofer-driverdiameter (imperisk): | 10 " |
| Subwoofer-type: | Aktiv subwoofer |
| Frekvensomgang subwoofer: | 25 - 180 Hz |
| Bredde subwoofer: | 342.9 mm |
| Dybde subwoofer: | 342.9 mm |
| Høyde subwoofer: | 361.95 mm |
| Diameter på subwoofer-driver: | 254 mm |
| Linje innganger (RCA): | 1 |
| Subwoofer-sensitivitet: | 100 dB |
Trenger du hjelp?
Hvis du trenger hjelp med OSD Audio PS10 still et spørsmål nedenfor, og andre brukere vil svare deg
Subwoofer OSD Audio Manualer
12 August 2025

28 Januar 2025

28 Januar 2025

6 Januar 2025

5 Januar 2025

15 Oktober 2024

15 Oktober 2024

15 Oktober 2024
Subwoofer Manualer
- FBT
- Fender
- Black Hydra
- Atlas Sound
- Polk
- Rockford Fosgate
- Klipsch
- Orion
- KEF
- Definitive Technology
- ESX
- JVC
- Dual
- AV:link
- Origin Acoustics
Nyeste Subwoofer Manualer
20 Oktober 2025
20 Oktober 2025
20 Oktober 2025
20 Oktober 2025

19 Oktober 2025

19 Oktober 2025
19 Oktober 2025

19 Oktober 2025

19 Oktober 2025

19 Oktober 2025