Powerbase PBPM 40P Bruksanvisning
Powerbase
Gressklipper
PBPM 40P
Les nedenfor 📖 manual på norsk for Powerbase PBPM 40P (2 sider) i kategorien Gressklipper. Denne guiden var nyttig for 22 personer og ble vurdert med 4.8 stjerner i gjennomsnitt av 11.5 brukere
Side 1/2

990900
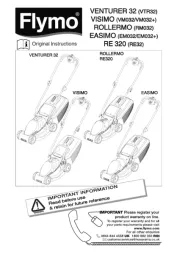
Assembly and Operating Instructions
40cm Petrol Push Lawnmower
WARNING! PLEASE READ THESE INSTRUCTIONS BEFORE
OPERATING THIS UNIT
KEEP THIS MANUAL FOR FUTURE REFERENCE
Produkspesifikasjoner
| Merke: | Powerbase |
| Kategori: | Gressklipper |
| Modell: | PBPM 40P |
Trenger du hjelp?
Hvis du trenger hjelp med Powerbase PBPM 40P still et spørsmål nedenfor, og andre brukere vil svare deg
Gressklipper Powerbase Manualer

20 Januar 2025
Gressklipper Manualer
- Husqvarna
- Brill
- Chapin
- Worx
- SABO
- Ozito
- BaByliss
- Stiga
- Sun Joe
- Black And Decker
- Einhell
- Toolcraft
- Yellow Garden Line
- Gude
- Troy-Bilt
Nyeste Gressklipper Manualer

13 Oktober 2025

13 Oktober 2025
13 Oktober 2025
13 Oktober 2025
13 Oktober 2025
13 Oktober 2025
13 Oktober 2025

13 Oktober 2025
13 Oktober 2025
13 Oktober 2025