Pyle PKRK212 Bruksanvisning

Les nedenfor 📖 manual på norsk for Pyle PKRK212 (4 sider) i kategorien karaokesystem. Denne guiden var nyttig for 3 personer og ble vurdert med 4.5 stjerner i gjennomsnitt av 2 brukere

Side 1/4
PyleAudio.com
718.535.1800 718.236.2400(fax)
1600 63rd Street, Brooklyn NY 11204
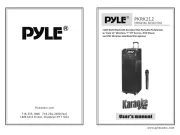
OPPERATING INSTRUCTIONS
PKRK212
www.pyleaudio.com
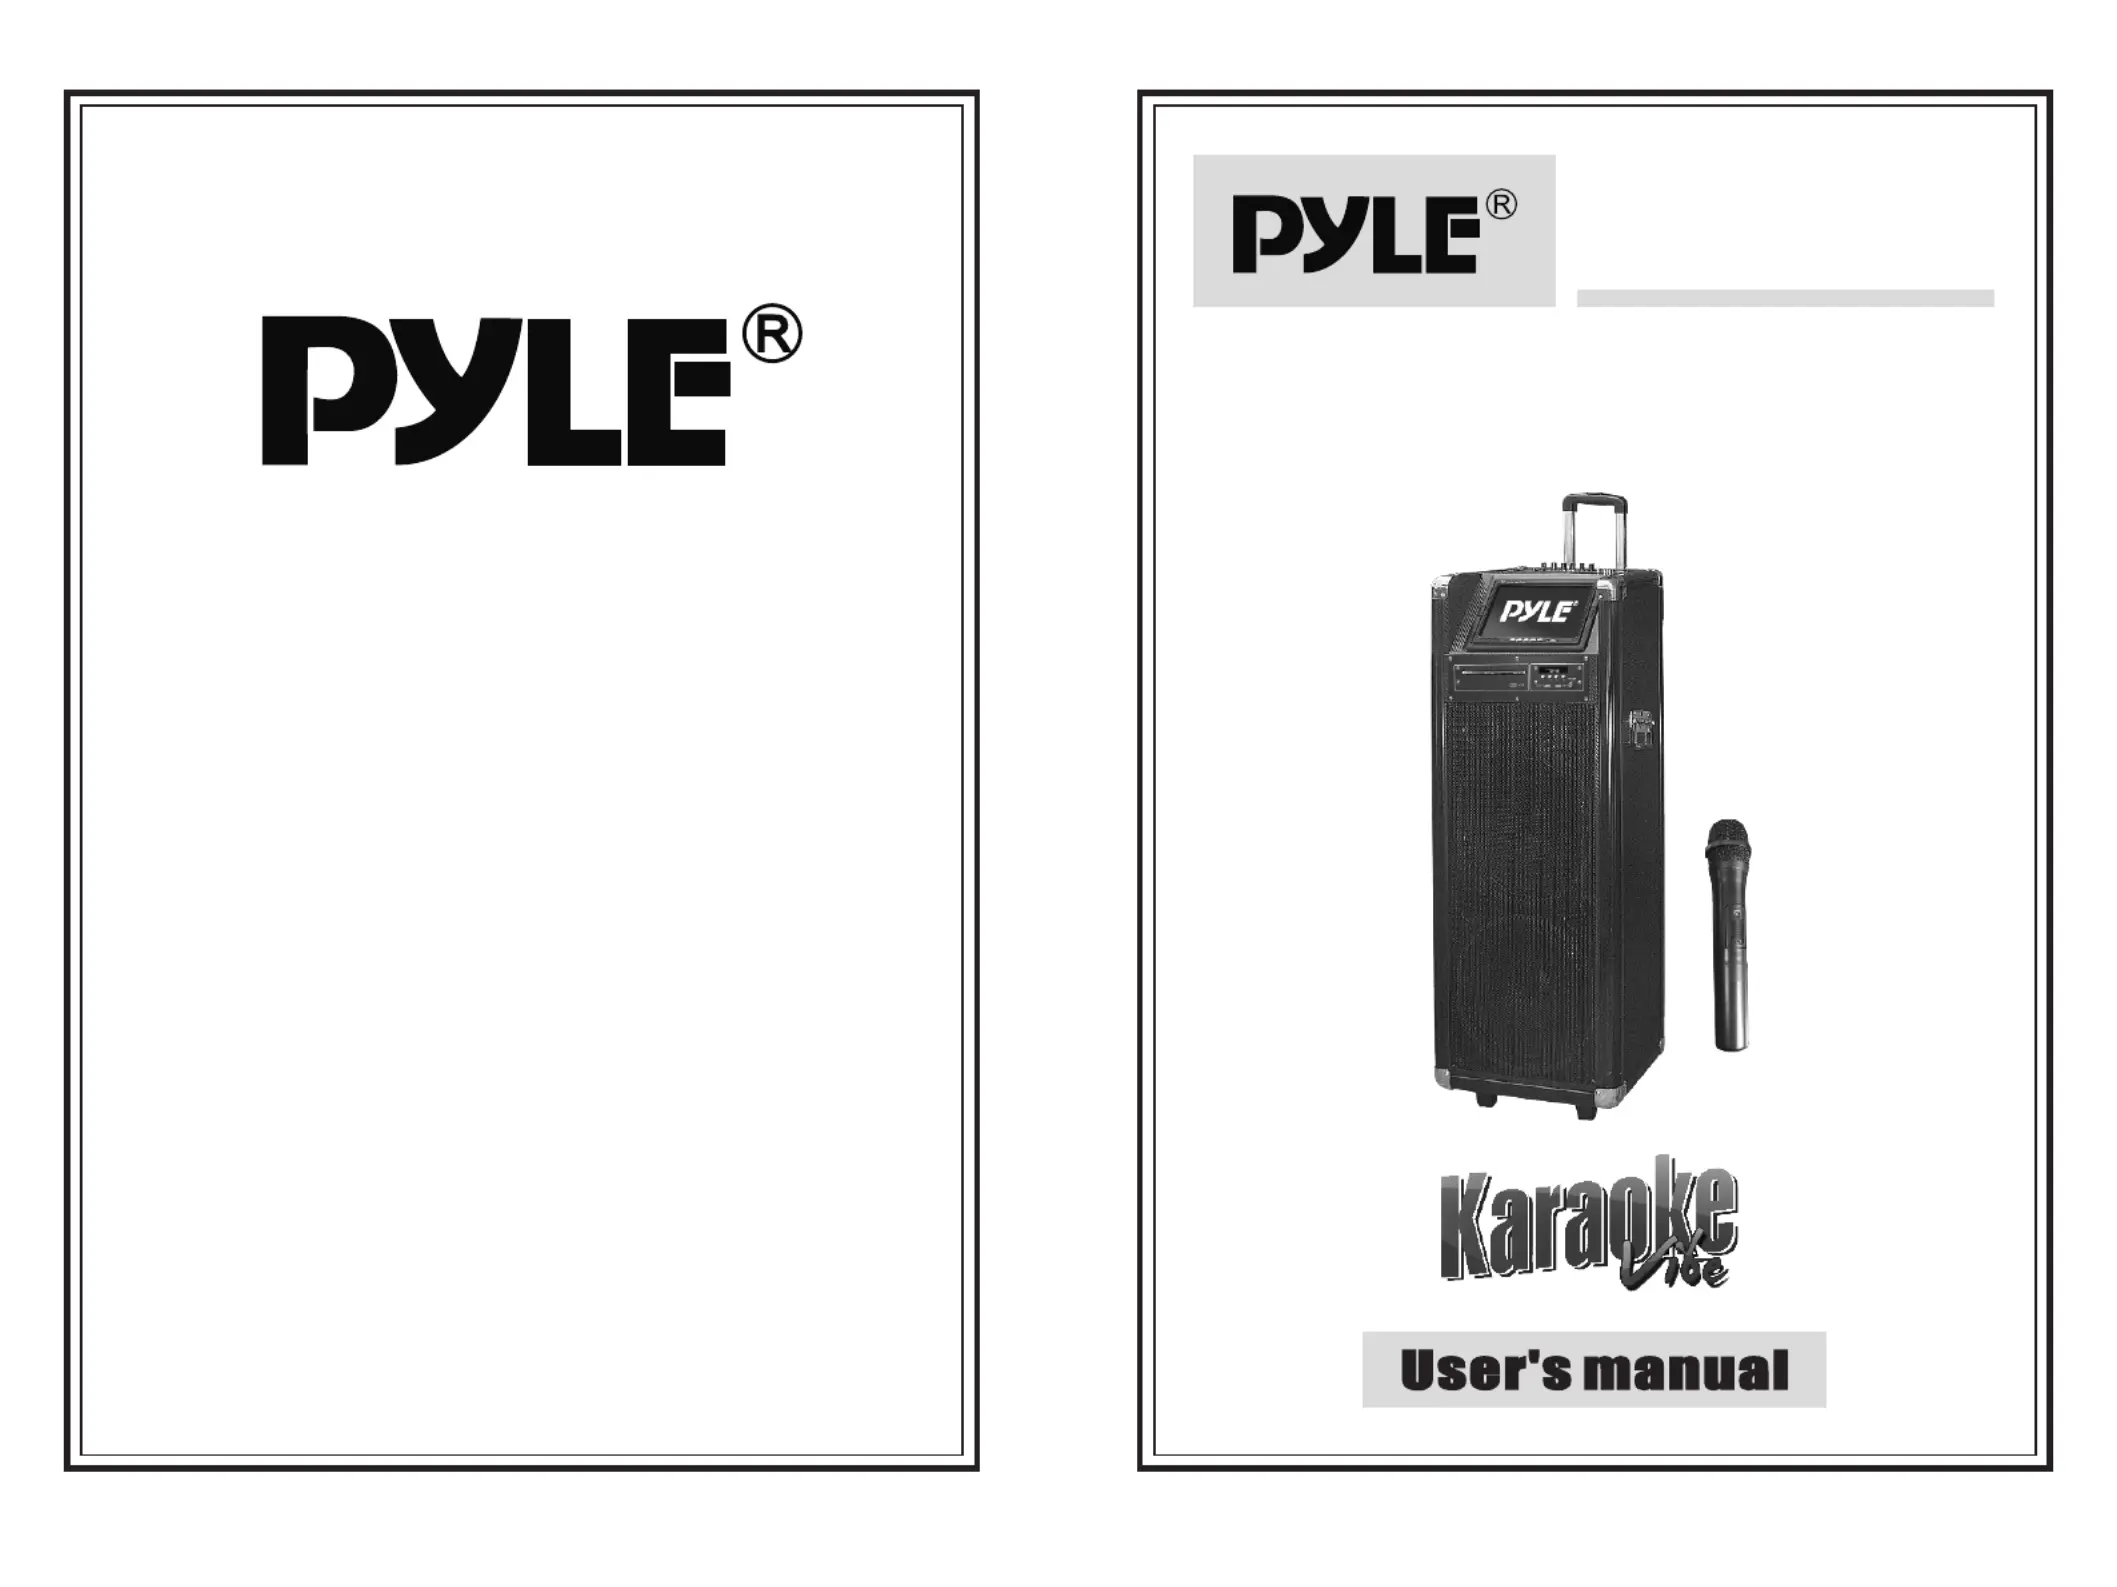
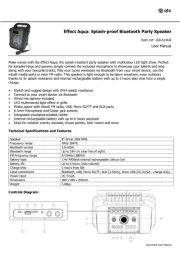
1200 Watt Bluetooth Karaoke Vibe Portable PA Speaker
w/ Dual 12" Woofers, 7" TFT Screen, DVD Player
2
US B
1
1
1
112
2
2
223
3
3
33 4
4
4
44 5
5
5
55 6
6
6
66 7
7
7
77
8
8
8
88
9
9
9
99
2
2
2
221
1
1
11
1
1
1
110
0
0
00 1
1
1
111
1
1
11 1
1
1
113
3
3
33 1
1
1
114
4
4
44 1
1
1
115
5
5
55 1
1
1
116
6
6
66 1
1
1
117
7
7
77 1
1
1
118
8
8
88 1
1
1
119
9
9
99
2
2
2
220
0
0
00 2
2
2
222
2
2
22 2
2
2
223
3
3
33 2
2
2
224
4
4
44
1
1
1
112
2
2
22
IN
IN
IN
ININ P
P
P
PP UT DC
UT DC
UT DC
UT DCUT DC 1
1
1
11 2V
2V
2V
2V2V
PO
PO
PO
POPO WE
WE
WE
WEWE R
R
R
RR
GU
GU
GU
GUGU ITA
ITA
ITA
ITAITA R.V
R.V
R.V
R.VR.V OL
OL
OL
OLOL
GU
GU
GU
GUGU ITA
ITA
ITA
ITAITA R
R
R
R R
PO
PO
PO
POPO WE
WE
WE
WEWE R
R
R
RR
LO
LO
LO
LOLO WB
WB
WB
WBWB ATT
ATT
ATT
ATTATT
RE
RE
RE
RERE CH
CH
CH
CHCH AR
AR
AR
ARAR GE
GE
GE
GEGE
MI
MI
MI
MIMI C1
C1
C1
C1 C1
MI
MI
MI
MIMI C.
C.
C.
C.C. VO
VO
VO
VOVO L
L
L
LL EC
EC
EC
ECEC HO
HO
HO
HOHO
BA
BA
BA
BABA SS
SS
SS
SSSS
TR
TR
TR
TRTR EB
EB
EB
EBEB LE
LE
LE
LELE
VO
VO
VO
VOVO LU
LU
LU
LULU ME
ME
ME
MEME
MI
MI
MI
MIMI C
C
C
C C
PR
PR
PR
PRPR IO
IO
IO
IOIO RI
RI
RI
RIRI TY
TY
TY
TYTY
ON
ON
ON
ONON
OF
OF
OF
OFOF F
F
F
FF
ON
ON
ON
ONON OF
OF
OF
OFOF F
F
F
FF
OU
OU
OU
OU OU TP
TP
TP
TPTP UT
UT
UT
UTUT
AUX
AUX
AUX
AUX AUX -I
-I
-I
-I-I N
N
N
NN
VI
VI
VI
VI VI DE
DE
DE
DEDE O
O
O
OO
IN
IN
IN
IN IN PU
PU
PU
PUPU T
T
T
TT
IN
IN
IN
IN IN PU
PU
PU
PUPU T
T
T
TT
AUD
AUD
AUD
AUD AUD IO
IO
IO
IOIO
OU
OU
OU
OU OU TP
TP
TP
TPTP UT
UT
UT
UTUT
IN
IN
IN
ININ PUT
PUT
PUT
PUTPUT
NE
NE
NE
NENE XT
XT
XT
XTXT PR
PR
PR
PRPR EV
EV
EV
EVEV PLAY
PLAY
PLAY
PLAYPLAY
P
P
P
PPRO AU
RO AU
RO AU
RO AURO AUD
D
D
DDIO PA SY
IO PA SY
IO PA SY
IO PA SYIO PA SYS
S
S
SSTE
TE
TE
TETEM
M
M
MM
RE
RE
RE
RERE PEAT
PEAT
PEAT
PEATPEAT
13.Guitar Input slot
14. MIC input slot
15. Input selectors
16. Next song selector
17. Previous song selector
18. Play for Mp3 or other audio sources
19. Repeat function for USB/SD
20. Mp3 player
21. Aux-In
22. Video output
23. Audio Input
24. Audio Output
1. Power ON/OFF switch
2. Guitar Volume controller
3. Mic volume
4. Echo for microphones
5. Bass controller for main channel
6. Treble controller for main channel
7. Master volume controller
8. Mic Priority ON/OFF
9. DC 12V Input
10. Low battery indicator lights
11. Charging indicator lights1
12. Power ON/MP3 Working indicator lights
1.USB slot
2.Game Slot
3.Power ON/OFF
4.Next
5.Previous
6.Play/Pause
7.Open/Close
Panel design
DVD Panel design
1
5
9
2
6
0
3
7
10 +
4
8
TI M E
1.Open/Close for DVD
2. PAL/NTSC/AUTO switch
3.Mute for speakers
4.Radom play
5.Subtitle selector
6.Angle: choose different angles for visual
7.Vidoe Mode selector
8.A-B: Repeat from A to B
9.Set up: set up for many functions
10.11.28.30. Four directions controllers
12.Menu for DVD player
13.Language: Choose to different operation
language
14.STOP:stop the disc playing
15.Volume +: increase the Volume
16.VOLUME-:decrease the volume level
17.1-10.10+: Numbers for choose discs or
songs
18.Time: select the time you want to play
19.Next for song or other playing
20. Previous for song or other playing
21.Forward
22.Backward for discs
23.DVD/USB switch
24.Programme: make programmer for your
playing
25.Play/Pause controllers
26.Reset: reset for all playing back to Menu
27.Title: press this will playing from title
29.Confirm: confirm for your operation
31.PBC: open all menu for discs
32.View
33.Repeat: repeat for disc or songs
34.Slow: will slow down your playing
35.Eq, choose different sound effect
36.ZOOM: enlarge what you playing
37.STEP: step playing the present videos or
pictures
38.OSD:operation situation display
39. Power: power in or standby your DVD player
DVD Remote contol
7"display screen
12"Po rtable PA Spe aker w/ DVD P layer/7"TFT Screen/
One VHF Wirel ess Micrph one and Bluetoo th System
1200W PKRK21 2
4
3
Instructions
Turning ON/OFF
The PA speaker can be powered when connected to main power
or using the internal 12V battery.
1. Connect the power cable to the top of the unit.
2. Connect the other end of power cable to main power.
3. Turn on the switch for the main power.
4. The unit will automatically power on when connected to
main power.
Notes: If you wish to use the internal battery power of the unit, just
simply turn on the Battery switch located on the top of unit to ON.
Charging
Before using the PA speaker for the first time, charge the unit at
least 8 hours.
1. Connect the power cable to the top of the panel.
2. Turn off the battery switch on the top of the panel.
3. Recharge indicator light will be on when unit is charging.
Notes: Notes: The internal battery will charge while the unit is
being operated and the power switch is on. It is better to charge
the unit while the power switch is off.
Instructions
Using the Wireless Microphone
The PA speaker comes with wireless microphones to get you
started straight out of the box.
1. Tune on the unit.
2. Unscrew the bottom of the microphone to access the battery
enclosure. Insert 2XAA batteries into the microphone. Take note
the battery polarity when inserting the batteries.
3. Replace the bottom microphone cover.
4. The wireless microphone will flash once and automatically pair
with the PA speaker, it is ready to use. If it does not flash, check that
you have inserted the batteries correctly or replace old batteries.
5. Adjust the volume of the microphone by turning the MIC VOL
knob located on top control panel
Notes: Please do not operate the microphone directly in front
of the PA speaker, please set the MIC VOL/ECHO at a lower level
before turning on the wireless microphone. Operating the
microphone incorrectly will cause a loud squealing noise.
Please turn off the power switch when the wireless microphone
is not in use. This will save the battery.
Instructions:
Using the Wired Microphone
You can connect the wired microphone to this unit using the MIC
INPUT located on the top of control panel.
1. Turn off the unit.
2. Connect your wired microphone to the MIC INPUT located on
top of the control panel.
3. Adjust the microphone volume by tuning the MIC VOL/ECHO
knobs located on top control panel.
NOTES: You can use the wired microphone and wireless
microphone at the same time.
Connecting a Guitar
You can connect your Guitar to unit using the 1/4” GUITAR
INPUT plug.
1. Turn on the unit.
2. Connect your guitar cable to GUITAR INPUT port on top
control panel.
3. Adjust the volume by turning the GUITAR VOL on top control
panel.
Instructions
USB/SD Card Playback
You can play music from USB stick or SD Card using the USB/SD
slot on the PA speaker.
1. Turn on the unit.

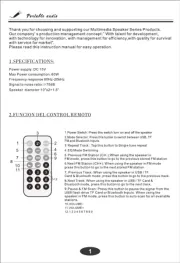
Produkspesifikasjoner

Merke: Pyle
Kategori: karaokesystem
Modell: PKRK212
Innebygd skjerm: Ja
Vekt: 28462 g
AC-adapter inngangsspenning: 110 - 220 V
Innebygde høyttalere: Ja
USB-versjon: 2.0
Mikrofontilkobling: Koblet med ledninger (ikke trådløs)
Antall mikrofoner inkludert: 1
Produktfarge: Sort
Antall USB-porter: 1
Skjermtype: LCD
Minnekortenhet: SD
Skjermdiagonal: 7 "
Kontrolltype: Knapper
Innebygd kortleser: Ja
RMS-rangert strøm/utgangseffekt: 500 W
Formål: Hjem
Støttede disktyper: CD, CD-R, DVD, DVD-R
Apple docking-kompabilitet: Ja
Innebygd optisk driver: Ja
Karaokemodus: Single/enkelt
Antall mikrofoner støttet (maks): 1
Antall minnekort-slots: 1

Trenger du hjelp?

Hvis du trenger hjelp med Pyle PKRK212 still et spørsmål nedenfor, og andre brukere vil svare deg


karaokesystem Pyle Manualer

karaokesystem Manualer

Nyeste karaokesystem Manualer