Samsung MM-N4 Bruksanvisning
Samsung
Hi-fi system
MM-N4
Les nedenfor 📖 manual på norsk for Samsung MM-N4 (19 sider) i kategorien Hi-fi system. Denne guiden var nyttig for 15 personer og ble vurdert med 4.6 stjerner i gjennomsnitt av 8 brukere
Side 1/19
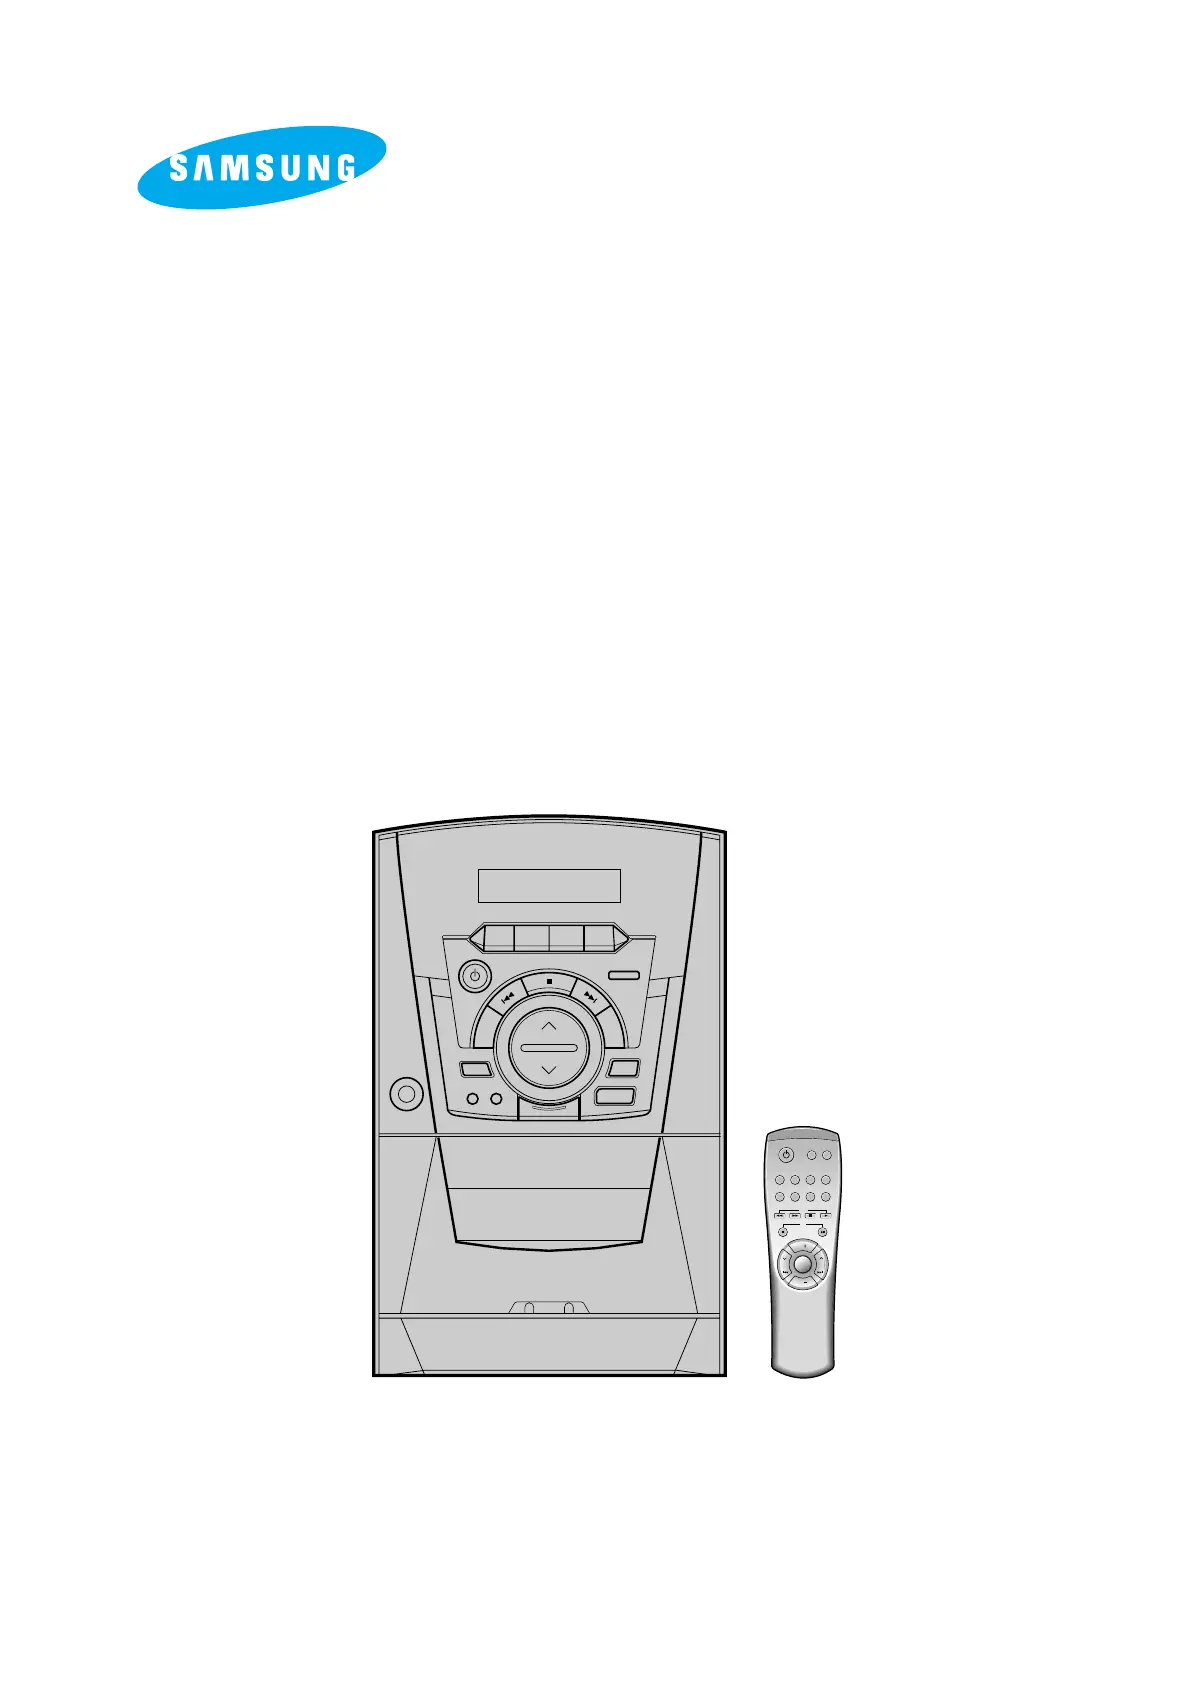
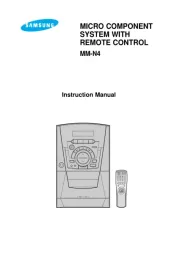
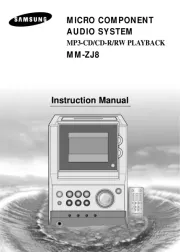
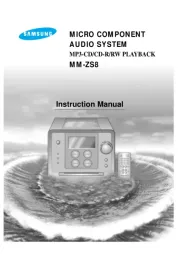
MICRO COMPONENT
SYSTEM WITH
REMOTE CONTROL
MM-N4
On/Standby
Timer
On/Off
TAPE
EQ Preset
Power
Sound
Sleep CD Repeat Mono/ST TUNER
Band
Program
/Set
AUX
Timer/
Clock
CD
CDCD
VOL.
VOL.
Tuning
Mode
Instruction Manual
Produkspesifikasjoner
| Merke: | Samsung |
| Kategori: | Hi-fi system |
| Modell: | MM-N4 |
Trenger du hjelp?
Hvis du trenger hjelp med Samsung MM-N4 still et spørsmål nedenfor, og andre brukere vil svare deg
Hi-fi system Samsung Manualer
9 Oktober 2025
9 August 2025
9 August 2025
9 August 2025
8 August 2025

8 August 2025
8 August 2025
8 August 2025
8 August 2025
8 August 2025
Hi-fi system Manualer
- Vimar
- Galaxy Audio
- CSL
- Aplic
- Vankyo
- Antelope
- Belkin
- Behringer
- AVM
- JK Audio
- M-Audio
- Tascam
- Grundig
- Mac Audio
- Sangean
Nyeste Hi-fi system Manualer
20 Oktober 2025
20 Oktober 2025
19 Oktober 2025
18 Oktober 2025
18 Oktober 2025
18 Oktober 2025

18 Oktober 2025
18 Oktober 2025
18 Oktober 2025
17 Oktober 2025