SereneLife PSLHUM80 Bruksanvisning
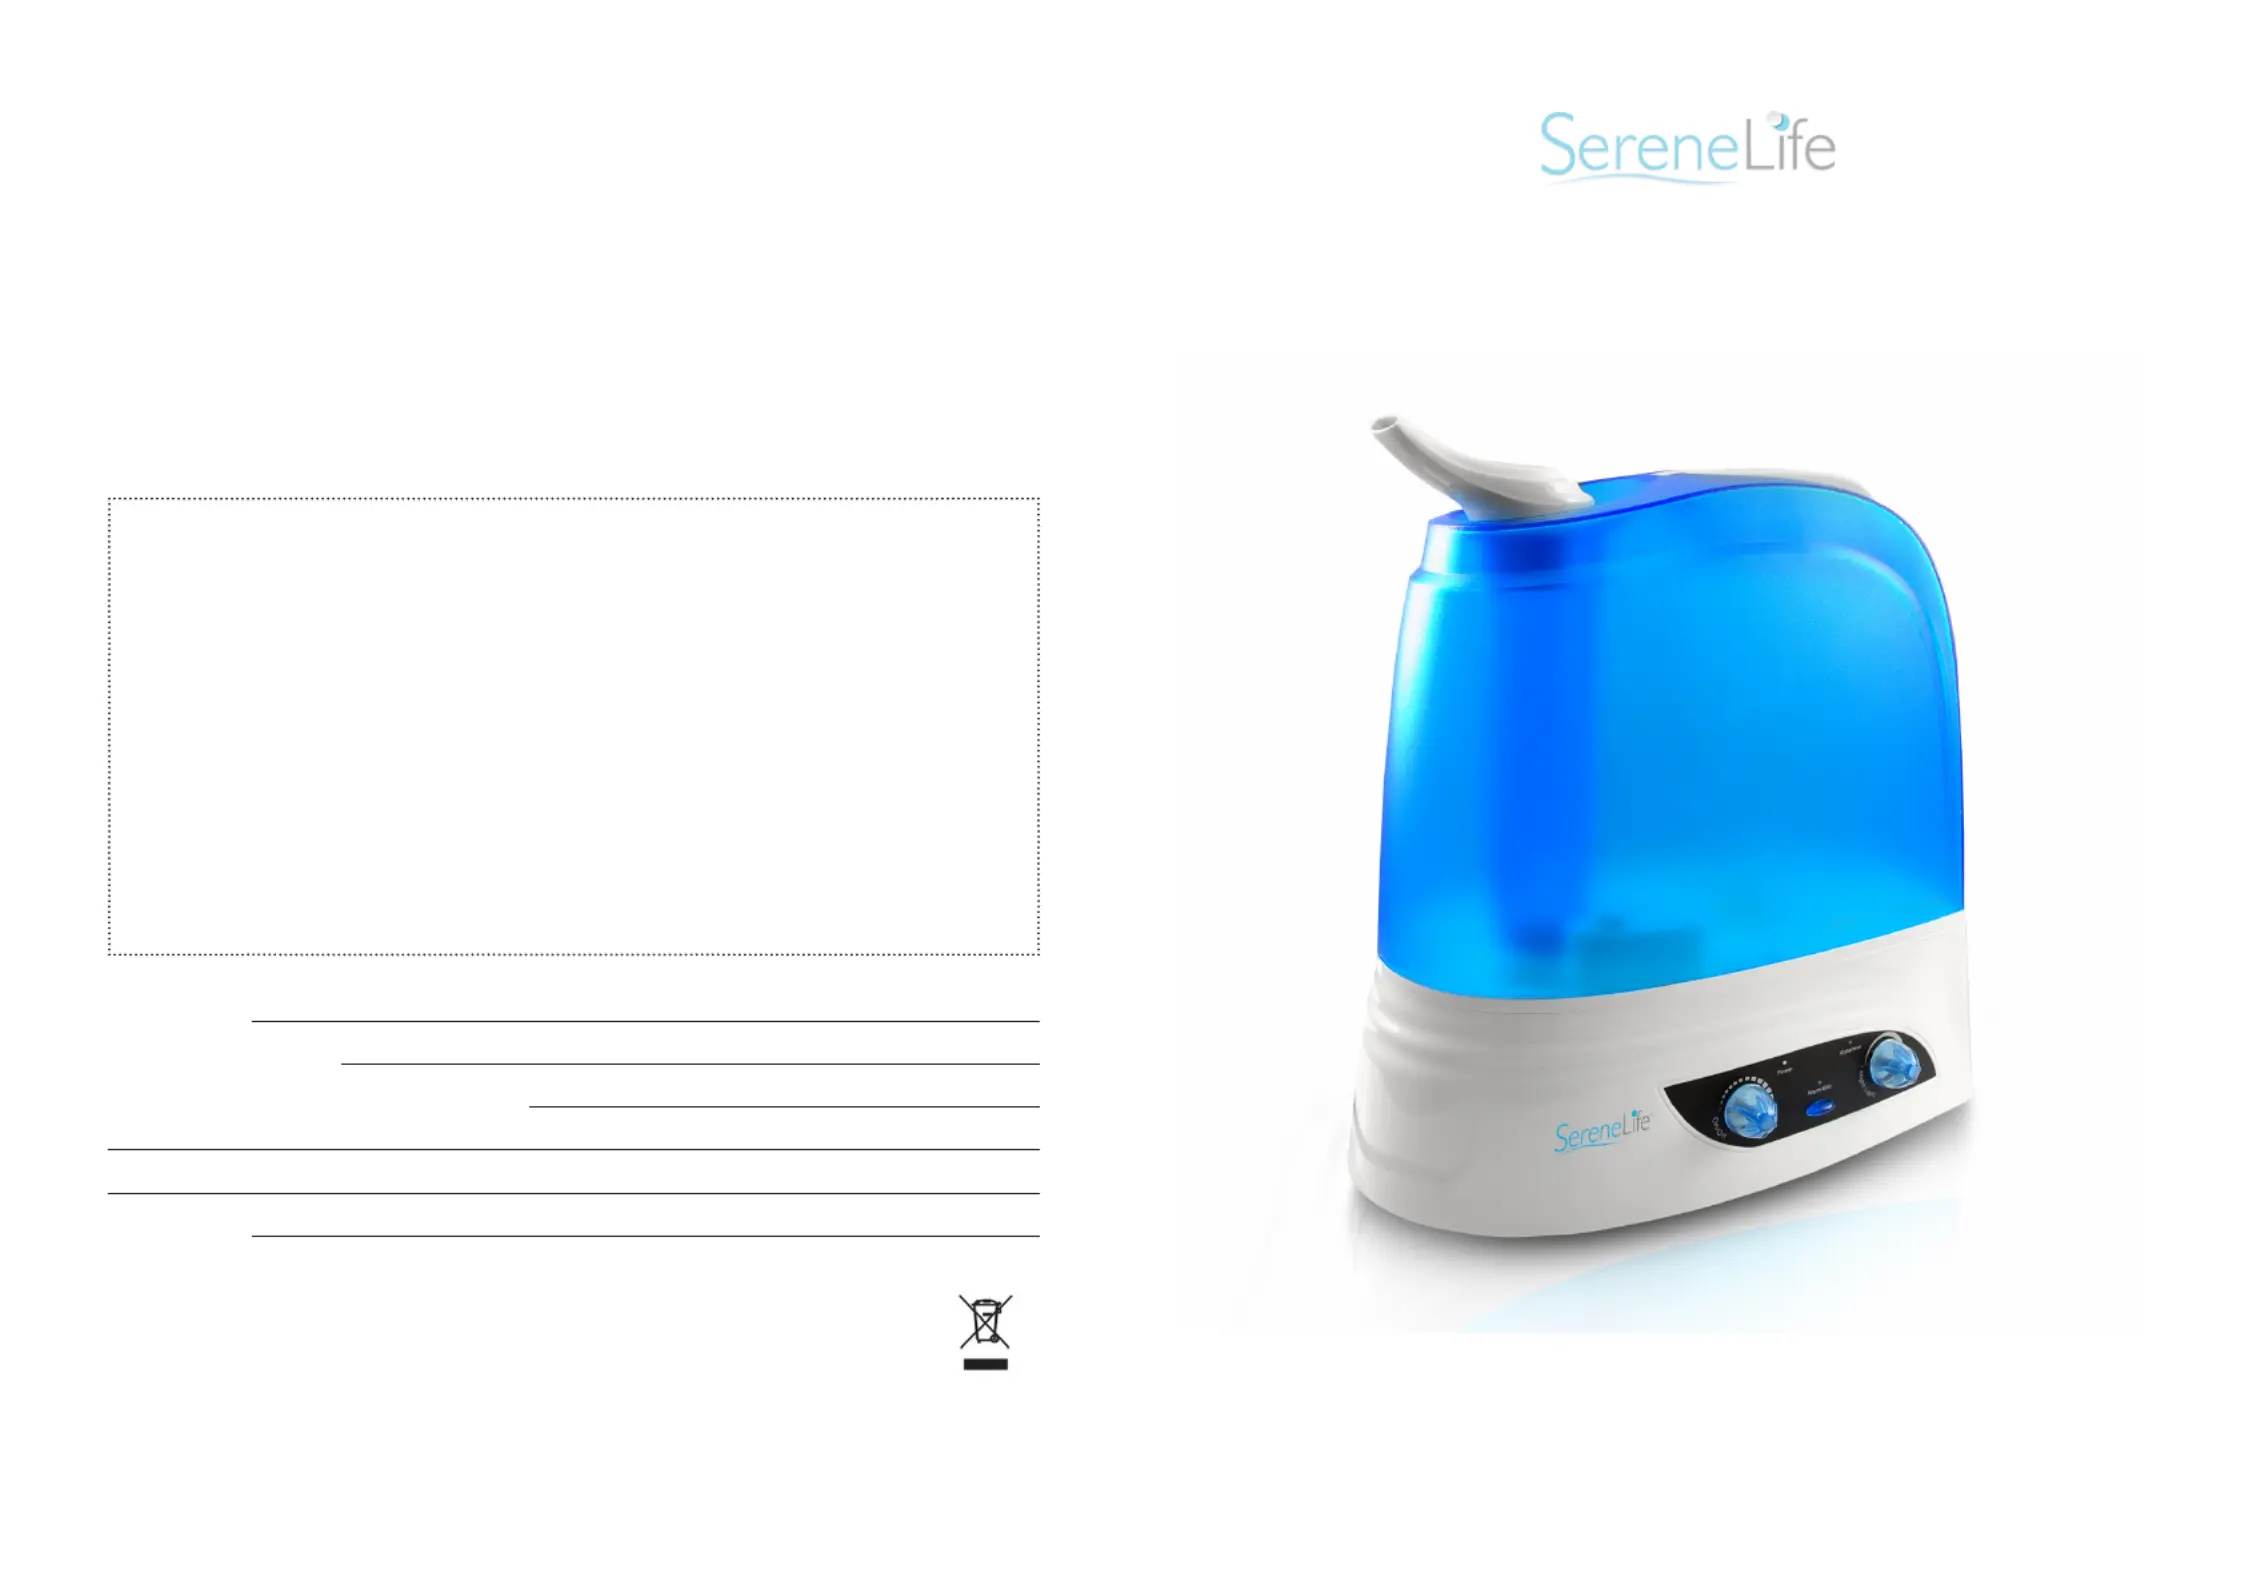
SereneLife
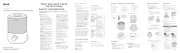
fuktgiver
PSLHUM80
Les nedenfor 📖 manual på norsk for SereneLife PSLHUM80 (4 sider) i kategorien fuktgiver. Denne guiden var nyttig for 8 personer og ble vurdert med 4.8 stjerner i gjennomsnitt av 4.5 brukere
Side 1/4
Serial No.:
Date of Purchase:
Name and address of Purchaser:
Telephone:
This product has been manufactured to comply with EEC Directives
73/23/EEC and 89/336/EEC
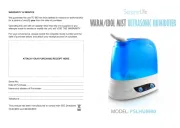
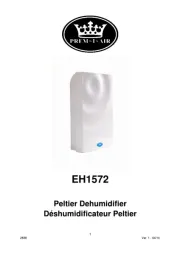
WARM/COOL MIST ULTRASONIC HUMIDIFIER
MODEL: PSLHUM80
WARRANTY & SERVICE
We guarantee the unit TO BE free from defects in material or workmanship
for a period of one from the date of purchase. (1) year
Operating this unit with an adapter other than the one supplied or any
attempts made to service or modify the unit, will VOID THE WARRANTY.
For your convenience, please record the complete model number and the
date of purchase below, and attach your receipt as proof of purchase.
ATTACH YOUR PURCHASE RECEIPT HERE
Produkspesifikasjoner
| Merke: | SereneLife |
| Kategori: | fuktgiver |
| Modell: | PSLHUM80 |
Trenger du hjelp?
Hvis du trenger hjelp med SereneLife PSLHUM80 still et spørsmål nedenfor, og andre brukere vil svare deg
fuktgiver SereneLife Manualer
31 August 2025
31 August 2025
fuktgiver Manualer
- Orbegozo
- Concept
- Steba
- Innoliving
- Fysic
- Master
- Tristar
- Oasis
- H-Tronic
- Stadler Form
- Prem-I-Air
- Scarlett
- Fakir
- Qlima
- Ardes
Nyeste fuktgiver Manualer
18 Oktober 2025
18 Oktober 2025
18 Oktober 2025
16 Oktober 2025
16 Oktober 2025
13 Oktober 2025
13 Oktober 2025
10 Oktober 2025
9 Oktober 2025
9 Oktober 2025