Advantech EKI-9508E-MPH-AE Bruksanvisning
Les nedenfor 📖 manual på norsk for Advantech EKI-9508E-MPH-AE (171 sider) i kategorien Bryter. Denne guiden var nyttig for 21 personer og ble vurdert med 4.8 stjerner i gjennomsnitt av 11 brukere
Side 1/171
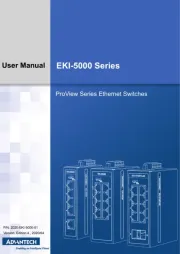
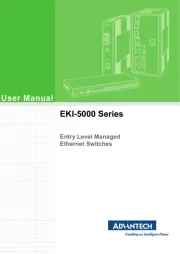
User Manual
EKI-9508 Series
EN 50155 8-Port M12 Managed/
Unmanaged Non-PoE/PoE
Ethernet Switch
Produkspesifikasjoner
| Merke: | Advantech |
| Kategori: | Bryter |
| Modell: | EKI-9508E-MPH-AE |
Trenger du hjelp?
Hvis du trenger hjelp med Advantech EKI-9508E-MPH-AE still et spørsmål nedenfor, og andre brukere vil svare deg
Bryter Advantech Manualer
27 September 2025
27 September 2025
27 September 2025
4 August 2025

4 August 2025
4 August 2025

11 Mars 2025

9 Februar 2025

9 Februar 2025

9 Februar 2025
Bryter Manualer
Nyeste Bryter Manualer
20 Oktober 2025
19 Oktober 2025
19 Oktober 2025
9 Oktober 2025
8 Oktober 2025
8 Oktober 2025
7 Oktober 2025

6 Oktober 2025

6 Oktober 2025

6 Oktober 2025