Black Decker AS185 Bruksanvisning
Black Decker
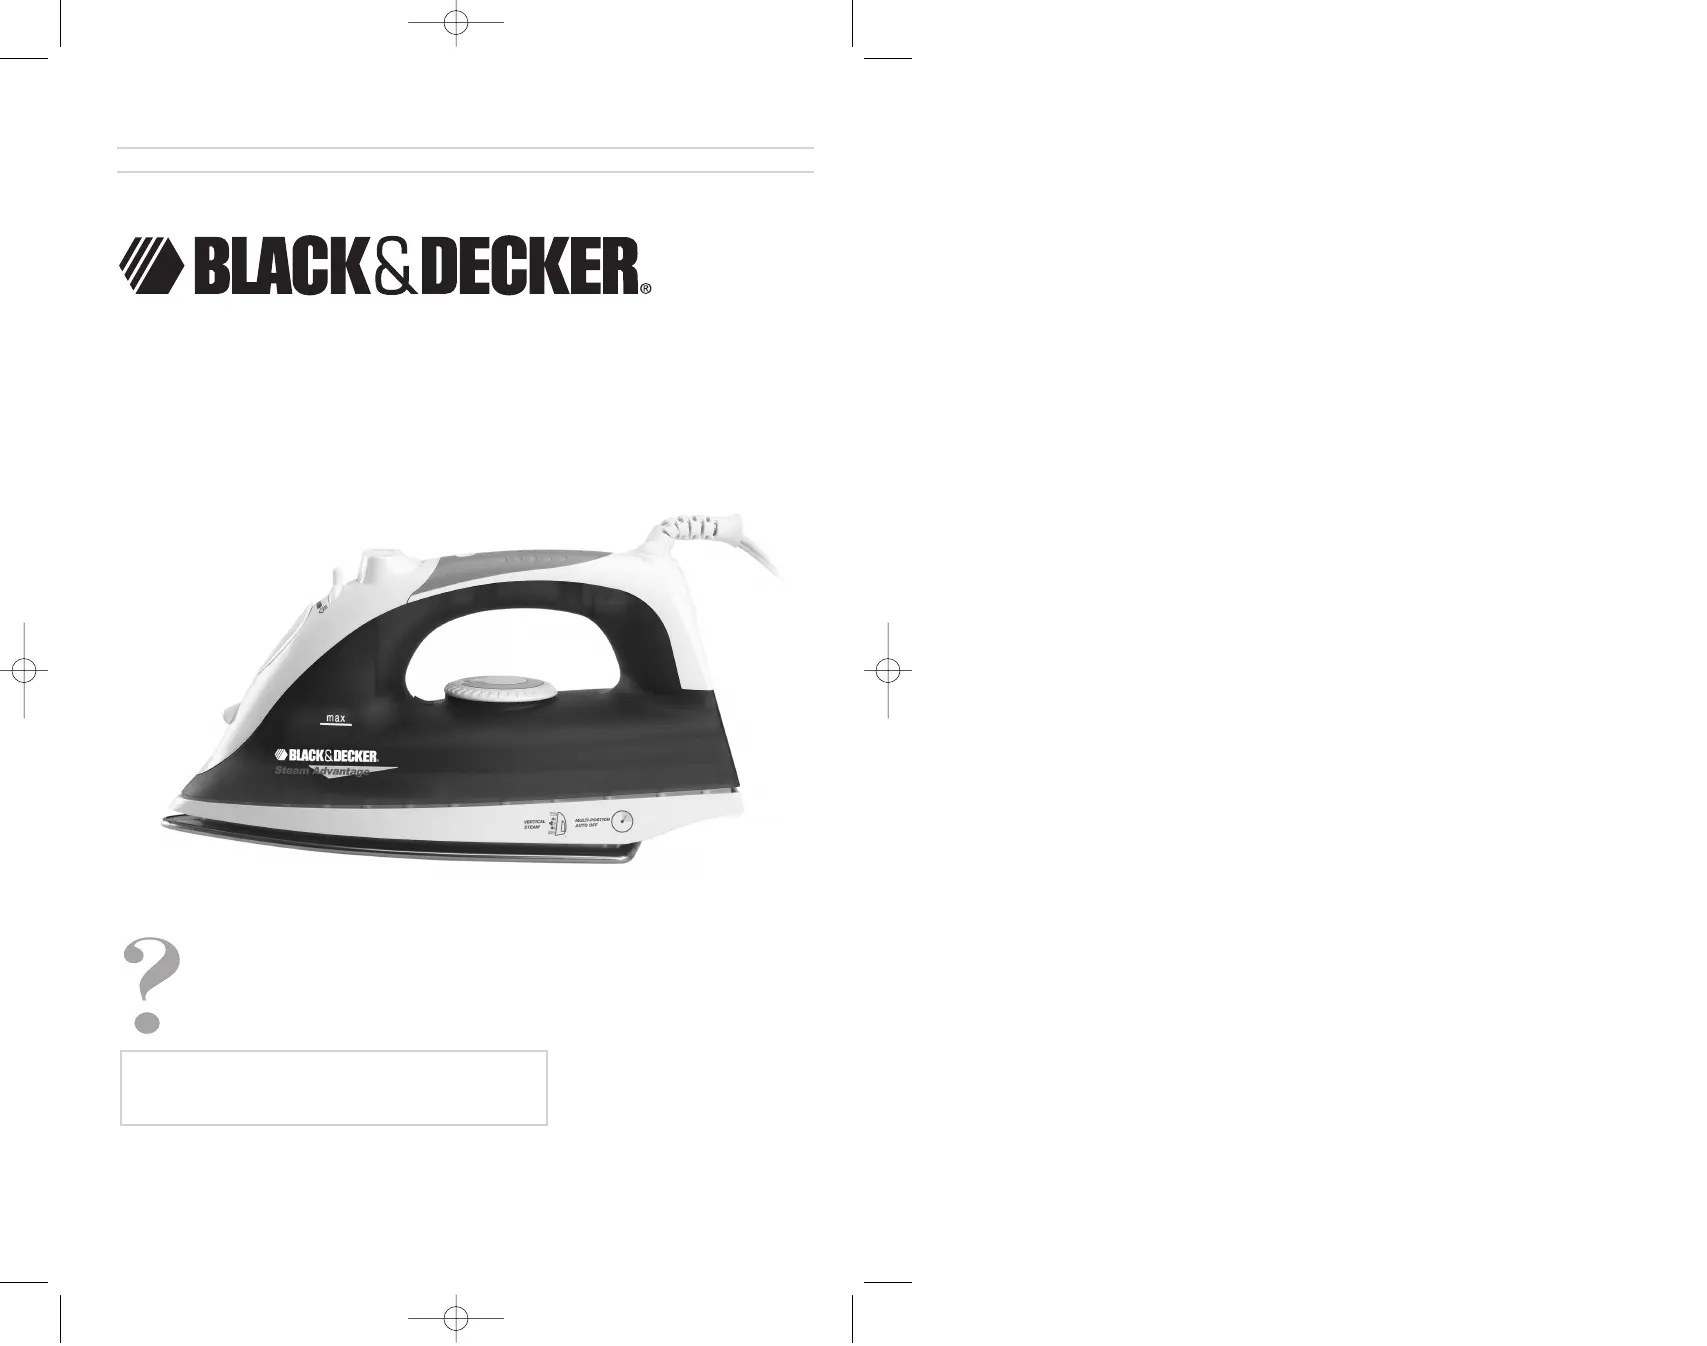
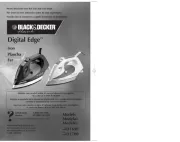
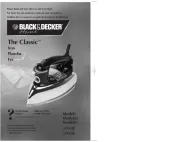
strykejern
AS185
Les nedenfor 📖 manual på norsk for Black Decker AS185 (13 sider) i kategorien strykejern. Denne guiden var nyttig for 11 personer og ble vurdert med 4.6 stjerner i gjennomsnitt av 6 brukere
Side 1/13
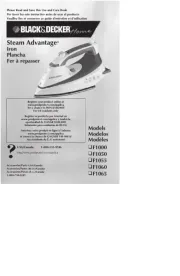
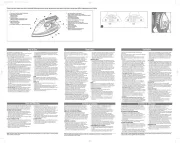
PLEASE READ AND SAVE THIS USE AND CARE BOOK.
POR FAVOR LEA ESTE INSTRUCTIVO ANTES DE USAR EL PRODUCTO.
VEUILLEZ LIRE ET CONSERVER CE GUIDE D’ENTRETIEN ET D’UTILISATION.
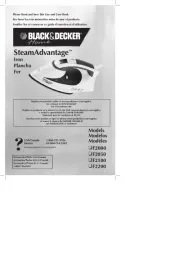
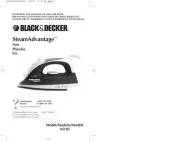
SteamAdvantage
™
Iron
Plancha
Fer
Model/Modelo/Modèle
AS185
USA/Canada 1-800-231-9786
Mexico 01-800-714-2503
www.blackanddecker.com
Accessories/Parts
(USA/Canada)
1-800-738-0245
Accesorios/Partes
(EE.UU/Canadá)
Accessoires/Pièces (É.-U./Canada)
AS185Pub1000001995 2/22/05 10:39 AM Page 1
Produkspesifikasjoner
| Merke: | Black Decker |
| Kategori: | strykejern |
| Modell: | AS185 |
Trenger du hjelp?
Hvis du trenger hjelp med Black Decker AS185 still et spørsmål nedenfor, og andre brukere vil svare deg
strykejern Black Decker Manualer
7 September 2025
6 September 2025
5 September 2025
5 September 2025

5 September 2025
5 September 2025
5 September 2025
5 September 2025
4 September 2025
4 September 2025
strykejern Manualer
- Scarlett
- Innoliving
- Tefal
- Tristar
- Clatronic
- Izzy
- Sogo
- Philips
- G3 Ferrari
- Moulinex
- AEG
- Braun
- Oster
- Jata
- Elica
Nyeste strykejern Manualer

18 Oktober 2025

17 Oktober 2025
14 Oktober 2025
13 Oktober 2025

9 Oktober 2025

5 Oktober 2025
30 September 2025
30 September 2025
29 September 2025

29 September 2025