Black Decker BL2010BP Bruksanvisning
Black Decker
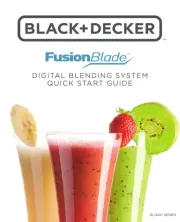
Blender
BL2010BP
Les nedenfor 📖 manual på norsk for Black Decker BL2010BP (11 sider) i kategorien Blender. Denne guiden var nyttig for 10 personer og ble vurdert med 4.0 stjerner i gjennomsnitt av 5.5 brukere
Side 1/11
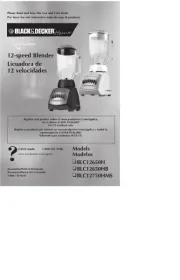
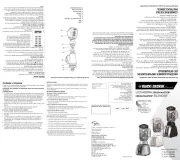
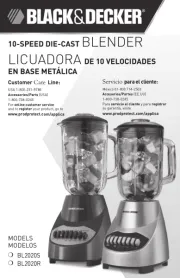
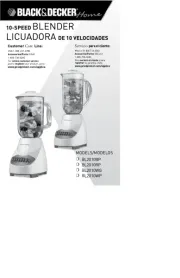
MODELS/MODELOS
❍
B
L2010BP
❍
B
L2010RP
❍
B
L2010WG
❍
B
L2010WP
10-SPEED BLENDER
LICUADORA
DE 10 VELOCIDADES
Customer Care Line:
USA 1-800-231-9786
Accessories/Parts (USA)
1-800-738-0245
For online customer service
and to register your product, go to
www.prodprotect.com/applica
Servicio para el cliente:
México 01-800 714-2503
Accesorios/Partes (EE.UU)
1-800-738-0245
Para servicio al cliente y para
registrar su garantía, visite
www.prodprotect.com/applica
Produkspesifikasjoner
| Merke: | Black Decker |
| Kategori: | Blender |
| Modell: | BL2010BP |
Trenger du hjelp?
Hvis du trenger hjelp med Black Decker BL2010BP still et spørsmål nedenfor, og andre brukere vil svare deg
Blender Black Decker Manualer
5 September 2025
5 September 2025
5 September 2025
5 September 2025
5 September 2025
5 September 2025
4 September 2025
4 September 2025
4 September 2025
4 September 2025
Blender Manualer
- Breville
- Princess
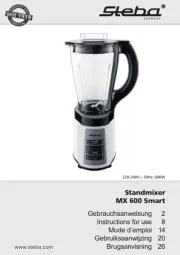
- Steba
- Duronic
- Braun
- Akai
- Morphy Richards
- Heinner
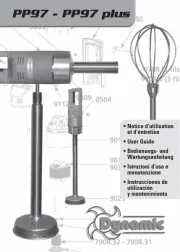
- Dynamic
- Haeger
- Gastroback
- Eldom
- Ardes
- Create
- Girmi
Nyeste Blender Manualer
13 Oktober 2025
13 Oktober 2025
8 Oktober 2025
7 Oktober 2025
7 Oktober 2025
7 Oktober 2025

6 Oktober 2025
6 Oktober 2025
6 Oktober 2025
5 Oktober 2025