Black Decker CK1500RK Bruksanvisning
Black Decker
Kjele
CK1500RK
Les nedenfor 📖 manual på norsk for Black Decker CK1500RK (13 sider) i kategorien Kjele. Denne guiden var nyttig for 14 personer og ble vurdert med 4.2 stjerner i gjennomsnitt av 7.5 brukere
Side 1/13
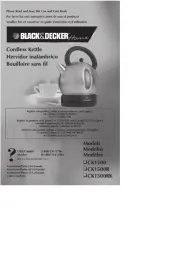
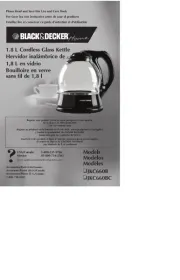
Please Read and Save this Use and Care Book
Por favor lea este instructivo antes de usar el producto
Veuillez lire et conserver ce guide d’entretien et d’utilisation
Accessories/Parts (USA/Canada)
Accesorios/Partes (EE.UU/Canadá)
Accessoires/Pièces (É.-U./Canada)
1-800-738-0245
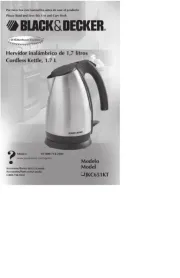
Cordless Kettle
Hervidor inalámbrico
Bouilloire sans fil
Models
Modelos
Modèles
❑
CK1500
❑
CK1500R
❑
CK1500RK
USA/Canada 1-800-231-9786
Mexico 01-800-714-2503
www.blackanddecker.com
Register your product online at www.prodprotect.com/applica,
for a chance to WIN $100,000!
For US residents only
Registre su producto en la Internet en el sitio Web www.prodprotect.com/applica
y tendrá la oportunidad de GANAR $100,000!
Solamente para los residentes de EE.UU
Inscrivez votre produit en ligne à l'adresse www.prodprotect.com/applica
et courez la chance de GAGNER 100 000 $!
aux résidents du É.-U seulement
Produkspesifikasjoner
| Merke: | Black Decker |
| Kategori: | Kjele |
| Modell: | CK1500RK |
Trenger du hjelp?
Hvis du trenger hjelp med Black Decker CK1500RK still et spørsmål nedenfor, og andre brukere vil svare deg
Kjele Black Decker Manualer
7 September 2025
3 September 2025
3 September 2025

3 September 2025
3 September 2025
3 September 2025

3 September 2025
3 September 2025
3 September 2025
Kjele Manualer
- Unold
- Silvercrest
- Philco
- ATTACK
- Essentiel B
- Avantco
- Livoo
- Akai
- Innoliving
- Steba
- Danby
- Clas Ohlson
- Cleveland
- Vox
- Trisa
Nyeste Kjele Manualer
13 Oktober 2025

13 Oktober 2025
13 Oktober 2025
13 Oktober 2025
12 Oktober 2025
9 Oktober 2025
9 Oktober 2025

7 Oktober 2025
7 Oktober 2025

7 Oktober 2025