Broan HRV90S Bruksanvisning
Broan
luftkondisjonering
HRV90S
Les nedenfor 📖 manual på norsk for Broan HRV90S (40 sider) i kategorien luftkondisjonering. Denne guiden var nyttig for 18 personer og ble vurdert med 4.1 stjerner i gjennomsnitt av 9.5 brukere
Side 1/40
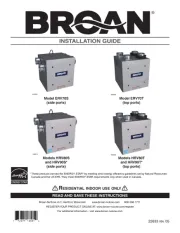
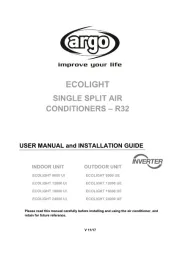
INSTALLATION GUIDE
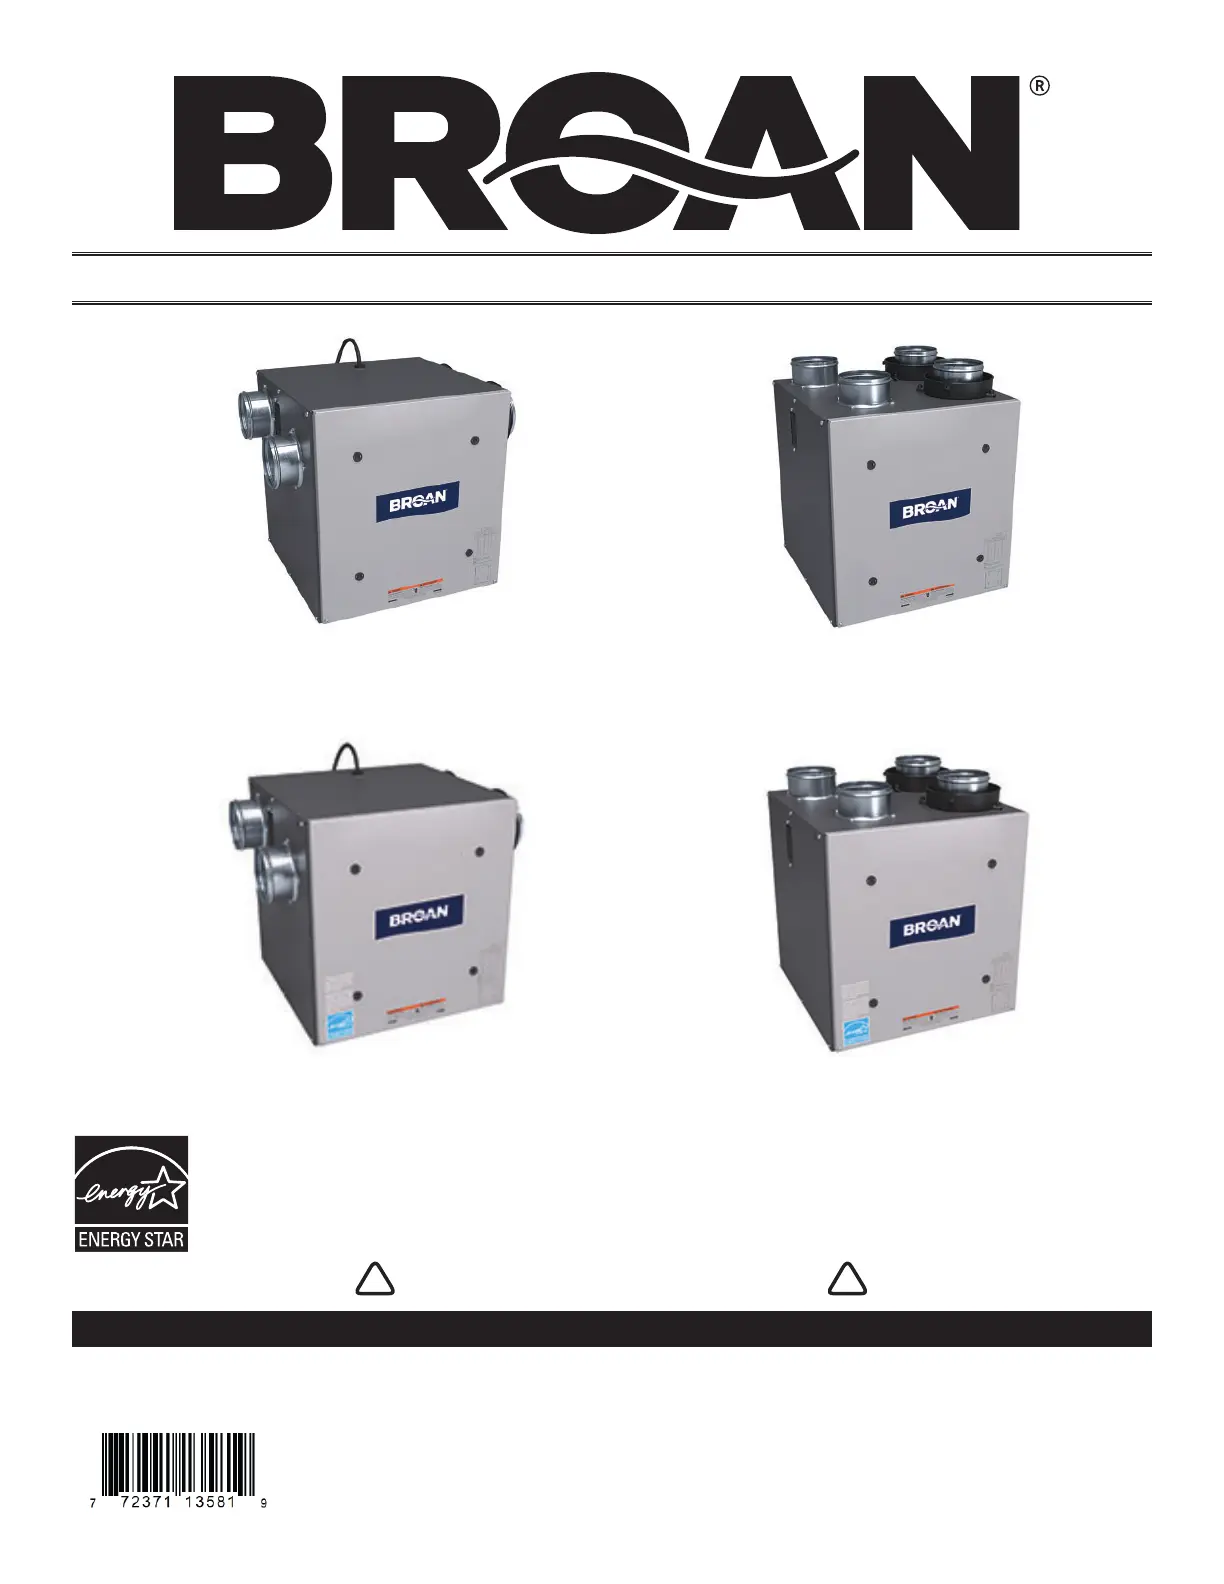
Model ERV70S
(side ports)
Model ERV70T
(top ports)
Models HRV80S
and HRV90S*
(side ports)
Models HRV80T
and HRV90T*
(top ports)
* These products earned the ENERGY STAR
®
by meeting strict energy efficiency guidelines set by Natural Resources
Canada and the US EPA. They meet ENERGY STAR requirements only when used in Canada.
RESIDENTIAL INDOOR USE ONLY
! !
READ AND SAVE THESE INSTRUCTIONS
22633 rev. 05
VB0262
VB0269
VB0263
VB0272
Broan-NuTone LLC; Hartford, Wisconsin www.broan-nutone.com 800-558-1711
REGISTER YOUR PRODUCT ONLINE AT: www.broan-nutone.com/register
For additional information - visit www.broan-nutone.com
Produkspesifikasjoner
| Merke: | Broan |
| Kategori: | luftkondisjonering |
| Modell: | HRV90S |
Trenger du hjelp?
Hvis du trenger hjelp med Broan HRV90S still et spørsmål nedenfor, og andre brukere vil svare deg
luftkondisjonering Broan Manualer
4 August 2025
4 August 2025
luftkondisjonering Manualer
- Hisense
- Comfee
- Kogan
- Ufesa
- Ardes
- Tristar
- Ivation
- Frigidaire
- EcoFlow
- Samsung
- Daikin
- Hitachi
- JIMMY
- Primo
- Carson
Nyeste luftkondisjonering Manualer

20 Oktober 2025
19 Oktober 2025
18 Oktober 2025
17 Oktober 2025
13 Oktober 2025
13 Oktober 2025
13 Oktober 2025

13 Oktober 2025

13 Oktober 2025
13 Oktober 2025