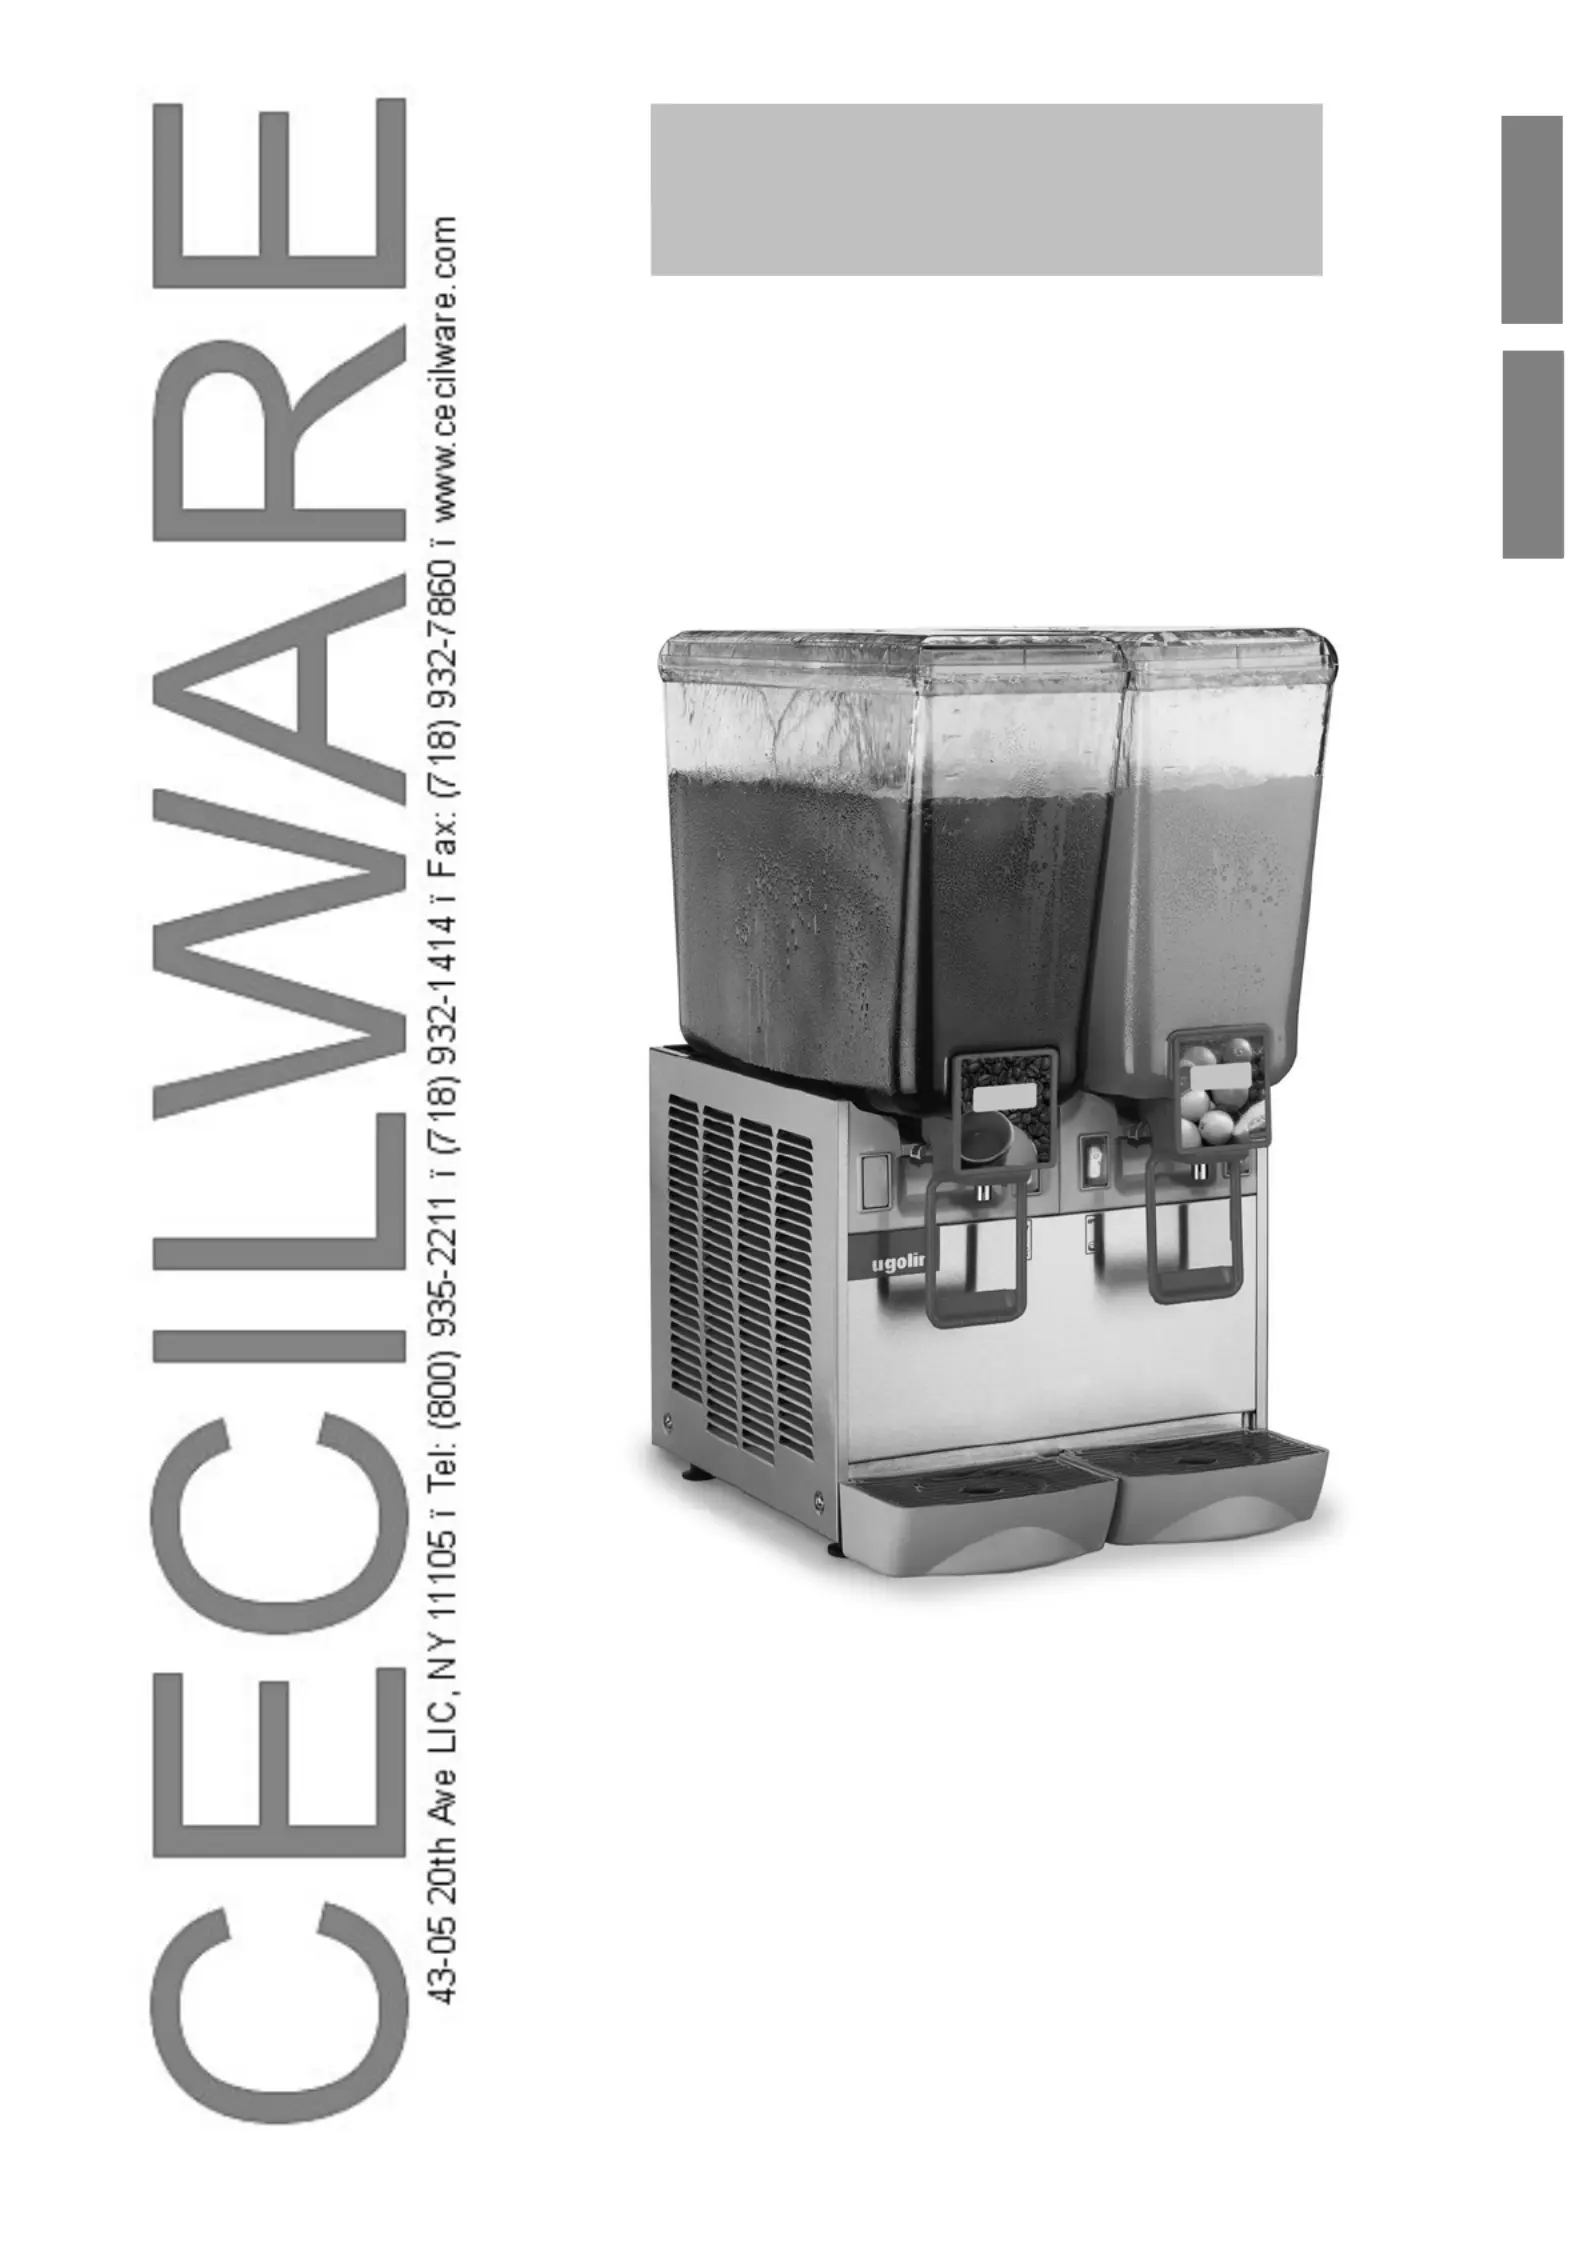
Cecilware ME10EN Bruksanvisning
Les nedenfor 📖 manual på norsk for Cecilware ME10EN (16 sider) i kategorien Kjøleskap. Denne guiden var nyttig for 11 personer og ble vurdert med 5.0 stjerner i gjennomsnitt av 6 brukere
Side 1/16
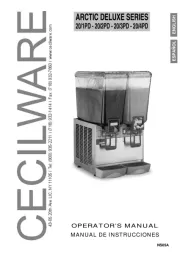
ARCTIC DELUXE SERIES
ENGLISHESPAÑOL
OPERATOR’S MANUAL
MANUAL DE INSTRUCCIONES
20/1PD - 20/2PD - 20/3PD - 20/4PD
NS05A
Produkspesifikasjoner
| Merke: | Cecilware |
| Kategori: | Kjøleskap |
| Modell: | ME10EN |
Trenger du hjelp?
Hvis du trenger hjelp med Cecilware ME10EN still et spørsmål nedenfor, og andre brukere vil svare deg
Kjøleskap Cecilware Manualer
24 August 2025
23 August 2025
Kjøleskap Manualer
- Schaub Lorenz
- Orima
- Kuhla
- Brandt
- PKM
- Franke
- Stoves
- Hansa
- Glem Gas
- Rhino
- Royal Catering
- Fisher Paykel
- Miller Lite
- Element
- SEIKI
Nyeste Kjøleskap Manualer

21 Oktober 2025
21 Oktober 2025
21 Oktober 2025

20 Oktober 2025
20 Oktober 2025

20 Oktober 2025

19 Oktober 2025

19 Oktober 2025

19 Oktober 2025
18 Oktober 2025