DoorBird D31TDH Bruksanvisning
DoorBird
Ikke kategorisert
D31TDH
Les nedenfor 📖 manual på norsk for DoorBird D31TDH (74 sider) i kategorien Ikke kategorisert. Denne guiden var nyttig for 30 personer og ble vurdert med 4.9 stjerner i gjennomsnitt av 15.5 brukere
Side 1/74
VERSION 1.1 MIN. HW 1.1
Page 2-16
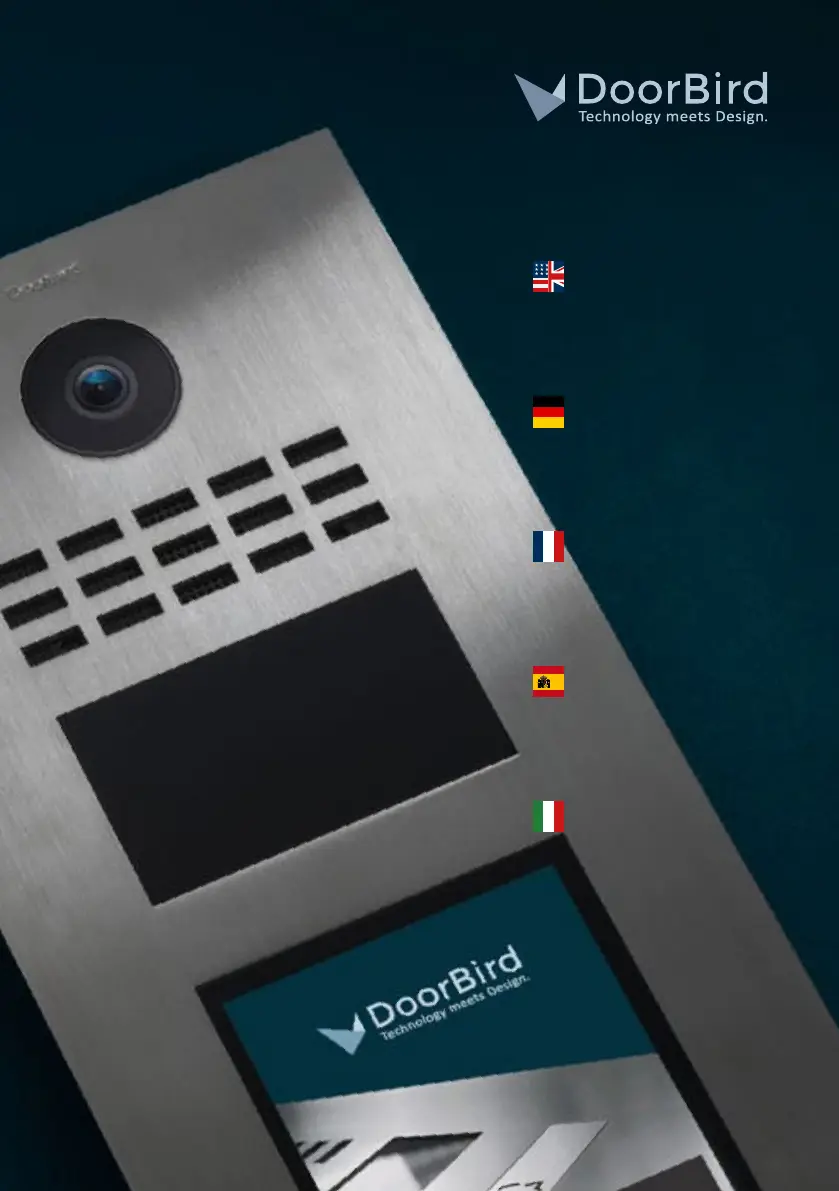
Installation Manual
IP Video Door Station
D31x Series
D31x
Seite 17-30
Installationsanleitung
IP Video Türstation
D31x Serie
Page 31-44
Manuel d´installation
Interphone vidéo IP
Série D31x
Página 45-58
Manual de Instalación
Videoportero IP
Serie D31x
Pagina 59-72
Istruzioni per l’installazione
Videocitofono IP
Serie D31x
Produkspesifikasjoner
| Merke: | DoorBird |
| Kategori: | Ikke kategorisert |
| Modell: | D31TDH |
Trenger du hjelp?
Hvis du trenger hjelp med DoorBird D31TDH still et spørsmål nedenfor, og andre brukere vil svare deg
Ikke kategorisert DoorBird Manualer

12 August 2025

12 Mars 2025

12 Mars 2025

12 Mars 2025

11 Februar 2025

10 Januar 2025

10 Januar 2025

5 Januar 2025
Ikke kategorisert Manualer
- Levoit
- Falmec
- MEE Audio
- Primo
- Tektronix
- Inventum
- Strong
- Xavax
- AXESS
- Vitek
- Viewsonic
- Gefen
- Panamax
- Viomi
- Casio
Nyeste Ikke kategorisert Manualer

23 Oktober 2025

23 Oktober 2025

23 Oktober 2025

23 Oktober 2025

23 Oktober 2025

23 Oktober 2025

23 Oktober 2025

23 Oktober 2025

23 Oktober 2025

23 Oktober 2025