ETON RSC 165 Bruksanvisning
Les nedenfor 📖 manual på norsk for ETON RSC 165 (9 sider) i kategorien Høyttaler. Denne guiden var nyttig for 6 personer og ble vurdert med 4.6 stjerner i gjennomsnitt av 3.5 brukere
Side 1/9

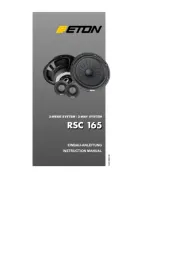
INSTRUCTION MANUAL
EINBAU-ANLEITUNG
2-WEGE SYSTEM / 2-WAY SYSTEM
932 0950 00
RSC 165
RSC 165
Produkspesifikasjoner
| Merke: | ETON |
| Kategori: | Høyttaler |
| Modell: | RSC 165 |
Trenger du hjelp?
Hvis du trenger hjelp med ETON RSC 165 still et spørsmål nedenfor, og andre brukere vil svare deg
Høyttaler ETON Manualer
10 September 2025

20 Mars 2025

20 Mars 2025

20 Mars 2025

20 Mars 2025

19 Mars 2025
Høyttaler Manualer
- Indiana Line
- Transparent
- Midland
- Crest Audio
- Induction Dynamics
- MOOOV
- Sonance
- Peavey
- Exagerate
- Bowers Wilkins
- Advance Acoustic
- Kanto
- JBL
- Kenwood
- Avantree
Nyeste Høyttaler Manualer

23 Oktober 2025
21 Oktober 2025
21 Oktober 2025

20 Oktober 2025
20 Oktober 2025

20 Oktober 2025
20 Oktober 2025
20 Oktober 2025
20 Oktober 2025
20 Oktober 2025