Garde XL 181CONSFNB Bruksanvisning
Les nedenfor 📖 manual på norsk for Garde XL 181CONSFNB (1 sider) i kategorien boksåpner. Denne guiden var nyttig for 16 personer og ble vurdert med 4.6 stjerner i gjennomsnitt av 8.5 brukere
Side 1/1
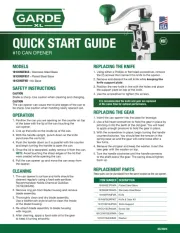
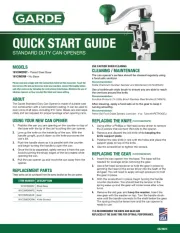
QUICK START GU
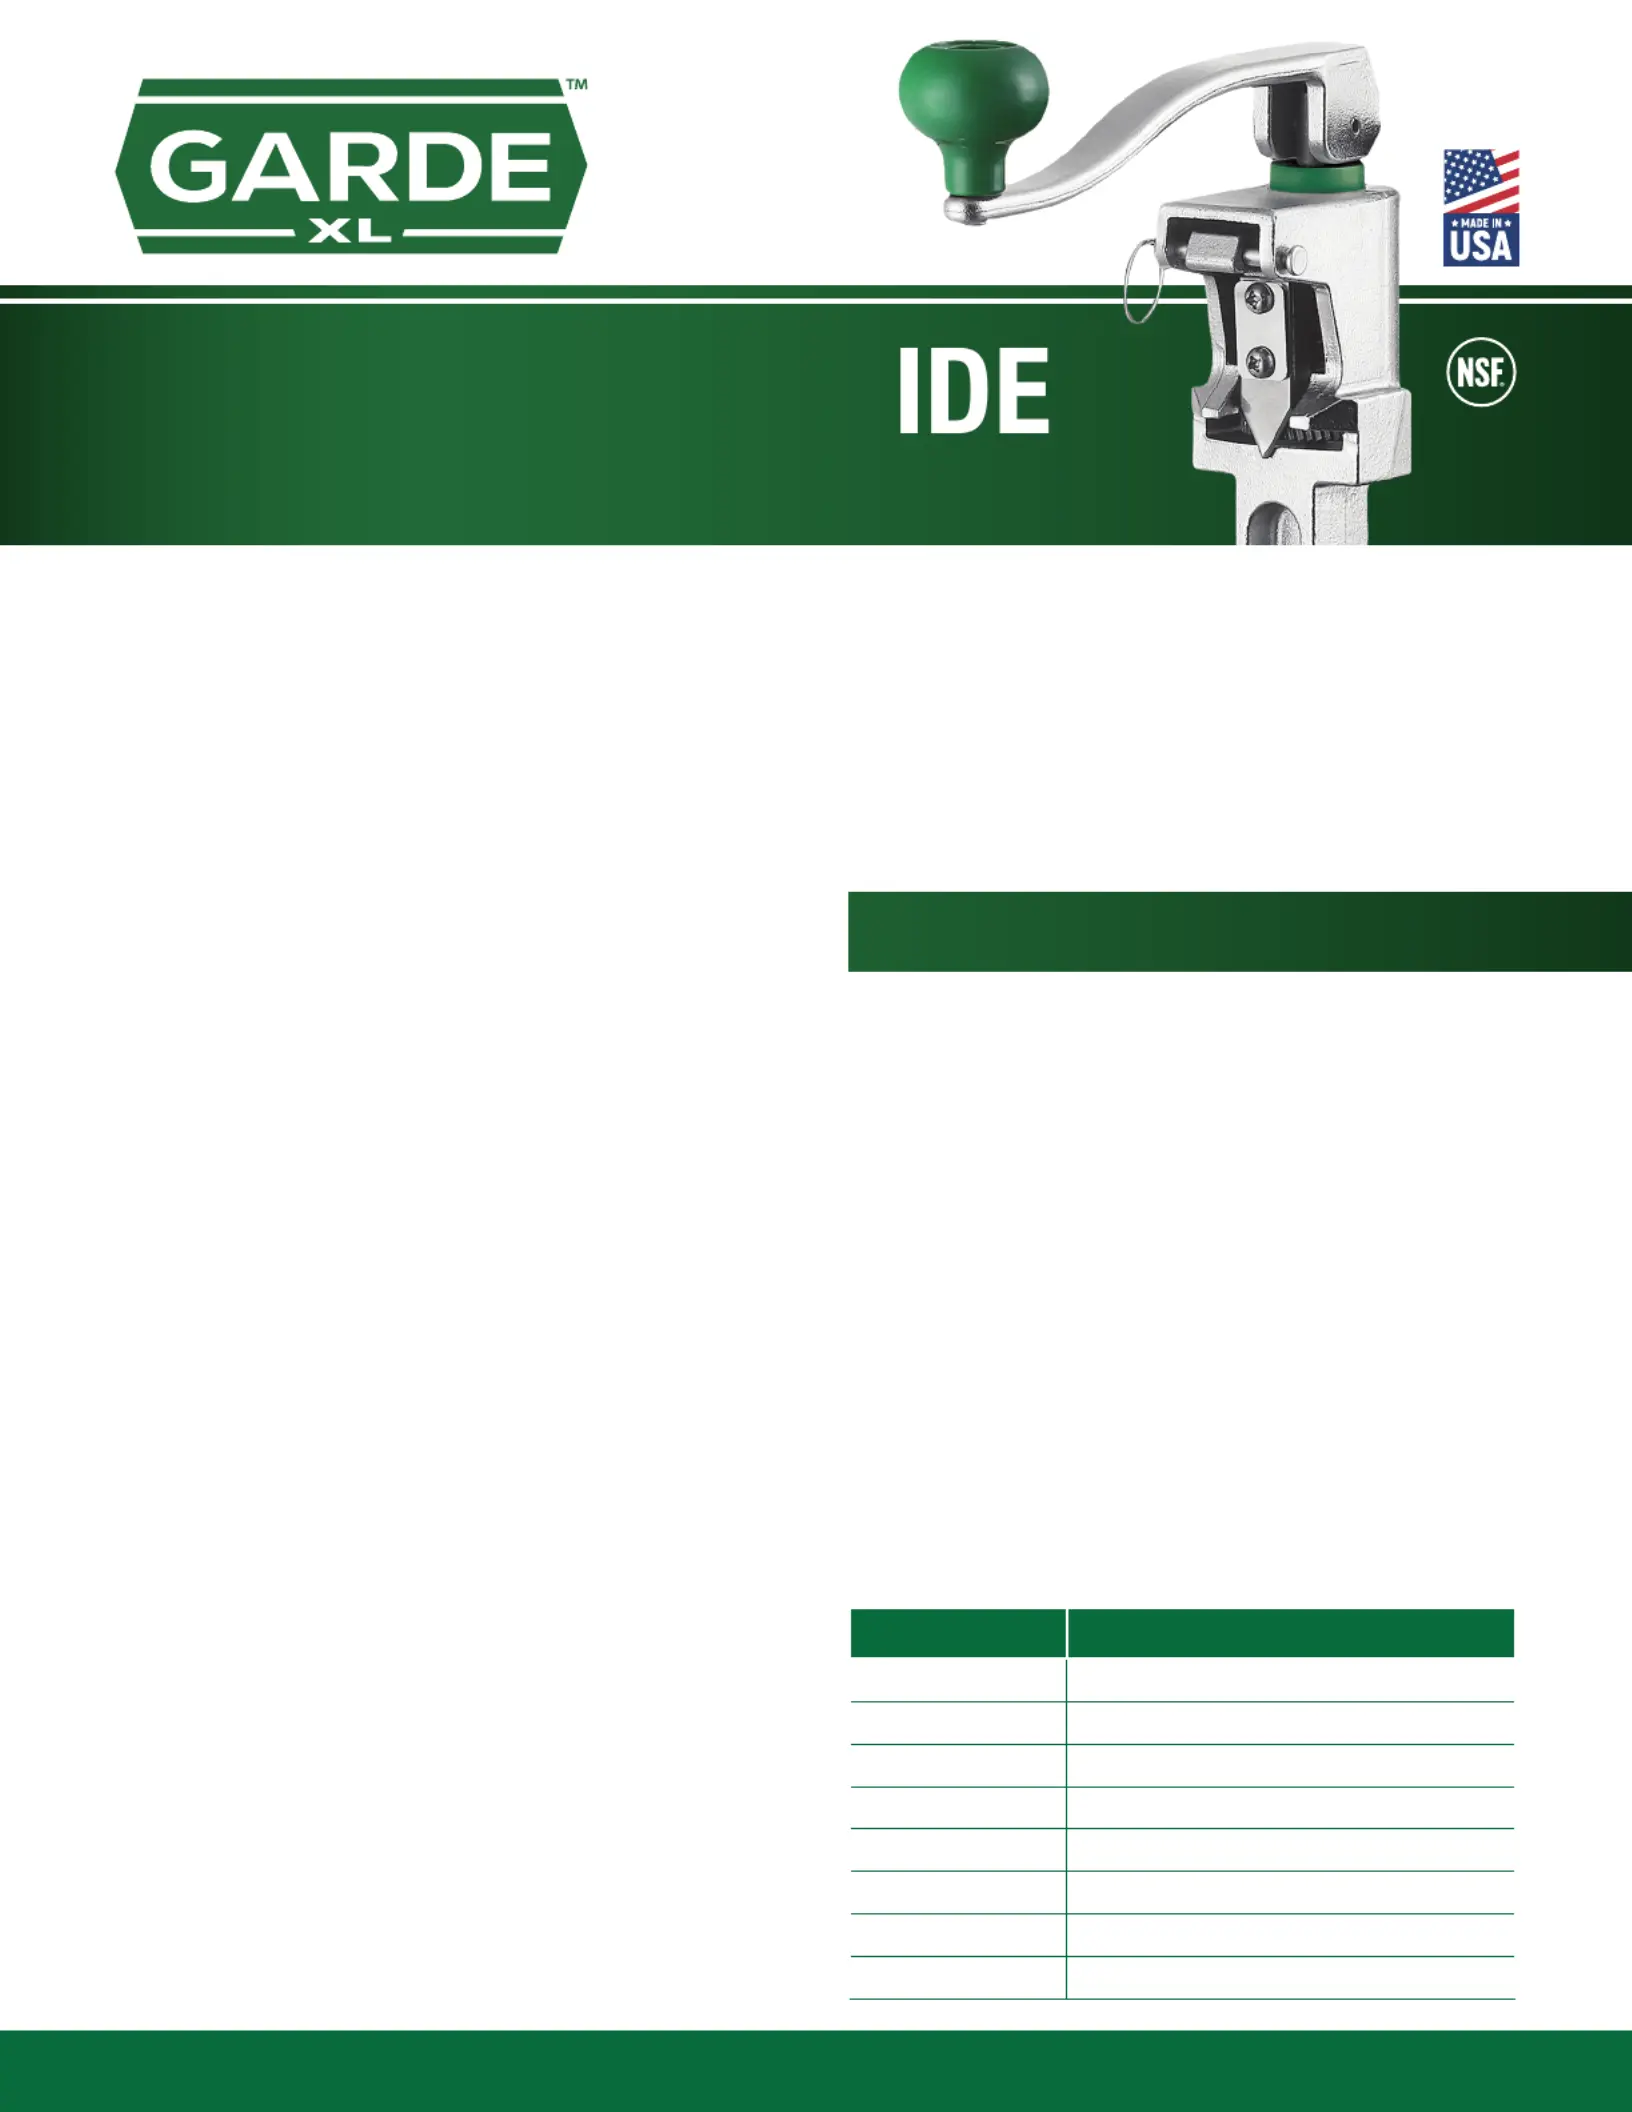
#10 CAN OPENER
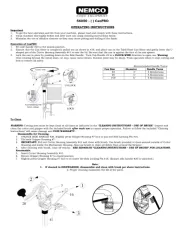
SAFETY INSTRUCTIONS
MODELS
OPERATION
CLEANING
REPLACING THE KNIFE
REPLACING THE GEAR
REPLACEMENT PARTS
These parts can be purchased from the same location as the can opener.
03/2023
It is recommended the knife and gear are replaced
at the same time for optimal performance.
CAUTION
Blade is sharp. Use caution when cleaning and changing.
CAUTION
The can opener can cause the lid and edges of the can to
be sharp. Use caution when handling newly opened can.
181CONSFBSS - Stainless Steel Base
181CONSFBST - Plated Steel Base
181CONSFNB - No Base
1. Position the can you are opening on the counter on top
of the base with the lip of the can touching the
can opener.
2. Line up the knife on the inside lip of the can.
3. With the handle upright, punch down so the knife
punctures the can’s lid.
4. Push the handle down so it is parallel with the counter
and begin turning the handle to open the can.
5. Once the lid is separated, safely remove it from the can.
NOTE: Avoid touching the sharp edges of the lid that
were created while opening the can.
6. Pull the can opener up and move the can away from
the opener.
1. The can opener’s surface and knife should be
cleaned regularly using a food safe sanitizer.
Recommended: Noble Chemical QuikSan
(147QUIKSAN).
2. Remove ring pin from blade housing and remove
blade assembly.
3. Thoroughly clean and dry blade assembly.
Use a toothbrush-style brush to clean the inside
of the blade housing.
4. Re-attach blade assembly to blade housing
with ring pin.
5. After cleaning, apply a food-safe oil to the gear
to keep it turning smoothly.
1. Using either a Phillips or at head screwdriver, remove
the (2) screws that connect the knife to the opener.
2. Remove and discard the old knife while keeping the
knife support plate.
3. Position the new knife in line with the holes and place
the support plate on top of the knife.
4. Use the screwdriver to tighten the screws.
1. Insert the can opener into the base for leverage.
2. Use a at head screwdriver to hold the gear in place by
jamming it into the teeth of the old gear. You will need
to apply enough pressure to hold the gear in place.
3. With the screwdriver in place, begin turning the handle
counterclockwise. You should feel the tension in the
spring ease up and the gear will come loose after a
few turns.
4. Remove the old gear and keep the washer. Insert the
new gear with the washer on top.
5. Turn the handle clockwise until the handle connects
to the shaft below the gear. The spring should tighten
back up.
ITEM NUMBER DESCRIPTION
181BASE1PSMA Plated Steel Base
181BASE1SSMA Stainless Steel Base
181NSFKNIFMA Knife
181NSFBGRPKIT Knife & Gear Kit
181COM1SUPMA Knife Support
181CO1SCRWMA Screw Set
181COM1GEARMA Gear
181CO1WASHMA Washer
Produkspesifikasjoner
| Merke: | Garde XL |
| Kategori: | boksåpner |
| Modell: | 181CONSFNB |
Trenger du hjelp?
Hvis du trenger hjelp med Garde XL 181CONSFNB still et spørsmål nedenfor, og andre brukere vil svare deg
boksåpner Garde XL Manualer

24 August 2025
23 August 2025

23 August 2025
boksåpner Manualer
Nyeste boksåpner Manualer
21 September 2025

21 September 2025

17 September 2025

16 September 2025

7 September 2025

5 September 2025
2 September 2025
23 August 2025
5 August 2025