Hughes & Kettner ERA 2 Bruksanvisning
Les nedenfor 📖 manual på norsk for Hughes & Kettner ERA 2 (52 sider) i kategorien itarforsterker. Denne guiden var nyttig for 36 personer og ble vurdert med 4.3 stjerner i gjennomsnitt av 18.5 brukere
Side 1/52
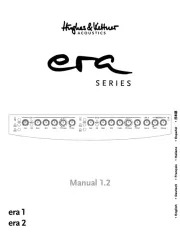
Manual 1.2
era 1
era 2
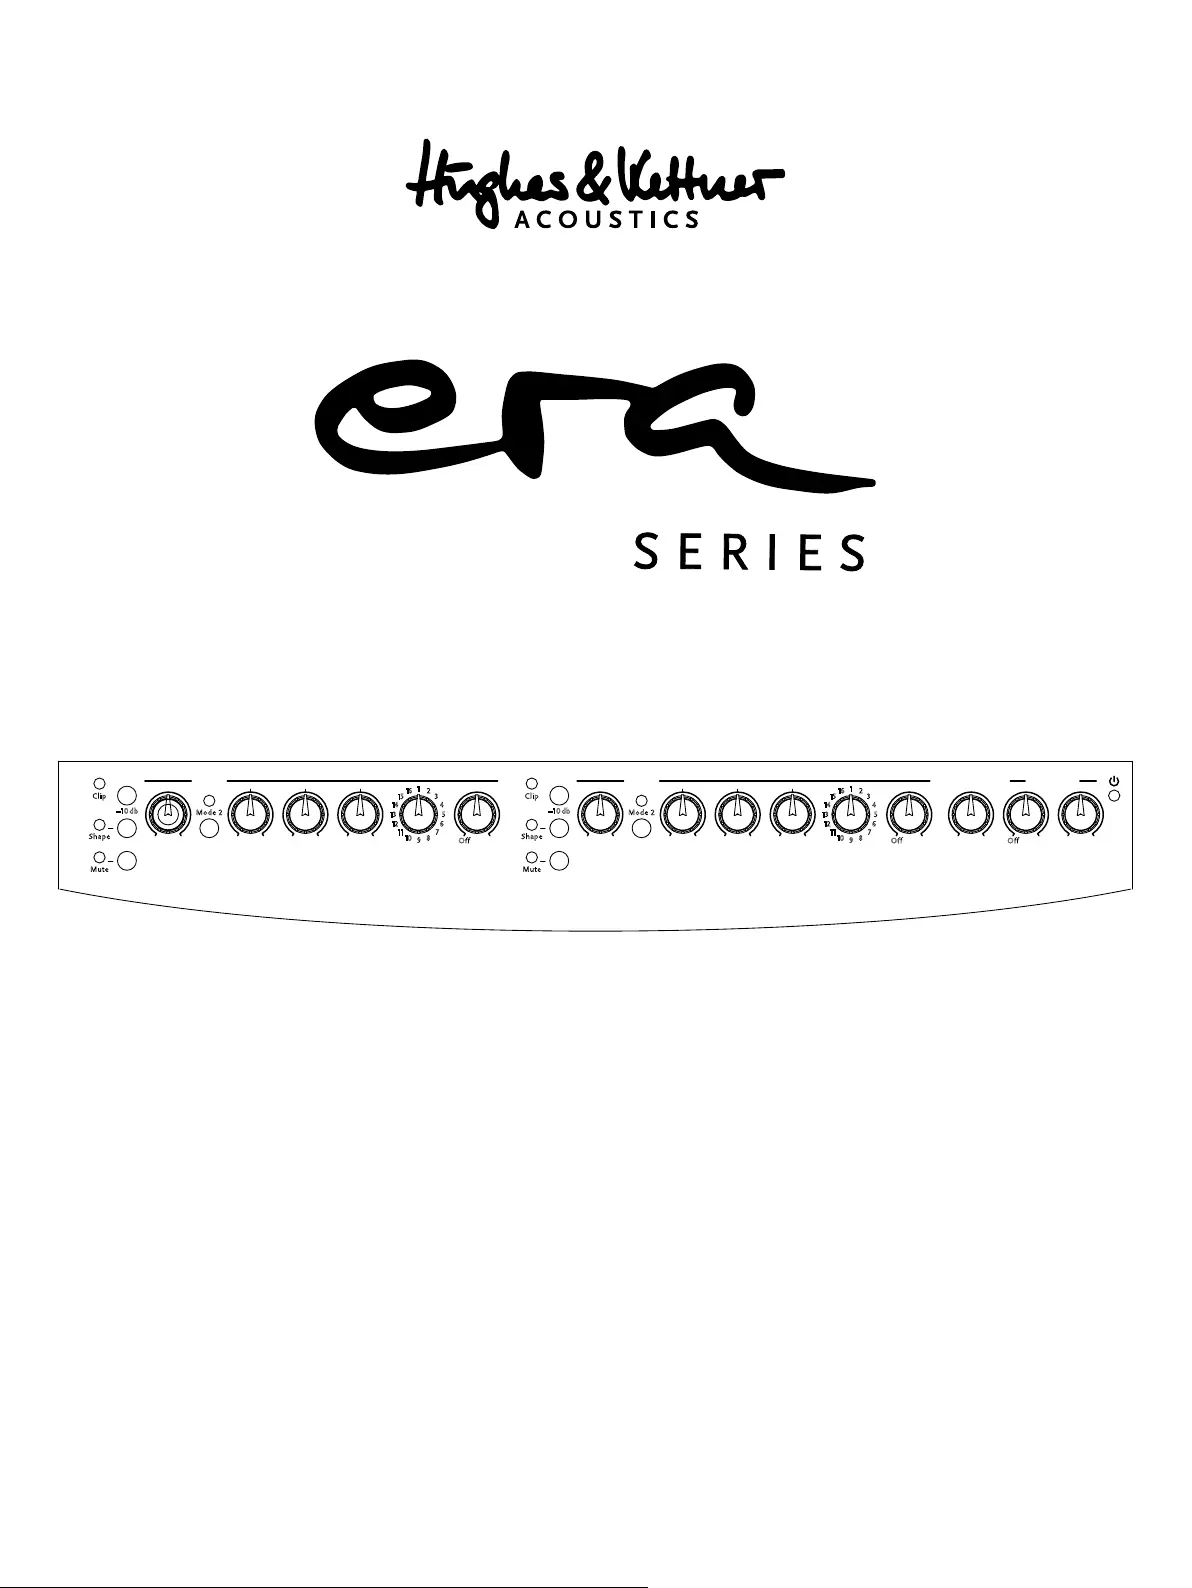
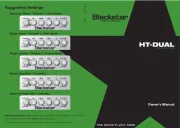
Mute
Shape
Clip
Mute
Shape
Clip
–10 db
Mode 2
Gain EQ Bass Mid Treble
CH 1 CH 2
–10 db
Mode 2
OffOff
Gain EQ Bass Mid Treble FX Preset FX Vol.
Off
FX Preset FX Vol. Aux In Notch Volume
CH 3 MASTER
1
9
216
810
315
711
414
612
513
1
9
216
810
315
711
414
612
513
• English • Deutsch • Français • Italiano • Español
• 日本語
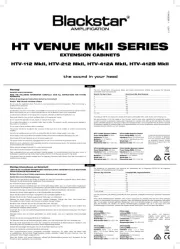
Produkspesifikasjoner
| Merke: | Hughes & Kettner |
| Kategori: | itarforsterker |
| Modell: | ERA 2 |
Trenger du hjelp?
Hvis du trenger hjelp med Hughes & Kettner ERA 2 still et spørsmål nedenfor, og andre brukere vil svare deg
itarforsterker Hughes & Kettner Manualer
22 September 2025
22 September 2025
22 September 2025
itarforsterker Manualer
Nyeste itarforsterker Manualer
19 Oktober 2025
12 Oktober 2025
6 Oktober 2025
6 Oktober 2025
6 Oktober 2025
6 Oktober 2025

6 Oktober 2025

6 Oktober 2025
6 Oktober 2025
6 Oktober 2025