Intellytech LiteCloth Mega-6 Bruksanvisning
Intellytech
Lettelse
LiteCloth Mega-6
Les nedenfor 📖 manual på norsk for Intellytech LiteCloth Mega-6 (10 sider) i kategorien Lettelse. Denne guiden var nyttig for 35 personer og ble vurdert med 4.5 stjerner i gjennomsnitt av 18 brukere
Side 1/10
,0_MEGA-6FC_MEGA-8FC_eng
11
E) Attention
1. Please read this manual before using this product and follow the instructions
2. Should be used with the appropriate voltage labeled on product. Make sure the power button is set to off
before pressing the power button. Please remove the power connection if the light is not in-use. Don’t pull the
power cable directly. Please grip the power plug and pull it out from the socket.
3. Make sure your hand is dry when inserting and unplugging the power plug. Don’t touch the metal part
directly.
4. Keep the environment dry and ventilated when using the product. Do not leave or use the product in a
humid or dusty environment. And keep it away from fire or extreme heat.
5. Clean this product only with a soft and dry cloth.
6. Do NOT apply extreme pressure and do not drop the product.
7. Improper installation may damage the light, and there can be high voltage inside the unit. Please Do NOT
open or repair the unit yourself. If there is any defect, please contact Intellytech directly.
8. Only use the specific Li-ion camcorder batteries according to the model of the battery holder on the rear
panel. Do not install 24V batteries.
9. Please do not look at the LEDs directly or touch them. Please turn off the light if it is unattended.
10. Please make sure the product cools down and put it back in the case after being used. Don’t store the
product in a humid environment, and avoid direct sunshine. Avoid freezing temperatures.
D) Temperature Notice:
Instruction Manual
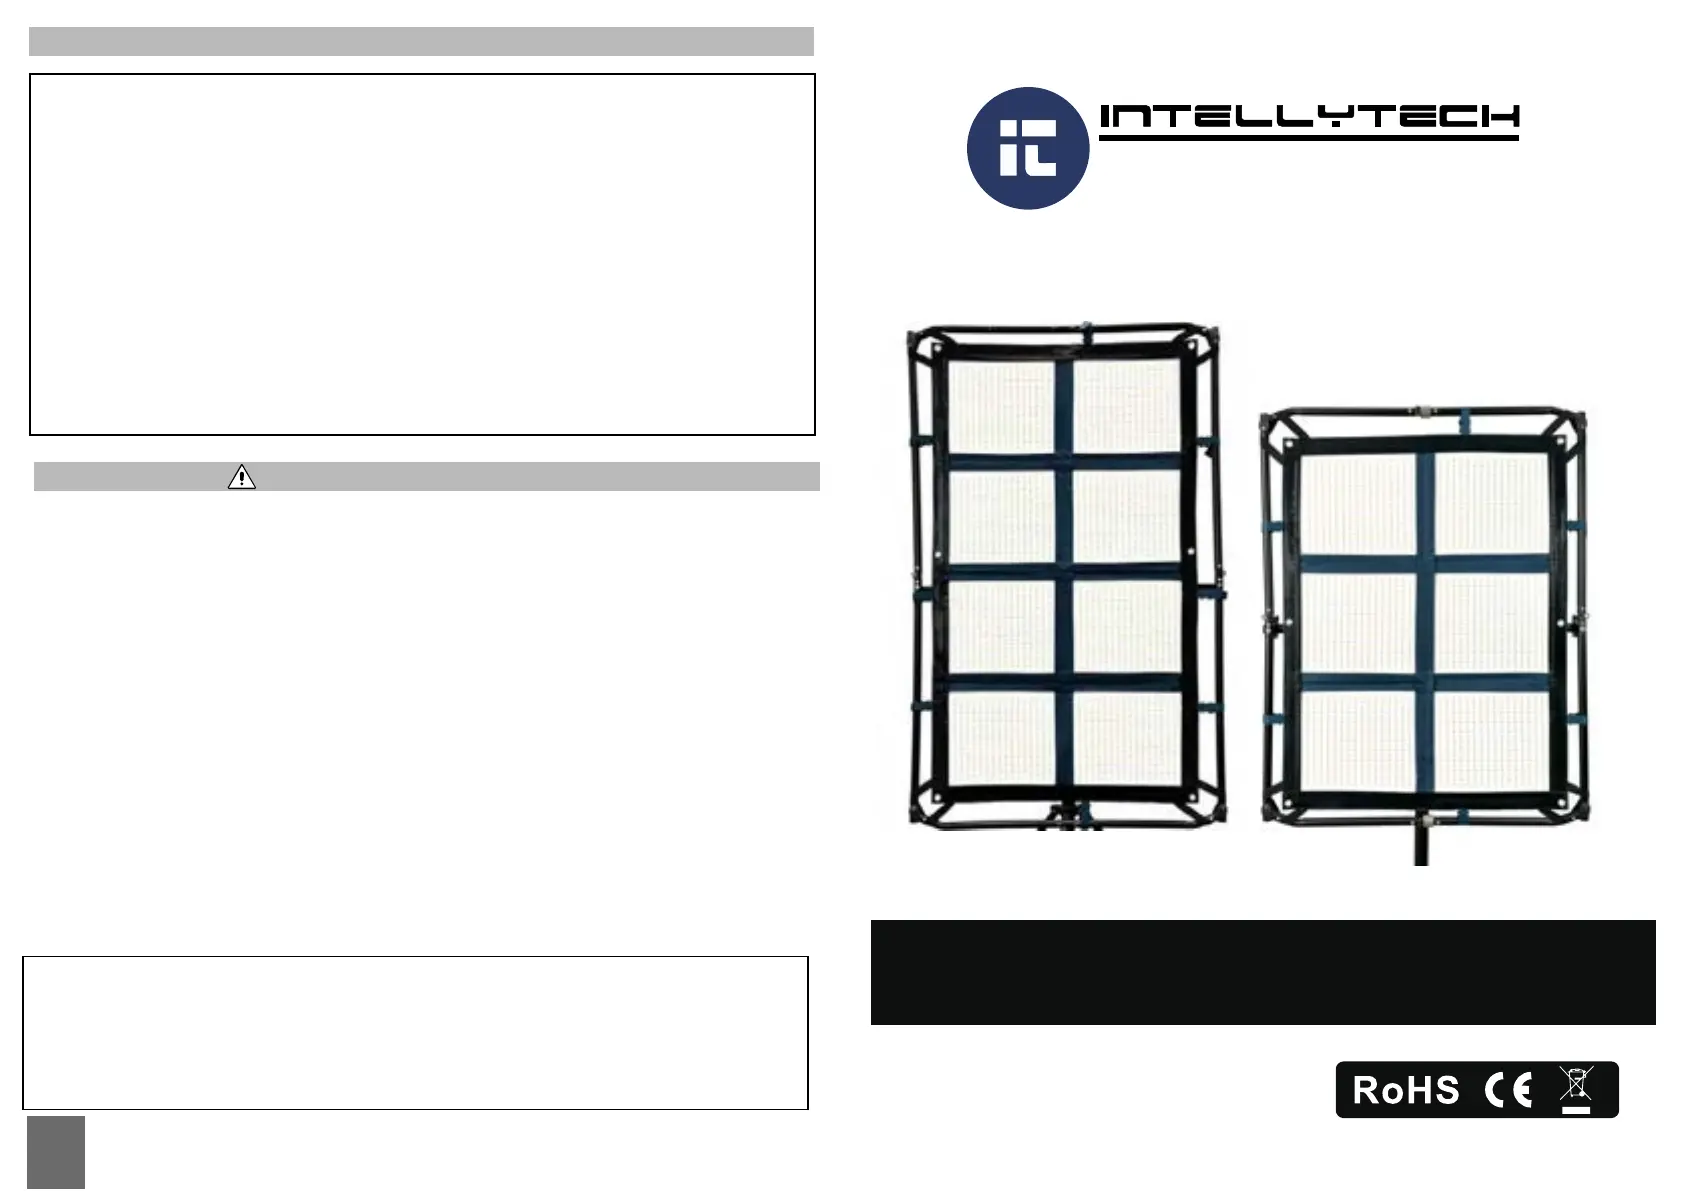
LiteCloth 3.0
MEGA-8 / 6
Storing your Mega-LC in a cold or location?
For optimal power distribution, allow your Mega-LC 3.0 to warm up for
5 minutes using the following settings:
1: Set the bi-color LED’s to 5600k
2: Set the output to 10%
*This isn’t required but will help in evenly distributing power through
the LED’s. We recommend this if the light is being stored in a cold grip
truck or if it has recently shipped.
Need Help? Contact us now using Live Chat at www.intellytechusa.com.
We usually respond within 10 seconds during business hours and can help with
any questions.
Email: customerservice@intellytechusa.com
Produkspesifikasjoner
| Merke: | Intellytech |
| Kategori: | Lettelse |
| Modell: | LiteCloth Mega-6 |
Trenger du hjelp?
Hvis du trenger hjelp med Intellytech LiteCloth Mega-6 still et spørsmål nedenfor, og andre brukere vil svare deg
Lettelse Intellytech Manualer

26 Februar 2025

23 Januar 2025

23 Januar 2025

23 Januar 2025

23 Januar 2025

23 Januar 2025

23 Januar 2025

23 Januar 2025
Lettelse Manualer
- Sagitter
- Innoliving
- Altman
- Nanlite
- Lexon
- Nedis
- Fluval
- Blizzard
- ADB
- Amaran
- GoGEN
- GRE
- Novy
- Integral LED
- ESYLUX
Nyeste Lettelse Manualer

9 April 2025

9 April 2025

8 April 2025

8 April 2025

8 April 2025

7 April 2025

6 April 2025

6 April 2025

6 April 2025

6 April 2025