Johnson Control T8690 Bruksanvisning
Johnson Control
Termostat
T8690
Les nedenfor 📖 manual på norsk for Johnson Control T8690 (71 sider) i kategorien Termostat. Denne guiden var nyttig for 32 personer og ble vurdert med 4.6 stjerner i gjennomsnitt av 16.5 brukere
Side 1/71
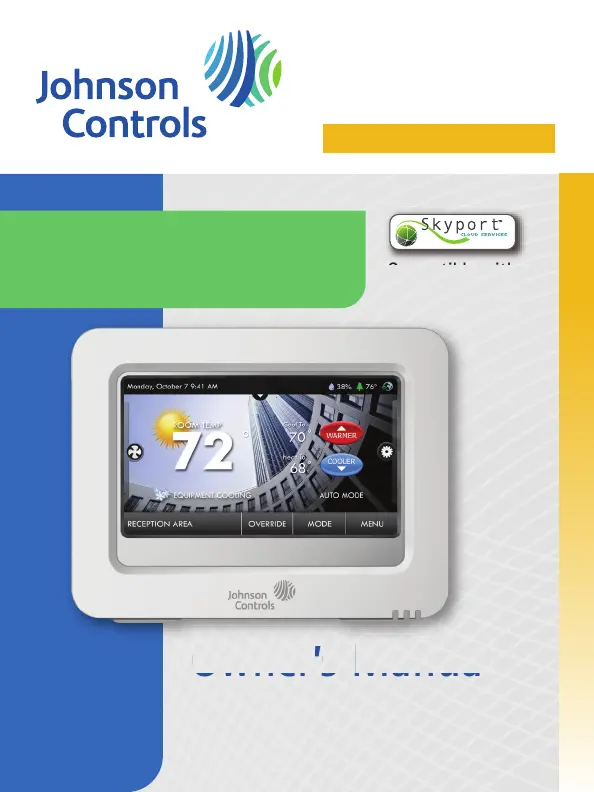
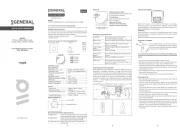
Compatible with
Wi-Fi accessories
C tibl ith
model T8690
Commercial
High Resolution
Touch Screen
Multi Stage 4+2
Digital Thermostat
Owner
,
s Manual
and Installation
Instructions
Wi
-
Fi
accesso
Touch
Screen
Owner
,
s
Manual
with Humidity Control
Code No. LIT-12011969
Issued July 7, 2014
Produkspesifikasjoner
| Merke: | Johnson Control |
| Kategori: | Termostat |
| Modell: | T8690 |
Trenger du hjelp?
Hvis du trenger hjelp med Johnson Control T8690 still et spørsmål nedenfor, og andre brukere vil svare deg
Termostat Johnson Control Manualer

27 Oktober 2024

27 Oktober 2024

27 Oktober 2024

27 Oktober 2024

27 Oktober 2024
Termostat Manualer
- Wodtke
- SPC
- Otio
- Brink
- Jung
- ICY
- Bosch
- Saunier Duval
- Renkforce
- Konyks
- Basetech
- Silvercrest
- Panasonic
- Chacon
- Energenie
Nyeste Termostat Manualer
19 Oktober 2025
19 Oktober 2025
9 Oktober 2025
8 Oktober 2025
6 Oktober 2025
6 Oktober 2025
6 Oktober 2025
24 September 2025

24 September 2025
24 September 2025