Little Giant Pit+Plus Jr Bruksanvisning
Little Giant
Vannpumpe
Pit+Plus Jr
Les nedenfor 📖 manual på norsk for Little Giant Pit+Plus Jr (20 sider) i kategorien Vannpumpe. Denne guiden var nyttig for 15 personer og ble vurdert med 3.6 stjerner i gjennomsnitt av 8 brukere
Side 1/20
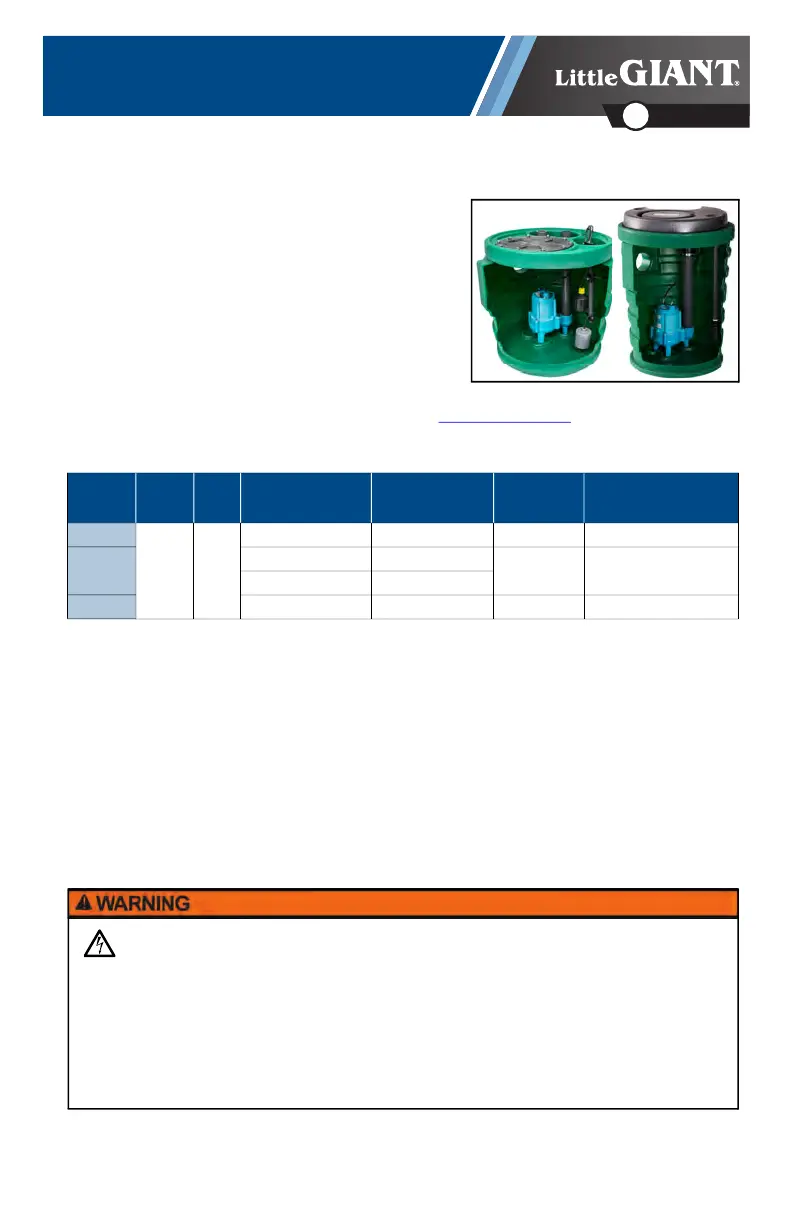
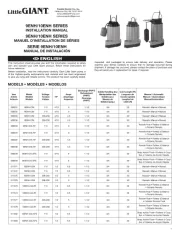
Pit+Plus JR & SR Systems
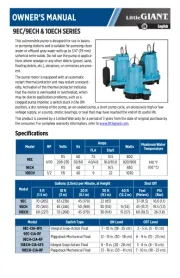
OWNER'S MANUAL
English
EN
Pit+Plus JR and SR systems are designed for use in residential
applications to collect sewage, effluent, drainage, or seepage
water. These systems divert this away from structures, land-
scapes prone to erosion, and areas with poor drainage. Install
only in indoor applications, isolated from traffic.
The system is equipped with floats or an External Control Mod-
ule (ECM™). The ECM™ is an advanced control switch for a sew-
age basin.
This product is covered by a Limited Warranty for a period of 3 years from the date of original purchase by
the consumer. For complete warranty information, refer to www.LittleGiant.com
.
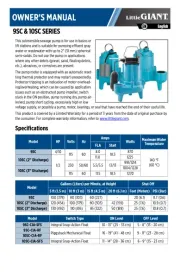
Specifications
SAFETY INSTRUCTIONS
This equipment should be installed and serviced by technically qualified personnel who are familiar with
the correct selection and use of appropriate tools, equipment, and procedures. Failure to comply with
national and local electrical and plumbing codes and within Little Giant recommendations may result in
electrical shock or fire hazard, unsatisfactory performance, or equipment failure.
Know the product’s application, limitations, and potential hazards. Read and follow instructions and those
provided with the pump carefully to avoid injury and property damage. Do not disassemble or repair unit
unless described in this manual.
Failure to follow installation or operation procedures and all applicable codes may result in the following
hazards:
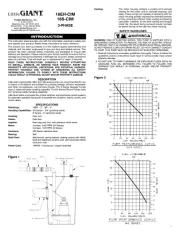
HP Volts Hz Amps
Discharge
in (mm)
Watts
Shut Off
ft (m)
4/10
115 60
8 - 870 20 (6.1)
1/2
11 2 (51)
1230 25 (7.62)
11.5 3 (76.2)
1 12.5 2 (51) 1330 53 (16.15)
Risk of severe injury or death by electrical shock.
• Check local electrical and building codes before installation. The installation must be in accordance with their
regulations as well as the most recent National Electrical Code (NEC) and the Occupational Safety and Health Act
(OSHA).
• This product is supplied with a grounding conductor and grounding-type attachment plug. To reduce risk of elec-
tric shock, be certain that it is connected only to a properly grounded grounding-type receptacle. Do not remove
the third prong from the plug. The third prong is to ground the pump to help prevent possible electric shock haz-
ard. Do not use an extension cord.
Produkspesifikasjoner
| Merke: | Little Giant |
| Kategori: | Vannpumpe |
| Modell: | Pit+Plus Jr |
Trenger du hjelp?
Hvis du trenger hjelp med Little Giant Pit+Plus Jr still et spørsmål nedenfor, og andre brukere vil svare deg
Vannpumpe Little Giant Manualer
29 August 2025
28 August 2025
27 August 2025
27 August 2025
27 August 2025
27 August 2025
27 August 2025
27 August 2025
27 August 2025

27 August 2025
Vannpumpe Manualer
Nyeste Vannpumpe Manualer
7 Oktober 2025
7 Oktober 2025
6 Oktober 2025
6 Oktober 2025
6 Oktober 2025
6 Oktober 2025

5 Oktober 2025
5 Oktober 2025
5 Oktober 2025
5 Oktober 2025