Mistral MA01021 Bruksanvisning
Mistral
Ikke kategorisert
MA01021
Les nedenfor 📖 manual på norsk for Mistral MA01021 (1 sider) i kategorien Ikke kategorisert. Denne guiden var nyttig for 41 personer og ble vurdert med 4.5 stjerner i gjennomsnitt av 21 brukere
Side 1/1
Expressaire 250mm Self-Closing Exhaust Fan
Instruction Manual
Model: MA01021
Expressaire 250mm Self-Closing Exhaust Fan
Instruction Manual
Model: MA01021
Important Safeguards
When using electrical appliances, in order to reduce the risk of
fire, electric shock, and/or injury to persons, basic safety
precautions should always be followed, including:
For Your Safety
Read all instructions carefully, even if you are quite familiar with
the appliance.
• Young children must be supervised to ensure that they do not
play with the appliance.
• To disconnect, grip the plug and pull it from the wall outlet.
Never pull by the cord. Do not use with wet hands or in damp
environments.
• If the supply cord is damaged, it must be replaced before
further use by the manufacturer, its service agent or similarly
quanlified persons in order to avoid a hazard.
• This appliance is for indoor use only.
• Do not allow ceiling insulation to cover any part of the rear of
this appliance.
• Do not put any type of speed control device in line with the
fan’s power supply.
• Do not attempt to modify this appliance.
• Do not place any subject or body part into the fan while it is
operating.
• Do not clean the device while it is plugged in.
• Do not install the device in an environment that suffers from
water leakage.
• Other than the removable blade assembly, there are no user
serviceable parts in the appliance.Do not attempt to repair.
• Do not immerse the motor in any liquid.
• Do not insert or allow foreign objects to enter any grille
opening, as this may cause damage to the unit and/or injury
to the user.
• Remove all packaging and check the appliance for any
damages during transportation.
• Do not use if there are visible signs of damaged to the
appliance.
Warning
If the supply power cord is damaged, the power cord must be
replaced by the manufacturer, its service agent or similarly qualified
persons in order to avoid a hazard.
This product has not been designed for any uses other than those
specified in this booklet.
Save These Instructions
Before You Start
This exhaust fan must be mounted more than 20cm from the side walls
of room, more than 30cm from the top of the ceiling cavity and more
than 2.3m away from the floor.
Only mount this exhaust fan in a flat ceiling. Do not mount on an
angle, in curved ceilings or in vertical walls.
Make sure no electrical cables are in the way before you cut the
mounting hole.
Any electrical work including the installation of switches, wiring and
socket outlets must be carried out by a licenced electrician.
In accordance with the as/NZS 3000 wiring rules, the wall switch must
not be installed where it can be reached by a person in the bath or
shower.
Do not modify any structural component of the building in any way to
install the exhaust fan
Do not install anywhere where water may be splashed into the
exhaust fan.
Any air that is removed from the room by the fan must be replaced by
an equivalent amount of air from outside the room - either through
slightly open windows, under a door or similar. The more sealed the
room is, the more degraded the exhaust fans performance will be.
This fan may be ducted if the ducting is stiff, and does not
impede the self-closing fins. Any applicable building codes
must be adhered to.
Instruction
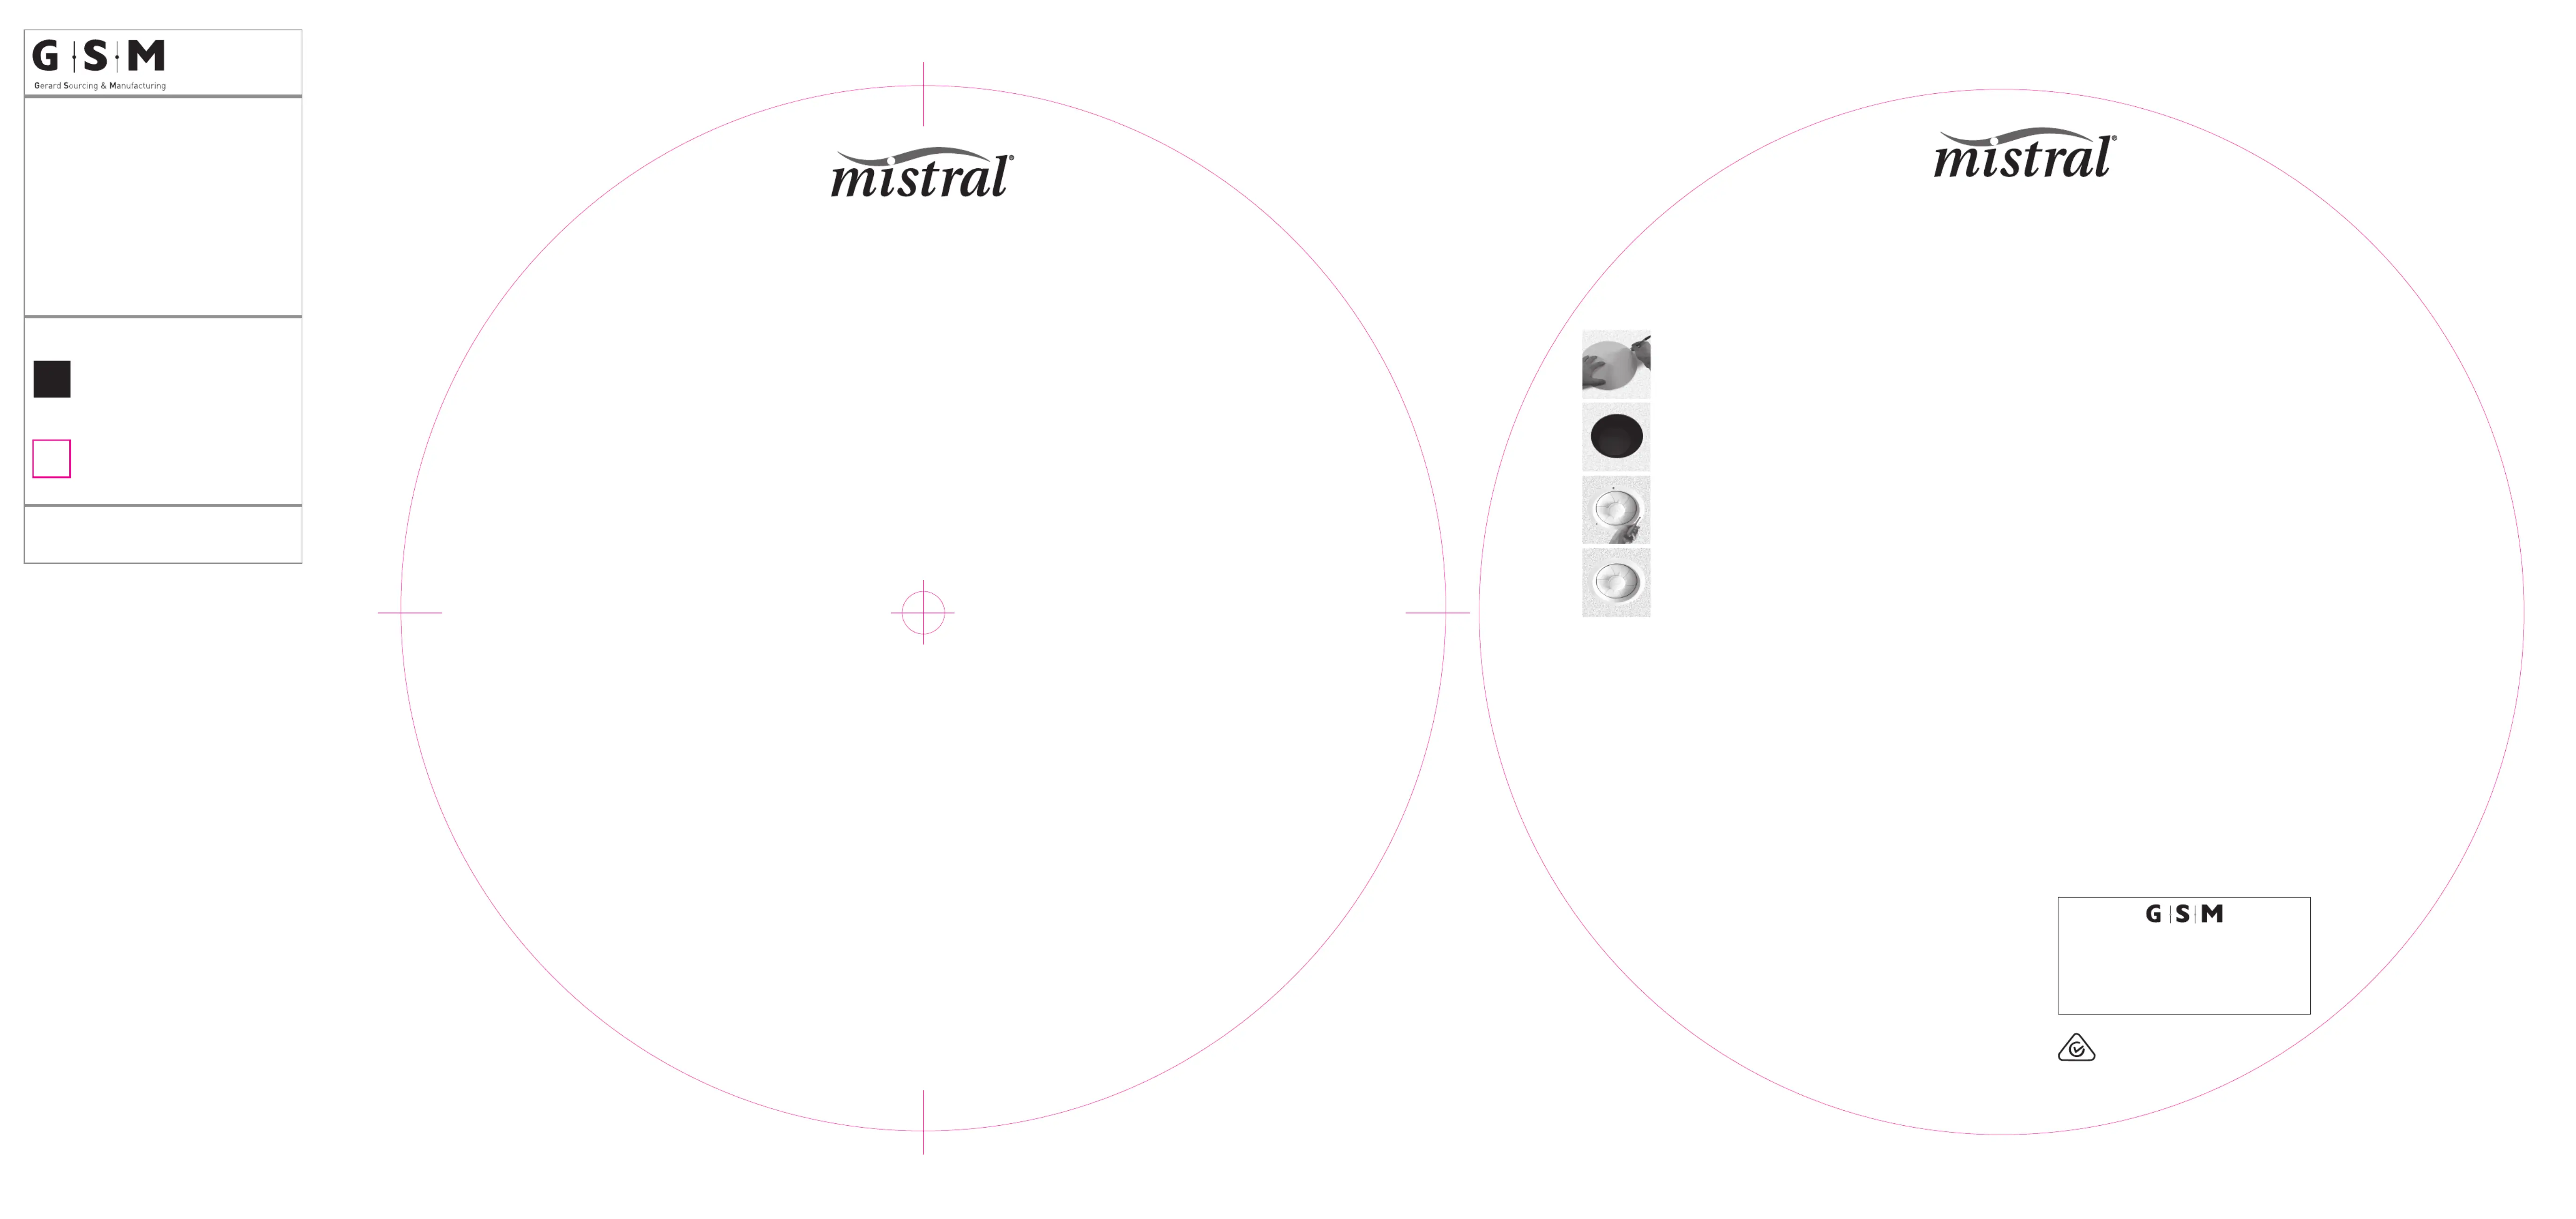
1. Use this card to trace the outline of the hole onto
the ceiling, using the centre punch for guidance.
2. Cut out the mounting hole.
3. Plug the fan into the power socket installed within
the roof cavity.
4. Retract the three mounting clips on the outside of
the fan and insert the fan into the ceiling cut out.
5. Rotate the screws. The mounting clips will rotate
and hold the fan in place.
6. Tighten the screws to fasten the fan into place.
7. Switch on the fan to ensure it is working.
8. Switch off the fan and push the supplied screw
hole covers over the screws.
Warranty Conditions for purchase in Australia & New Zealand
Any claim under this warranty must be made within 12 months
of the date of purchase of the product. To make a claim under
the warranty in Australia, take the product (with proof of
purchase) to any Bunnings store (see www.bunnings.com.au in
Australia or www.bunnings.co.nz in New Zealand for store
locations).
GSM Sales Pty Ltd bears reasonable, direct, expenses of
claiming under the warranty in Australia. You may submit details
and proof to a Bunnings store for consideration or contact our
service agent below.
This warranty is provided in addition to other rights and remedies
you may have under law: our goods come with guarantees
which cannot be excluded under the Australian Consumer Law
(if purchased in Australia) or the Consumer Guarantees Act
1993 (if purchased in New Zealand). You are entitled to
replacement or refund for a major failure and to compensation
for other reasonably foreseeable loss or damage. You are also
entitled to have the goods repaired or replaced if the goods fail
to be of acceptable quality and the failure does not amount to
a major failure.
The warranty excludes damage resulting from product misuse or
product neglect. The warranty covers domestic use only and
does not apply to commercial applications.
This warranty is given by GSM Sales Pty Ltd
ABN: 53007682475
For Warranty and technical queries: 1300 373 199 Aus or
0800 200 037 NZ
Warranty Exclusions
Damage to the base or diffuser or any part through accident,
misuse or negligence.
Cleaning
Ensure the fan is switched off at the mains before attempting any cleaning.
1. Remove the fan blade assembly by unscrewing the central knob.
2. Wash the fan blade assembly in warm soapy water, then rinse clear.
3. Allow fan blade assembly to dry completely.
4. Replace fan blade assembly onto motor housing.
NOTE: As a result of continual improvements, the design and
specifications of the product within may differ slightly to the
unit illustrated on the packaging. If any household fixed
wiring becomes necessary, it must be carried out by a
licensed electrician.
Technical Specifications
Power Supply: AC 220-240V~ 50Hz
Power Consumption: 40W
Fan Speed: 1250 RPM
Motor power: 40 Watts
Airflow: 750 m3/h
Fan diameter: 250mm
GSM Sales Pty Ltd
The GSM Sales Pty Group of Companies has a policy of continual improvement throughout the product range.
As such the unit contained within may differ slightly from the unit illustrated on the pack.
MADE IN CHINA for GSM Sales Pty Ltd. Group of Companies
G S Merard ourcing & anufacturing
Consumer Service Centre :
Aus: 1300 373 199
NZ: 0800 200 037
Cat. No. MA01021
April 2018
DETAILS
Project Name/Model : MA01021
Project Type : Color Box
Request By : Tommy Wong
Size : 295(W) x 295(H) mm
Start Date : 14 Feb 2018
Revised Date : 06 April 2018
Finish Date :
Drawing By : Siva Fong
COLOURS
FINISH
Gloss Lamination
BLACK
DIELINE
CMYK
Pantone
Produkspesifikasjoner
| Merke: | Mistral |
| Kategori: | Ikke kategorisert |
| Modell: | MA01021 |
Trenger du hjelp?
Hvis du trenger hjelp med Mistral MA01021 still et spørsmål nedenfor, og andre brukere vil svare deg
Ikke kategorisert Mistral Manualer

6 Januar 2025

6 Januar 2025

22 Oktober 2024

22 Oktober 2024

22 Oktober 2024

22 Oktober 2024

22 Oktober 2024

22 Oktober 2024

22 Oktober 2024

22 Oktober 2024
Ikke kategorisert Manualer
- Crivit
- EA Elektro Automatik
- EVE
- IHome
- Kogan
- Nemco
- Doffler
- OBSBOT
- Peavey
- Safco
- Rommer
- Goal Zero
- Pliant Technologies
- Jung
- JOBY
Nyeste Ikke kategorisert Manualer

23 Oktober 2025

23 Oktober 2025

23 Oktober 2025

23 Oktober 2025

23 Oktober 2025

23 Oktober 2025

23 Oktober 2025

23 Oktober 2025

23 Oktober 2025

23 Oktober 2025