Vollrath 15059 Bruksanvisning
Vollrath
kuttemaskin
15059
Les nedenfor 📖 manual på norsk for Vollrath 15059 (12 sider) i kategorien kuttemaskin. Denne guiden var nyttig for 12 personer og ble vurdert med 3.9 stjerner i gjennomsnitt av 6.5 brukere
Side 1/12
Operator’s Manual
Redco
®
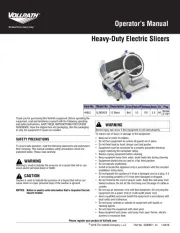
InstaCut
™
3.5 Tabletop and Wall Mount
©
2016 The Vollrath Company L.L.C. Part No. 2350022-1 ml 2/26/16
Please register your product at Vollrath.com
Thank you for purchasing this Vollrath equipment. Before operating the
equipment, read and familiarize yourself with the following operating
and safety instructions. SAVE THESE INSTRUCTIONS FOR FUTURE
REFERENCE. Save the original box and packaging. Use this packaging
to ship the equipment if repairs are needed.
SAFETY PRECAUTIONS
To ensure safe operation, read the following statements and understand
their meaning. This manual contains safety precautions which are
explained below. Please read carefully.
Warning is used to indicate the presence of a hazard that will or can
cause severe personal injury or death.
Caution is used to indicate the presence of a hazard that will or can
cause minor or major personal injury if the caution is ignored.
NOTICE: Notice is used to note information that is important but not
hazard-related.
To reduce risk of injury or damage to the equipment
• Check equipment before each use to insure the equipment is clean.
• Check for broken, nicked or dull blades and if found, replace the
blade assembly.
• Check to insure that the pusher head sits down completely on the
rubber bumpers.
• Check to ensure the rubber bumpers are in place. DO NOT USE
EQUIPMENT IF BUMPERS ARE NOT IN PLACE.
• On tabletop models the suction cups will hold the equipment
securely to smooth surfaces.
• Wall mounted equipment must be securely mounted to wall studs.
Use proper size and type hardware to mount equipment to wall.
• If necessary, lubricate guide rods using a light coating of mineral oil,
Petro Gel, or food grade lubricant. DO NOT USE COOKING OIL AS IT
WILL BECOME STICKY AND MAY PERMANENTLY DAMAGE THE
PUSHER HEAD BEARINGS.
FUNCTION AND PURPOSE
Intended for cutting, dicing and wedging vegetables and fruits.
UNPACKING THE EQUIPMENT AND INITIAL SETUP
Carefully remove crating or packaging materials from the equipment.
When no longer needed, dispose of all packaging materials in an
environmentally responsible manner.
Installing the wall mounted model
1. Use four (4) ¼" screws of a suitable length to secure the base to the
wall. Install screws into studs. If this is not possible, use proper
anchors and screws to secure base.
WARNING
CAUTION
Tabletop
Item No.
Wall Mount
Item No. Description
15000 15016 ¼" Dice
15001 15017 " Dice³⁄₈
15002 15018 " Dice½
15003 15019 4 Section Wedge
15005 15021 6 Section Wedge
15006 15022 8 Section Wedge
15007 15023 10 Section Wedge
15008 15024 12 Section Wedge
15009 — 6 Section Core
15010 15026 8 Section Core
Produkspesifikasjoner
| Merke: | Vollrath |
| Kategori: | kuttemaskin |
| Modell: | 15059 |
Trenger du hjelp?
Hvis du trenger hjelp med Vollrath 15059 still et spørsmål nedenfor, og andre brukere vil svare deg
kuttemaskin Vollrath Manualer
23 August 2025
23 August 2025

23 August 2025

22 August 2025

11 August 2025
11 August 2025
kuttemaskin Manualer
- Nemco
- Gastronoma
- Dito Sama
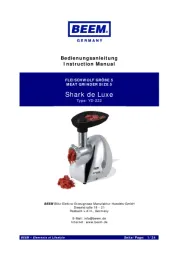
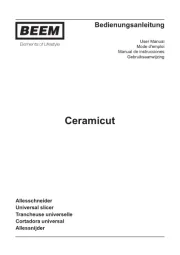
- Beem
- Magimix
- Prince Castle
- Axis
- Electrolux
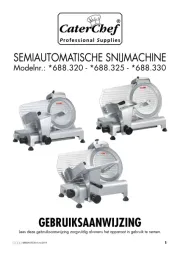
- CaterChef
- Doyon
- Oster
- Zelmer
- Gourmetmaxx
- Ariete
- Wilfa
Nyeste kuttemaskin Manualer

10 Oktober 2025

8 Oktober 2025

7 Oktober 2025

7 Oktober 2025
7 Oktober 2025

7 Oktober 2025
2 Oktober 2025
30 September 2025

30 September 2025

29 September 2025