Black Box LES422A Bruksanvisning
Les nedenfor 📖 manual på norsk for Black Box LES422A (2 sider) i kategorien Server. Denne guiden var nyttig for 14 personer og ble vurdert med 5.0 stjerner i gjennomsnitt av 7.5 brukere
Side 1/2
724-746-5500 | blackbox.com724-746-5500 | blackbox.com 724-746-5500 | blackbox.com
Page 5 Page 6
© Copyright 2013. Black Box Corporation. All rights reserved.
Black Box and the Double Diamond logo are registered trademarks of
BB Technologies, Inc. UL is a registered trademark of Underwriters
Laboratories. Any other trademarks mentioned in this manual are
acknowledged to be the property of the trademark owners.
BL A C K B O X
®
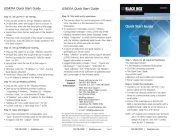
Quick Start Guide
2-Port Hardened Serial Server
LES422A
Black Box Tech
Support: FREE! Live.
24 /7. Tech support
the way it should be.
Great tech support is just 30 seconds
away at 724-746-5500 or blackbox.com.
Order toll-free in the U.S.:
Call 877-877-BBOX
(outside U.S. call 1-724-746-5500)
FREE technical support
24 hours a day, 7 days a week:
Call 724-746-5500 or
fax 724-746-0746
Mailing address:
Black Box Corporation
1000 Park Drive
Lawrence, PA 15055-1018
Web site: www.blackbox.com
E-mail: info@blackbox.com
Customer
Support
Information
BL A C K B O X
®
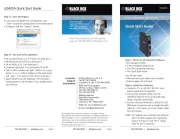
LES422A Quick Start Guide
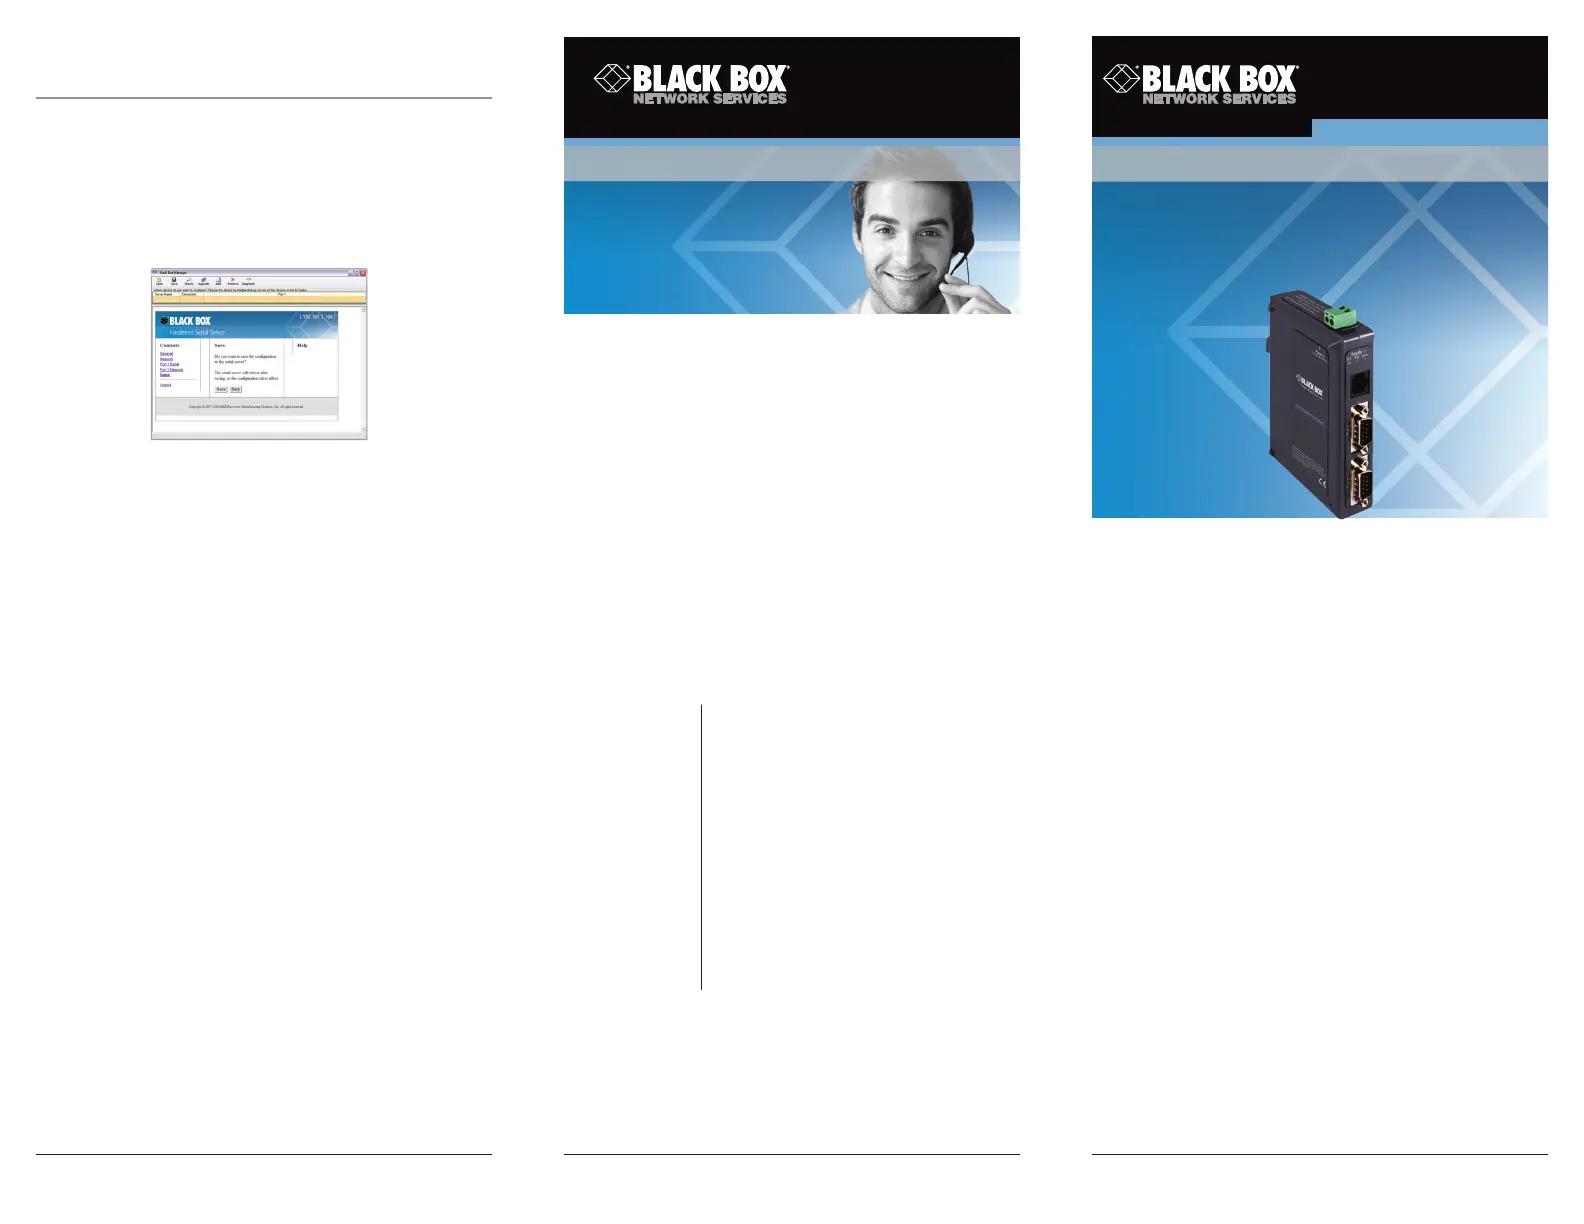
Step 12. Save and logout.
• If you have completed the configuration, click
“Save” to save the configuration to the serial server.
• To logout, click the “Logout” button.
Step 13. Test and verify operation.
• Set up serial server as a TCP server on serial port 1.
• Set serial port to RS-232 on serial port 1.
• Set to 9600, 8, N, 1 on serial port 1.
• Loopback serial port 1 by connecting TD to RD.
• Open a DOS window and type “telnet x.x.x.x yyyy,”
where “x.x.x.x” is the IP address of the serial server
and “yyyy” is the port number of the serial port.
• Type characters on the keyboard. The characters
should appear in the window. If not, double-check
your settings.
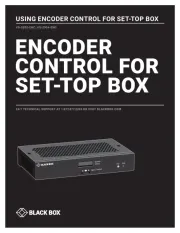
Step 1. Check for all required hardware.
Your package includes:
• 2-Port Hardened Serial Server
• CD-ROM containing software
• This Quick Start Guide
You will also need:
• Network and serial cables (not included)
• Power supply (not included)
Step 2: Install the hardware.
• Connect a 10- to 48-VDC (58 VDC max.)
power supply (6.0 W required).
• Connect the network cable from the
Hardened Serial Server to a network drop
using a standard serial cable.
• Connect the serial device(s) to the (2) RS-232
DB9 serial connectors with a straight-through
cable for a DCE device or a null-modem cable
for a DTE device.
NOTE: UL
®
requires one conductor per terminal,
28 to 16 AWG copper-wire, tightening
torque of 5 kg-cm, and 105° C rating
sized for 60° C ampacity.
LES422A Quick Start Guide, rev. 1
Produkspesifikasjoner
| Merke: | Black Box |
| Kategori: | Server |
| Modell: | LES422A |
| Vekt: | 100 g |
| LED-indikatorer: | Ja |
| Sertifisering: | CE, UL, NEMA TS-2 |
| Inngangsspenning: | 10 - 58 V |
| Kablingsteknologi: | 10/100Base-T(X) |
| Strømforbruk: | 4000 mA |
| Dimensjoner (B x D x H): | 81 x 119 x 30 mm |
| Produktfarge: | Sort |
| Seriell grensesnittype: | RS-232/422/485 |
| Antall ethernets-/bredbåndstilkoblinger (RJ-45): | 1 |
| Driftstemperatur (T-T): | -40 - 80 °C |
| Internasjonal beskyttelses (IP)-kode: | IP30 |
| Støttede Windows operativsystemer: | Windows 2000, Windows 7, Windows Vista, Windows XP Home, Windows XP Home x64, Windows XP Professional, Windows XP Professional x64 |
| Kommunikasjonsserieporter: | 2 |
| Støttede server-operativsystemer: | Windows Server 2003, Windows Server 2008 |
Trenger du hjelp?
Hvis du trenger hjelp med Black Box LES422A still et spørsmål nedenfor, og andre brukere vil svare deg
Server Black Box Manualer
4 Oktober 2025
3 Oktober 2025
3 Oktober 2025
2 Oktober 2025
2 Oktober 2025
2 Oktober 2025
2 Oktober 2025

1 Oktober 2025

1 Oktober 2025
1 Oktober 2025
Server Manualer
- Mobotix
- ioSafe
- Synology
- Intellinet
- Akasa
- HP
- Megasat
- Cisco
- Valcom
- Asus
- Lantronix
- ELO
- Western Digital
- Abus
- Elecom
Nyeste Server Manualer

6 Oktober 2025
Western Digital My Cloud Mirror WDBZVM0120JWT Bruksanvisning
6 Oktober 2025
6 Oktober 2025
6 Oktober 2025
6 Oktober 2025
6 Oktober 2025
6 Oktober 2025
6 Oktober 2025
6 Oktober 2025

6 Oktober 2025