Cambro CVC75 Bruksanvisning
Cambro
Ikke kategorisert
CVC75
Les nedenfor 📖 manual på norsk for Cambro CVC75 (8 sider) i kategorien Ikke kategorisert. Denne guiden var nyttig for 16 personer og ble vurdert med 4.6 stjerner i gjennomsnitt av 8.5 brukere
Side 1/8
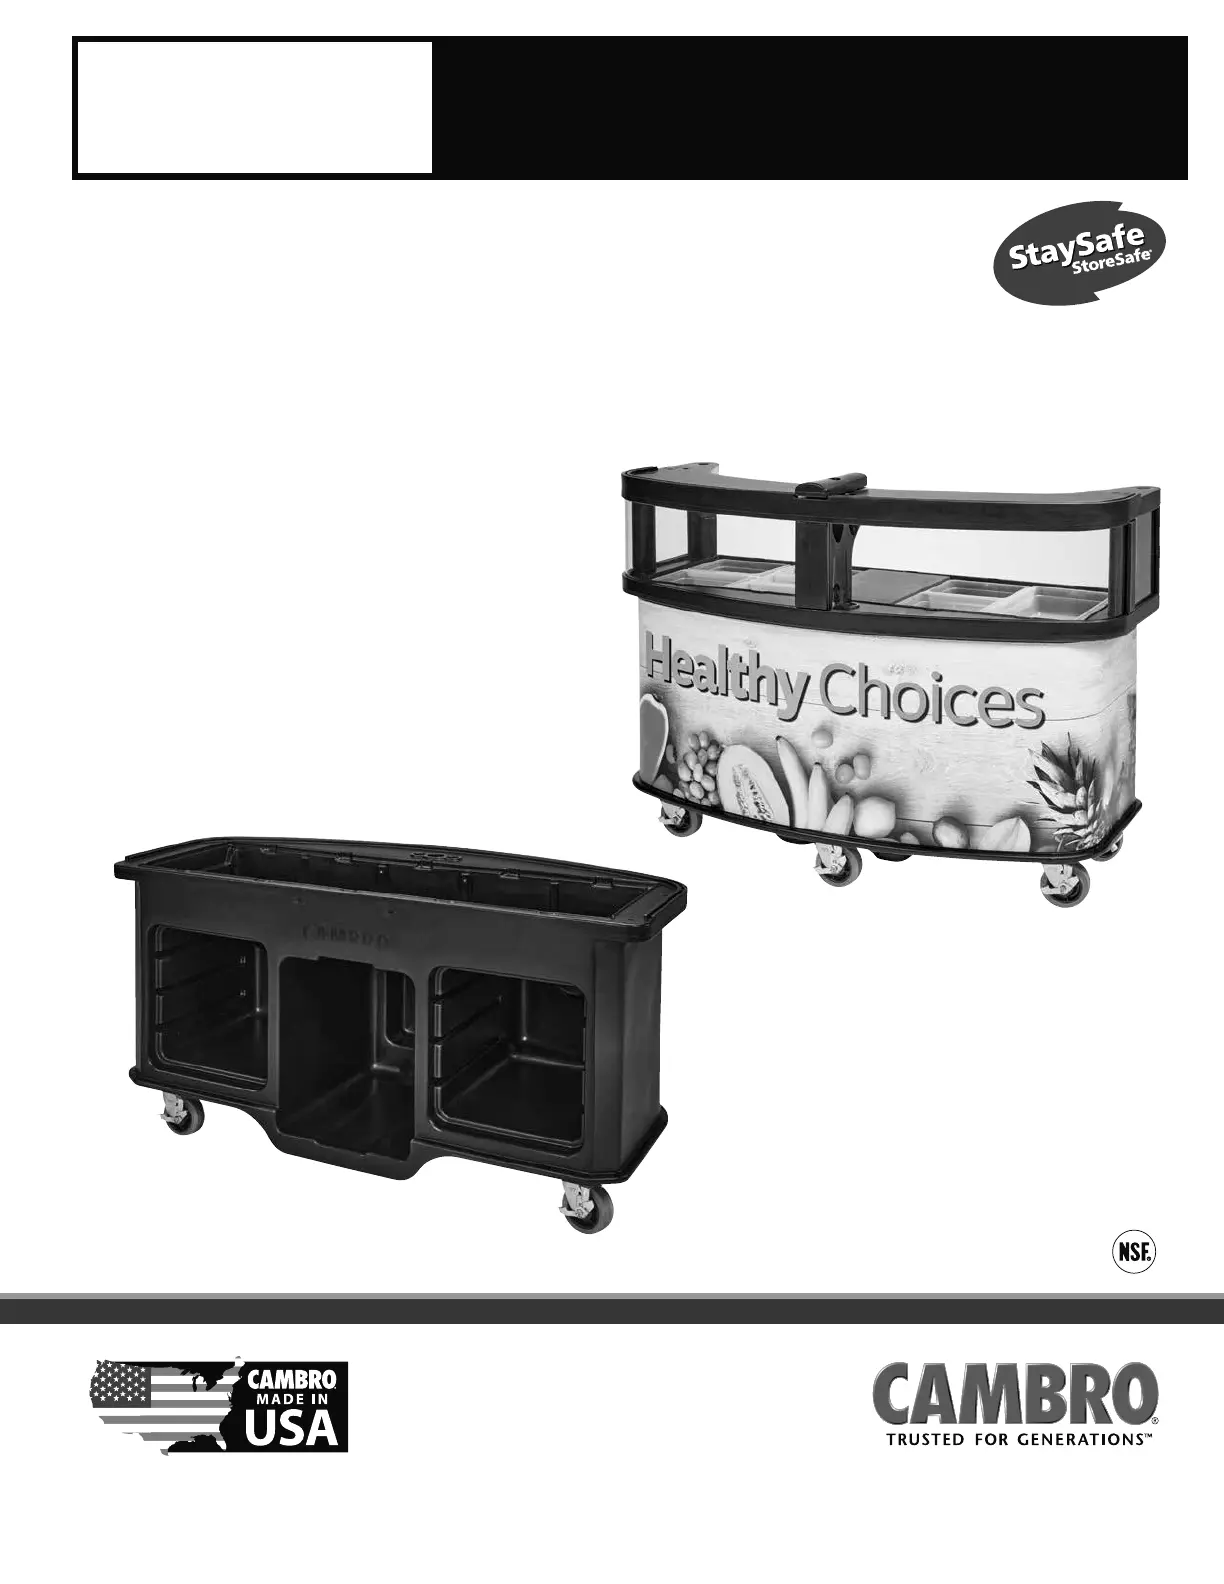
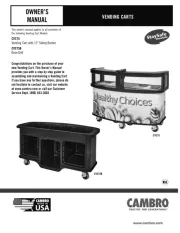
This owner’s manual applies to all variations of
the following Vending Cart Models:
CVC75
Vending Cart with 12" Safety Barrier
CVC75B
Base Unit
Congratulations on the purchase of your
new Vending Cart. This Owner’s Manual
provides you with a step by step guide to
assembling and maintaining a Vending Cart.
If you have any further questions, please do
not hesitate to contact us, visit our website
at www.cambro.com or call our Customer
Service Dept. (800) 833-3003
OWNER’S
MANUAL
VENDING CARTS
www.cambro.com
CVC75B
CVC75
Produkspesifikasjoner
| Merke: | Cambro |
| Kategori: | Ikke kategorisert |
| Modell: | CVC75 |
Trenger du hjelp?
Hvis du trenger hjelp med Cambro CVC75 still et spørsmål nedenfor, og andre brukere vil svare deg
Ikke kategorisert Cambro Manualer

22 September 2025
22 September 2025
22 September 2025
21 September 2025
21 September 2025
21 September 2025

21 September 2025
21 September 2025

21 September 2025

21 September 2025
Ikke kategorisert Manualer
- Ordo
- Silver Cross
- Pro-Ject
- Dragonshock
- CyberPower
- Tru Components
- Suzuki
- Eschenbach
- Salter
- Kanlux
- Anova
- Intermatic
- Adonit
- Zalman
- Uniden
Nyeste Ikke kategorisert Manualer

23 Oktober 2025

23 Oktober 2025

23 Oktober 2025

23 Oktober 2025

23 Oktober 2025

23 Oktober 2025

23 Oktober 2025

23 Oktober 2025

23 Oktober 2025

23 Oktober 2025