Cambro UPCH1600 Bruksanvisning
Cambro
Ikke kategorisert
UPCH1600
Les nedenfor 📖 manual på norsk for Cambro UPCH1600 (36 sider) i kategorien Ikke kategorisert. Denne guiden var nyttig for 15 personer og ble vurdert med 4.3 stjerner i gjennomsnitt av 8 brukere
Side 1/36
1
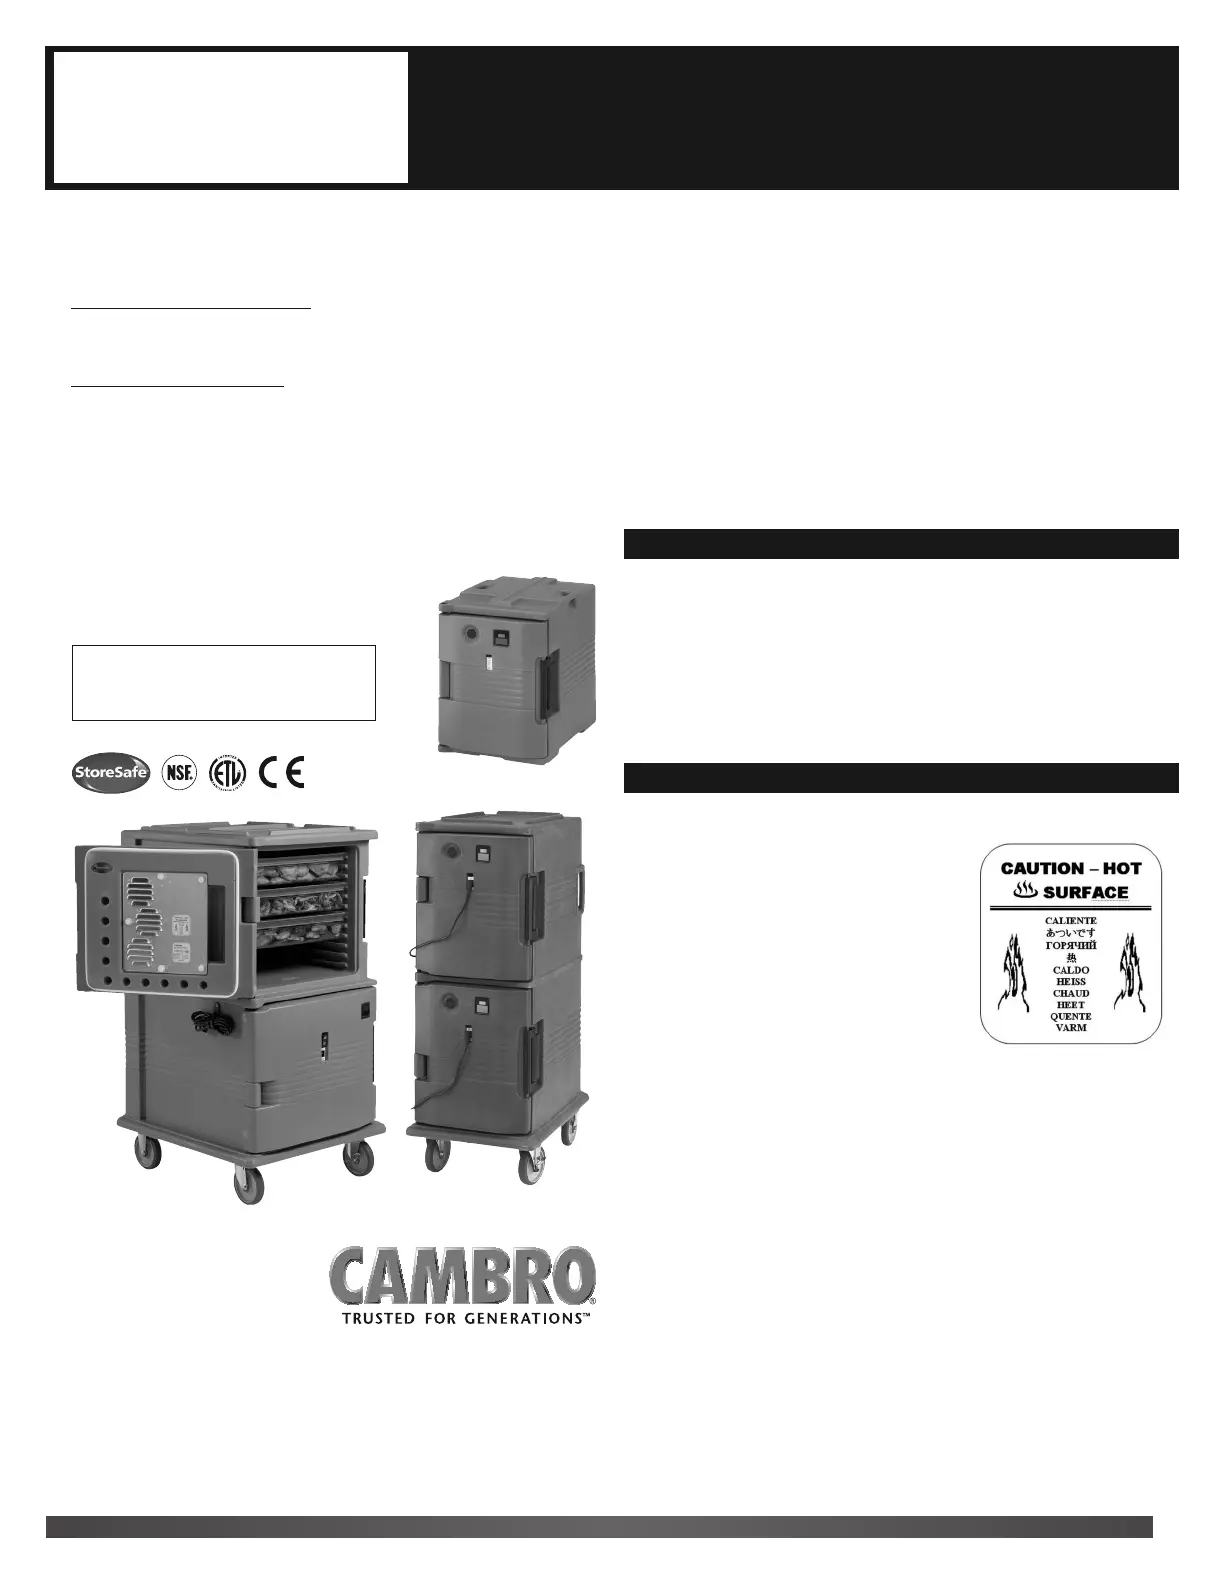
UPCH400
UPCH4002
UPCH800
UPCH8002
UPCH1600
UPCH16002
This owner’s manual applies to all variations of models
in the following categories:
Ultra Pan Carrier
®
H-Series
UPCH400 / 4002
Ultra Camcart
®
H-Series
UPCH800 / 8002
UPCH1600 / 16002
Heated Replacement Doors ONLY
For Replacement
Or Retrofit Non-Electric
Ultra Pan Carriers
or Ultra Camcarts
Note: All models ending in “2” indicate 220V.
All instructions in this manual refer to both
110V and 220V models.
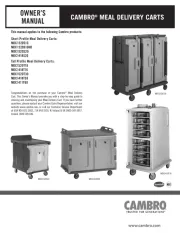
OWNER’S
MANUAL
CAMBRO
®
ELECTRIC HOT HOLDING ULTRA PAN CARRIER
®
H-SERIES
ULTRA CAMCART
®
H-SERIES AND HEATED REPLACEMENT DOORS
Languages
English ...........................................................................................................1
Español ...........................................................................................................5
Français ..........................................................................................................9
Italiano
.........................................................................................................13
Deutsch ........................................................................................................17
Polski .............................................................................................................21
Русско ............................................................................................................25
日本語 ........................................................................................................29
中文 ............................................................................................................33
I. Introduction
Congratulations on the purchase of your new Cambro Electric Hot Holding Ultra Pan
Carrier or Ultra Camcart. This Owner’s Manual provides you with a step-by-step guide
to operating and maintaining your new insulated transporter. If you have any further
questions, please contact your Cambro Sales Representative, visit www.cambro.com
or call our Customer Service Department at (800) 833 3003. International customers
please call (714) 848 1555.
II. Safety Instructions
IMPORTANT: Read all instructions prior to use and save for future reference.
• Follow all warnings marked on unit.
• Use only type of power supply
(voltage, phase, frequency) indicated on
the heater unit label.
• Do not use if power cord is frayed or damaged.
• Connect unit to properly grounded power source.
• Use only manufacturer authorized power cord
and replacement parts.
• Warning! Do not use this equipment in wet
or damp conditions.
• Warning! Unplug unit prior to cleaning or service.
• Warning! Remove power cord from heater prior to cleaning.
Clean with damp cloth only.
• Warning! Do not submerge heater in water and never spray water on or near it.
• Warning! Do not get the thermometer wet in any way.
• Warning! Unplug the power cord before removing the heater from the door.
• Warning! Only Cambro Authorized Service Agent or qualified foodservice
equipment technician should open the inner cover of the heater for servicing.
• During normal operation, check the heater thumbscrews for tightness at least
once a week.
• Any operating problems not identified and corrected by instructions in this
manual should be referred to qualified service personnel
(electrician or foodservice equipment technician).
NOTE:
For service please contact Cambro at (800) 854 7631 X4118. Units under
warranty should be serviced by Cambro Authorized Service Agent Only.
I121137
© Cambro Manufacturing Company, 5801 Skylab Road, Huntington Beach, CA 92647 UMUPCH0212EN Printed in USA REV 04/12
CAMBRO U.S.A.
5801 Skylab Road, Huntington Beach, CA 92647
P.O. Box 2000, Huntington Beach, CA 92647-2000
TEL: (714) 848 1555 F AX: (714) 843 2630
C.E.L.
TEL: (31) 168 707 210
FAX: (31) 168 707 211
NORTH IRELAND & UK
TEL: 0800 587 0057 Toll Free
FAX: 0845 280 3411
IRELAND
TEL: 1800 509 046 Toll Free
FAX: 01 633 55 76
Produkspesifikasjoner
| Merke: | Cambro |
| Kategori: | Ikke kategorisert |
| Modell: | UPCH1600 |
Trenger du hjelp?
Hvis du trenger hjelp med Cambro UPCH1600 still et spørsmål nedenfor, og andre brukere vil svare deg
Ikke kategorisert Cambro Manualer

22 September 2025
22 September 2025
22 September 2025
21 September 2025
21 September 2025
21 September 2025

21 September 2025
21 September 2025

21 September 2025

21 September 2025
Ikke kategorisert Manualer
- Native Instruments
- Be Quiet!
- ENDORFY
- Teia
- Extech
- Helix
- Alfatron
- Avenview
- Aquasure
- Healthy Choice
- XTRARM
- Icy Dock
- Jedo
- Goal Zero
- Be Cool
Nyeste Ikke kategorisert Manualer

23 Oktober 2025

23 Oktober 2025

23 Oktober 2025

23 Oktober 2025

23 Oktober 2025

23 Oktober 2025

23 Oktober 2025

23 Oktober 2025

23 Oktober 2025

23 Oktober 2025