Chapin 41013 Bruksanvisning
Chapin
Ikke kategorisert
41013
Les nedenfor 📖 manual på norsk for Chapin 41013 (16 sider) i kategorien Ikke kategorisert. Denne guiden var nyttig for 8 personer og ble vurdert med 5.0 stjerner i gjennomsnitt av 4.5 brukere
Side 1/16
TM
Complete warranty details at
www.https://chapinmfg.com/pages/
chapinwarranties
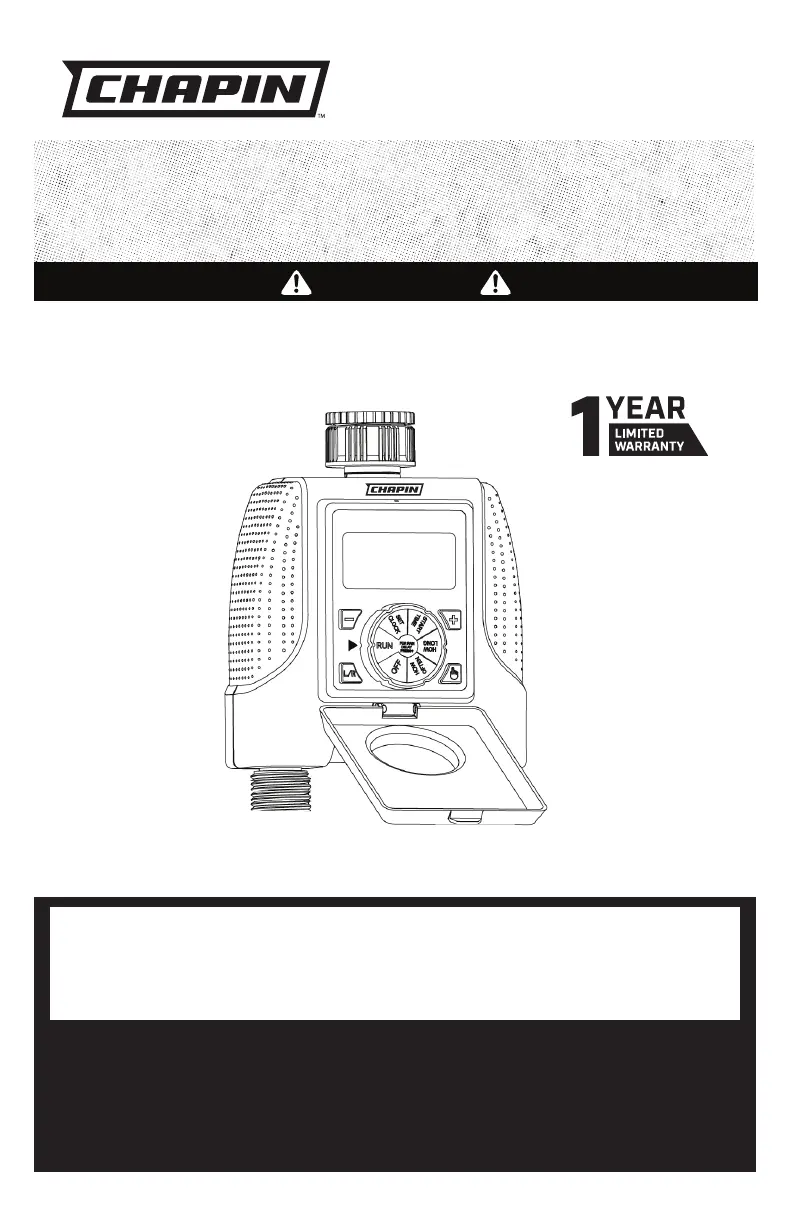
Model: 41003, 41013
017400R1123
USE AND CARE MANUAL
Chapin International, Inc
P.O. Box 549 700 Ellicott St.
Batavia, NY 14021-0549 U.S.A.
1-800-950-4458 www.chapinmfg.com
CAREFULLY READ THESE INSTRUCTIONS BEFORE USE
Failure to do so may result in damage to property and/or person.
WARNING
BEFORE RETURNING THIS PRODUCT FOR ANY REASON, PLEASE CALL:
1-800-950-4458
When calling, please have the following information available: Sales receipt & model number. This number
connects you directly with the manufacturer of this product. Our Technical Support Team will be happy to
help you with any assembly, troubleshooting and replacement information you may need.
CONGRATULATIONS!
YOU HAVE JUST PURCHASED A QUALITY CHAPIN PRODUCT.
REGISTER YOUR PRODUCT ONLINE @ WWW.CHAPINMFG.COM
VISIT US ON THE INTERNET: WWW.CHAPINMFG.COM
DUAL ZONE WATER TIMER
Printed in Indonesia
Produkspesifikasjoner
| Merke: | Chapin |
| Kategori: | Ikke kategorisert |
| Modell: | 41013 |
Trenger du hjelp?
Hvis du trenger hjelp med Chapin 41013 still et spørsmål nedenfor, og andre brukere vil svare deg
Ikke kategorisert Chapin Manualer
21 September 2025
1 September 2025
1 September 2025

1 September 2025
1 September 2025

1 September 2025
1 September 2025
1 September 2025

1 September 2025
1 September 2025
Ikke kategorisert Manualer
- Infiniton
- Haws
- Petsafe
- Ditek
- Cuisinart
- RAM Mounts
- Novy
- Prixton
- Valcom
- Varytec
- Chauvet
- Phil And Teds
- Turmix
- Helix
- Homematic IP
Nyeste Ikke kategorisert Manualer

23 Oktober 2025

23 Oktober 2025

23 Oktober 2025

23 Oktober 2025

23 Oktober 2025

23 Oktober 2025

23 Oktober 2025

23 Oktober 2025

23 Oktober 2025

23 Oktober 2025