Luxul AGS-1016 Bruksanvisning
Les nedenfor 📖 manual på norsk for Luxul AGS-1016 (8 sider) i kategorien Bryter. Denne guiden var nyttig for 27 personer og ble vurdert med 4.5 stjerner i gjennomsnitt av 14 brukere
Side 1/8
Fo ld Fo ld Fo ld
READ ME FIRST
QUICK INSTALL GUIDE
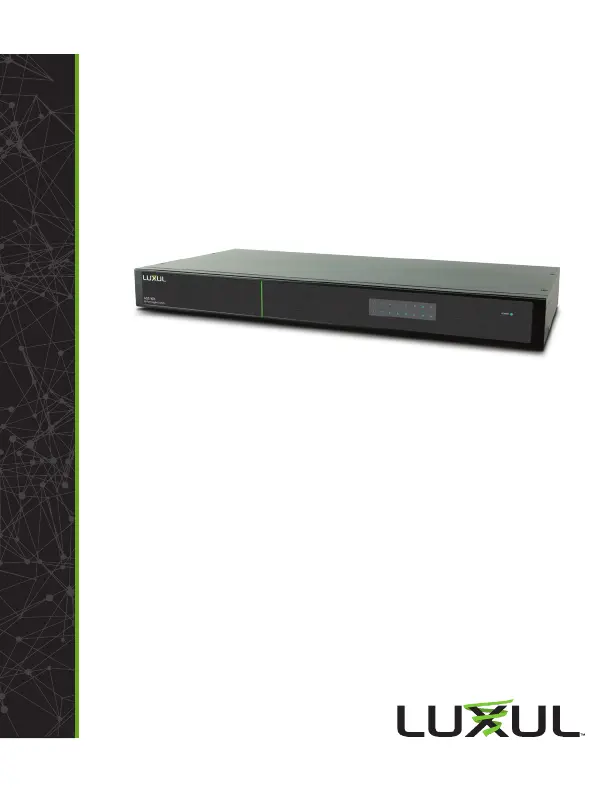
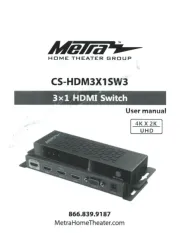
16-Port Gigabit Switch
AGS-1016
Includes:
16-Port Gigabit Switch
Rack Mount Kit
Rubber Feet
Power Cord
SETUP AND CONFIGURATION
1
Physical Installation
The AGS-1016 can be rack-mounted or used as a desktop switch. Install the
AGS-1016 in a stable/safe place to avoid any possible damage. Avoid placement
in direct sunlight. Do not place heavy articles on the AGS-1016 and verify the
ground connection of the outlet is functioning properly.
Desktop/Shelf Installation
For desktop/shelf installation, attach the four rubber feet to the corner inden-
tations on the bottom of the AGS-1016, then place the switch horizontally on
a solid, level platform.
Rack Installation
Use the included L brackets for convenient installation in a 19-inch server or
audio/video rack. Use four screws to attach the L-shaped brackets on both
sides of the AGS-1016 as shown below, then install the switch horizontally in the
rack. Use your desired hardware to ax the switch brackets to the rack.
Attach Feet for Desktop Installation Install Brackets for Rack-Mounting
2
Connecting Ethernet and Power
Ethernet and Power Connections
Use any RJ-45 to connect the AGS-1016 to an Ethernet-enabled device,
including servers, routers or other switches. No crossover cable is necessary.
The AGS-1016 supports 10/100/1000 Mbps Ethernet; 10/100 Mbps half/
full-duplex mode and 1000 Mbps full-duplex mode.
Use the included power cable to connect the AGS-1016 to a surge protected
outlet. The AC input socket and a power switch are on the rear panel. The
built-in power supply supports 100~240VAC at 50/60Hz.
c CAUTION: Use only the correct power cord for your environment.
Any voltage other than standard 100/240 will result in
damage to the AGS-1016.
Sales
P: 801-822-5450
E: sales@luxul.com
Technical Support
P: 801-822-5450 Option 3
E: support@luxul.com
LUX-QIG-AGS-1016-v4 06271701
Copyright and Trademark Notices
No part of this document may be modified or adapted in any way, for any purposes without permission
in writing from Luxul. The material in this document is subject to change without notice. Luxul reserves
the right to make changes to any product to improve reliability, function, or design. No license is
granted, either expressly or by implication or otherwise under any Luxul intellectual property rights. An
implied license only exists for equipment, circuits and subsystems contained in this or any Luxul product.
© Copyright 2017 Luxul. All rights reserved. The name Luxul, the Luxul logo, the Luxul logo mark and
Simply Connected are all trademarks and or registered trademarks of Luxul Wireless, Inc. All other
trademarks and registered trademarks are property of their respective holders.
Produkspesifikasjoner
| Merke: | Luxul |
| Kategori: | Bryter |
| Modell: | AGS-1016 |
Trenger du hjelp?
Hvis du trenger hjelp med Luxul AGS-1016 still et spørsmål nedenfor, og andre brukere vil svare deg
Bryter Luxul Manualer

14 Januar 2025

14 Januar 2025

14 Januar 2025

14 Januar 2025

14 Januar 2025

14 Januar 2025

14 Januar 2025

14 Januar 2025

14 Januar 2025

14 Januar 2025
Bryter Manualer
- Metra
- ORNO
- Digitus
- Berker
- Speaka
- Theben
- EMOS
- Atlona
- Mach Power
- REV
- D-Link
- Tenda
- Blustream
- INOGENI
- Kathrein
Nyeste Bryter Manualer
20 Oktober 2025
19 Oktober 2025
19 Oktober 2025
9 Oktober 2025
8 Oktober 2025
8 Oktober 2025
7 Oktober 2025

6 Oktober 2025

6 Oktober 2025

6 Oktober 2025