Velleman KSR2 Bruksanvisning
Les nedenfor 📖 manual på norsk for Velleman KSR2 (19 sider) i kategorien Ikke kategorisert. Denne guiden var nyttig for 10 personer og ble vurdert med 5.0 stjerner i gjennomsnitt av 5.5 brukere
Side 1/19
KSR2 VELLEMAN 1
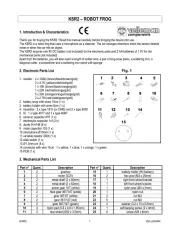
KSR2 – ROBOT FROG
1. Introduction & Characteristics
Thank you for buying the KSR2 ! Read this manual carefully before bringing the device into use.
The KSR2 is a robot frog that uses a microphone as a detector. The car changes directions when the sensor detects
noise or when the car hits an object.
The KSR2 requires one 9V DC battery (not included) for the electronic parts and 2 AA-batteries of 1.5V for the
mechanical parts (not included).
Apart from the batteries, you will also need a length of solder wire, a pair of long-nose pliers, a soldering iron, a
diagonal cutter, a screwdriver and a soldering iron stand with sponge.
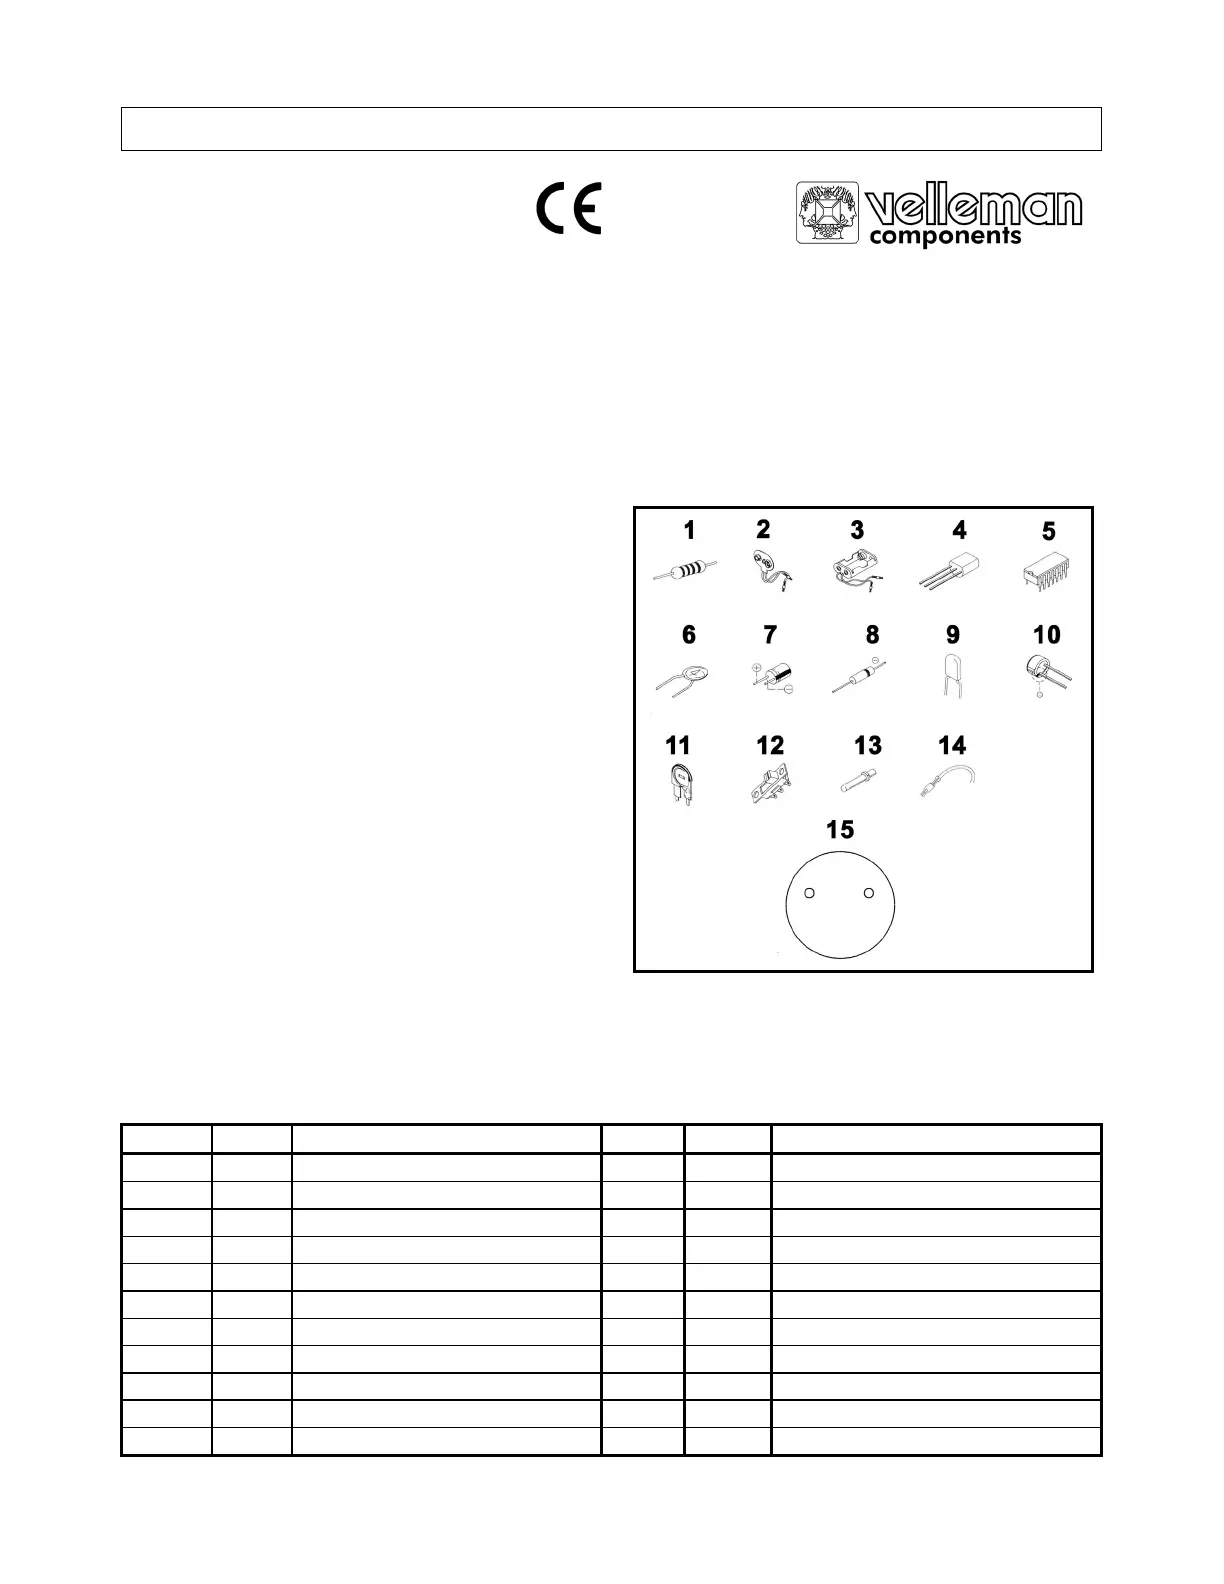
2. Electronic Parts List
1. resistor : 2 x 100Ω (brown/black/brown/gold)
2 x 4.7K (yellow/violet/red/gold)
1 x 10K (brown/black/orange/gold)
1 x 22K (red/red/orange/gold)
5 x 33K (orange/orange/orange/gold)
2 x 2.7M (red/violet/green/gold)
2. battery snap with wires 15cm (1 x)
3. battery holder with wires 8cm (1 x)
4. transistor : 2 x type 1815 (or C945) and 2 x type 8050
5. IC : 1 x type 4017 and 1 x type 406P
6. ceramic capacitor 47P (1 x)
7. electrolytic capacitor 1uf (2 x)
8. diode IN 4148 (6 x)
9. mylar capacitor 103 (1 x)
10. microphone Ø10mm (1 x)
11. variable resistor 200K (1 x)
12. slide switch (1 x)
13. Ø1.3mm pin (8 x)
14. connector with wire 15cm : 1 x yellow, 1 x blue, 1 x orange, 1 x green
15. PCB (1 x)
3. Mechanical Parts List
Part n° Quant. Description Part n° Quant. Description
1 2 gearbox 15 1 battery holder (9V-battery)
2 2 motor DC3V 16 2 hex post (M3 x 25mm)
3 2 metal shaft (2 x 40mm) 17 1 right front wheel bracket
4 2 metal shaft (3 x 52mm) 18 1 left front wheel bracket
5 2 pinion gear 10T (white) 19 1 nylon post (Ø3 x 3mm)
6 2 face gear 36T/14T (white) 20 1 nylon nut
7 2 gear 36T/0T (white) 21 2 nut M3
8 2 gear 36T/14T (red) 22 5 nut M2
9 2 gear 36T/14T (green) 23 2 washer (3.2 x 10 x 0.5mm)
10 4 nylon pad (5.6 x 4.8 x 1.95mm) 24 1 self-tapping screw (2 x 4mm)
11 2 rear wheel (Ø32 x 3.5mm) 25 6 screw (M3 x 8mm)
Fig. 1
Produkspesifikasjoner
| Merke: | Velleman |
| Kategori: | Ikke kategorisert |
| Modell: | KSR2 |
Trenger du hjelp?
Hvis du trenger hjelp med Velleman KSR2 still et spørsmål nedenfor, og andre brukere vil svare deg
Ikke kategorisert Velleman Manualer
18 Oktober 2025
17 Oktober 2025
17 Oktober 2025

16 Oktober 2025
16 Oktober 2025

16 Oktober 2025
16 Oktober 2025
15 Oktober 2025
15 Oktober 2025
15 Oktober 2025
Ikke kategorisert Manualer
- OLLO
- NuPrime
- Ambient
- Unitech
- BodyCraft
- Eldom
- Dangerous Music
- Nacon
- Yphix
- GeoBox
- Pyrex
- Redsbaby
- Scala
- Cayin
- Jilong
Nyeste Ikke kategorisert Manualer

23 Oktober 2025

23 Oktober 2025

23 Oktober 2025

23 Oktober 2025

23 Oktober 2025

23 Oktober 2025

23 Oktober 2025

23 Oktober 2025

23 Oktober 2025

23 Oktober 2025