Swann PRO-861 Bruksanvisning
Swann
Sikkerhetskamera
PRO-861
Les nedenfor 📖 manual på norsk for Swann PRO-861 (18 sider) i kategorien Sikkerhetskamera. Denne guiden var nyttig for 13 personer og ble vurdert med 3.6 stjerner i gjennomsnitt av 7 brukere
Side 1/18
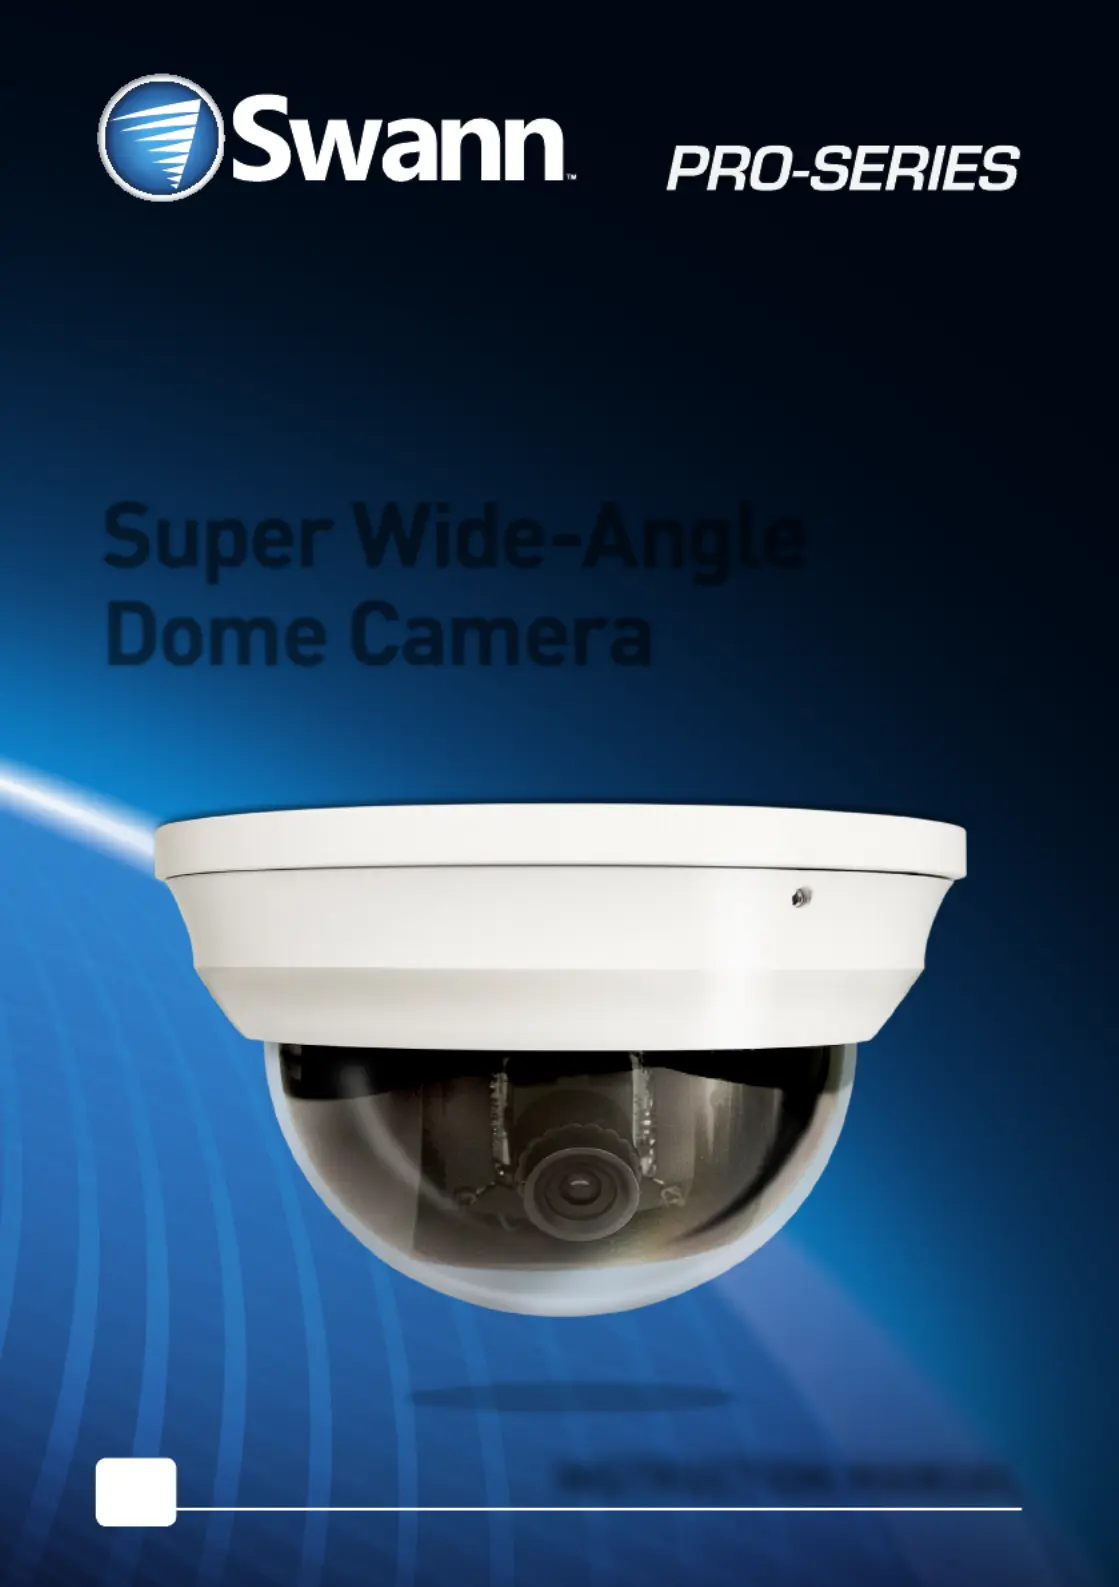
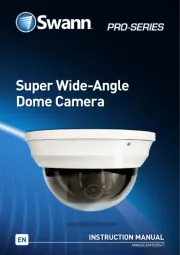
Super Wide-Angle
Dome Camera
INSTRUCTION MANUAL
EN
MWADCAM150514T
Produkspesifikasjoner
| Merke: | Swann |
| Kategori: | Sikkerhetskamera |
| Modell: | PRO-861 |
| Vekt: | 368 g |
| Bredde: | 110 mm |
| Dybde: | 110 mm |
| Høyde: | 70 mm |
| Bruksanvisning: | Ja |
| Wi-Fi: | Nei |
| Tilkoblingsteknologi: | Koblet med ledninger (ikke trådløs) |
| Antall kameraer: | 1 |
| Antall TV-linjer: | 850 |
| Dag/natt-modus: | Ja |
| Wide Dynamic Range (WDR): | Ja |
| Synsfelt: | 75 ° |
| Kabellengde: | 18 m |
| Produktfarge: | Hvit |
| Monteringssett: | Ja |
| Analogt signalformatsystem: | NTSC, PAL |
| Kabler inkludert: | BNC |
| Driftstemperatur (T-T): | -20 - 50 °C |
| nattsyn: | Ja |
| Formfaktor: | Kuppel |
| Modell/Type: | Overvåkningskamera |
| Innebygd harddisk: | Nei |
| Skruer inkludert: | Ja |
| DC-inngangskontakt: | Ja |
| Minimumsbelysning: | 0.1 lx |
| Ethernet/bredbåndsforbindelse: | Nei |
| Støttede plasseringer/plasseringer som kan benyttes: | Innendørs |
| AC-adapter bunt: | Ja |
| Montasjetype: | Tak |
| Strøm over Ethernet (PoE): | Nei |
| DC-ut, volt: | 12 |
| BNC-utgangsporter: | 1 |
| Varsel sticker: | Ja |
Trenger du hjelp?
Hvis du trenger hjelp med Swann PRO-861 still et spørsmål nedenfor, og andre brukere vil svare deg
Sikkerhetskamera Swann Manualer
18 August 2025
18 August 2025

18 August 2025
18 August 2025

18 August 2025
18 August 2025

18 August 2025

18 August 2025

18 August 2025

18 August 2025
Sikkerhetskamera Manualer
- Digital Watchdog
- Moen
- Dahua Technology
- LevelOne
- Trendnet
- Somfy
- Belkin
- Ikegami
- Hikvision
- Zebra
- HiLook
- Cisco
- Canon
- Sony
- Metra
Nyeste Sikkerhetskamera Manualer
20 Oktober 2025
20 Oktober 2025

20 Oktober 2025
19 Oktober 2025

18 Oktober 2025

18 Oktober 2025

17 Oktober 2025

17 Oktober 2025

17 Oktober 2025

17 Oktober 2025